Slicked-Back Bun & Polished Updos: 10-Minute Styles
Holiday party season has a way of ambushing you: the invitation arrives, your hair has other plans, and you have exactly ten minutes between work and the door. The slicked-back bun is the answer – it looks expensive, works on second- or third-day hair (which actually holds better than freshly washed hair), and takes less time than most people spend choosing an outfit. This guide gives you the full step-by-step for the classic version plus five more polished updos you can do in ten minutes or less, with product picks and adjustments for every hair type.
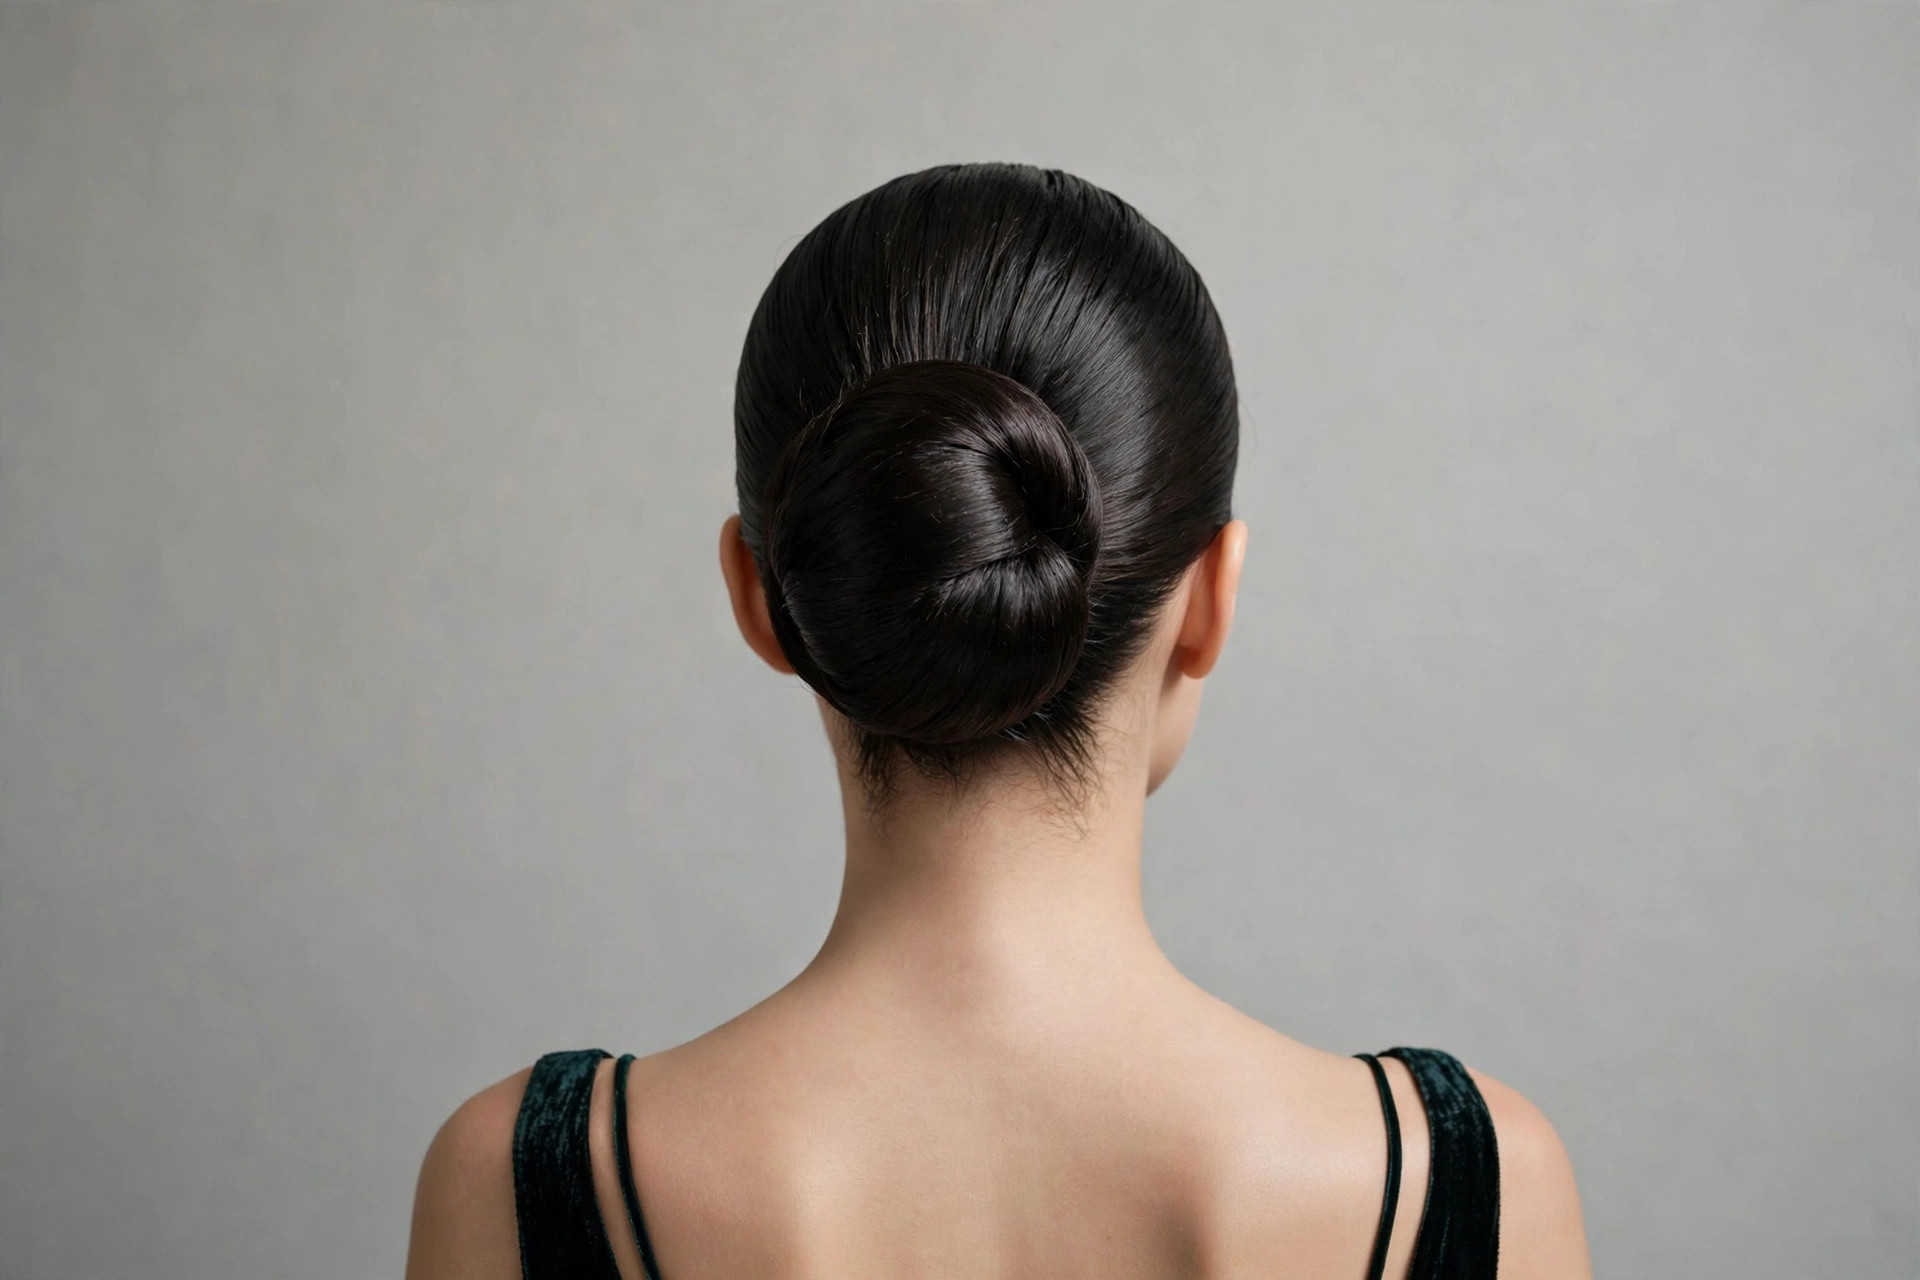
A slicked-back bun is a polished updo created by brushing all hair smoothly back from the face, securing it into a ponytail at the crown or nape, twisting the length into a bun, and pinning it in place – finished with gel or smoothing cream and a light-hold hairspray for a glass-like, flyaway-free surface. The classic version takes 8-10 minutes on medium to long hair. It works best on day-old hair with some natural grip, suits oval, heart, and square face shapes especially well, and stays secure for 8-12 hours with the right pinning technique.
The five variations below – low chignon, twisted French twist, sleek high ponytail, polished top knot, and braided crown bun – use the same core skills with different finishes, so learning one teaches you all six. Each includes exact timing, the best occasion to wear it, and adjustments for fine, thick, curly, and short hair.
How Do You Do a Classic Slicked-Back Bun? (Step-by-Step)
This is the foundation technique – master it and every other updo in this guide gets easier. Gather: a paddle brush or boar bristle brush, a fine-tooth comb, strong-hold gel or smoothing cream, 4-6 bobby pins matching your hair color, one sturdy hair elastic, and light-hold hairspray. Total time: 8-10 minutes.
Step 1: Prep the hair
Start with dry hair – this style does not work on wet hair because it slips. Day-old or second-day hair is ideal; the natural oils give grip that freshly washed hair lacks. If your hair is freshly washed, work a pea-sized amount of texturizing powder or dry shampoo through the roots first. Brush thoroughly with a paddle brush to remove all tangles, brushing from ends upward to avoid breakage.
Step 2: Apply smoothing product
Work a quarter-sized amount of strong-hold gel or smoothing cream through the hair from roots to mid-lengths, focusing on the top layer and hairline where flyaways live. For thick or coarse hair, use gel for maximum hold; for fine hair, use a lightweight smoothing cream so the style does not look wet or weighed down. Distribute evenly with your fingers, then smooth the top layer down with the flat of your hands.
Step 3: Brush everything back
Using a boar bristle brush (the dense bristles are what create the glass-smooth surface), brush all hair straight back from the forehead, temples, and nape toward your chosen bun position: high crown for drama, mid-head for classic polish, or low nape for elegance. Keep tension even and brush in the direction of the final style – every stroke should point toward the bun. Use the fine-tooth comb to smooth the hairline and tame baby hairs, applying a touch more product to stubborn spots.
Step 4: Secure the ponytail
Gather the smoothed hair into a ponytail at your chosen position and secure with a sturdy elastic – wrap it 3-4 times so it is genuinely tight. This is the structural foundation, so do not use a stretched-out elastic. Smooth the ponytail itself with the brush, then check the head from all angles in a hand mirror: fix any bumps now by smoothing with the comb and a dab of gel, because bumps get harder to fix once the bun is formed.
Step 5: Form the bun
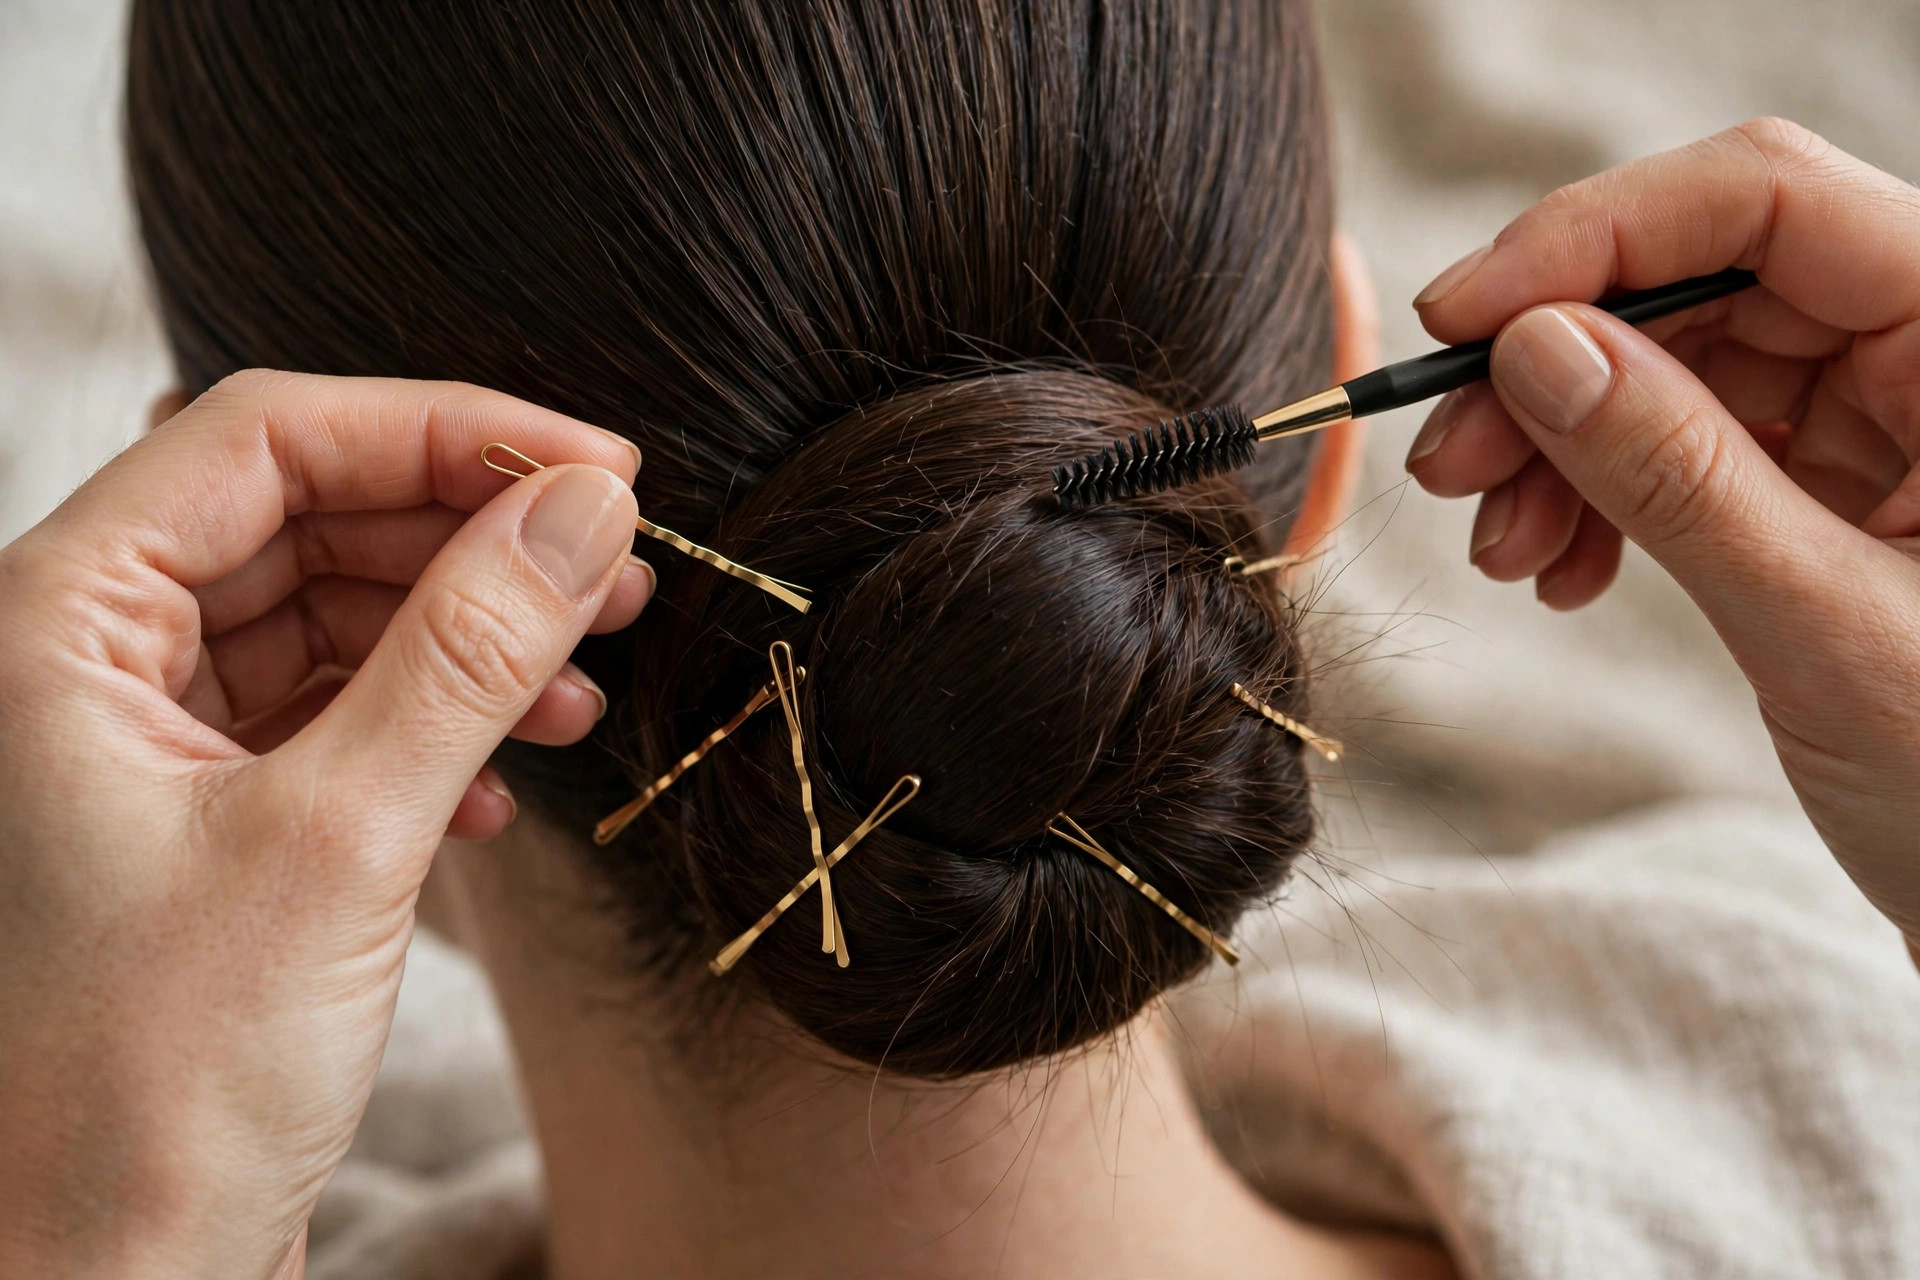
Twist the ponytail length tightly in one direction until it starts coiling on itself, then wrap the coil around the elastic base, tucking the ends underneath. For a sleek, compact bun, keep the twist tight and the coil flat against the head. For a slightly softer look, gently pull the coil outward with your fingertips after wrapping to add a little volume – but keep the surface smooth. Pin with 4-6 bobby pins pushed through the coil into the base, crisscrossing two pins at the bottom for maximum hold.
Step 6: Finish and set
Mist the entire head with light-hold hairspray from 10-12 inches away – close spraying creates wet spots and stiffness. Smooth any remaining flyaways with the fine-tooth comb and a tiny amount of gel on your fingertips. For extra polish, run a clean mascara spoolie along the hairline to lay down baby hairs. Check the style’s security by gently shaking your head; if anything shifts, add pins rather than more product.
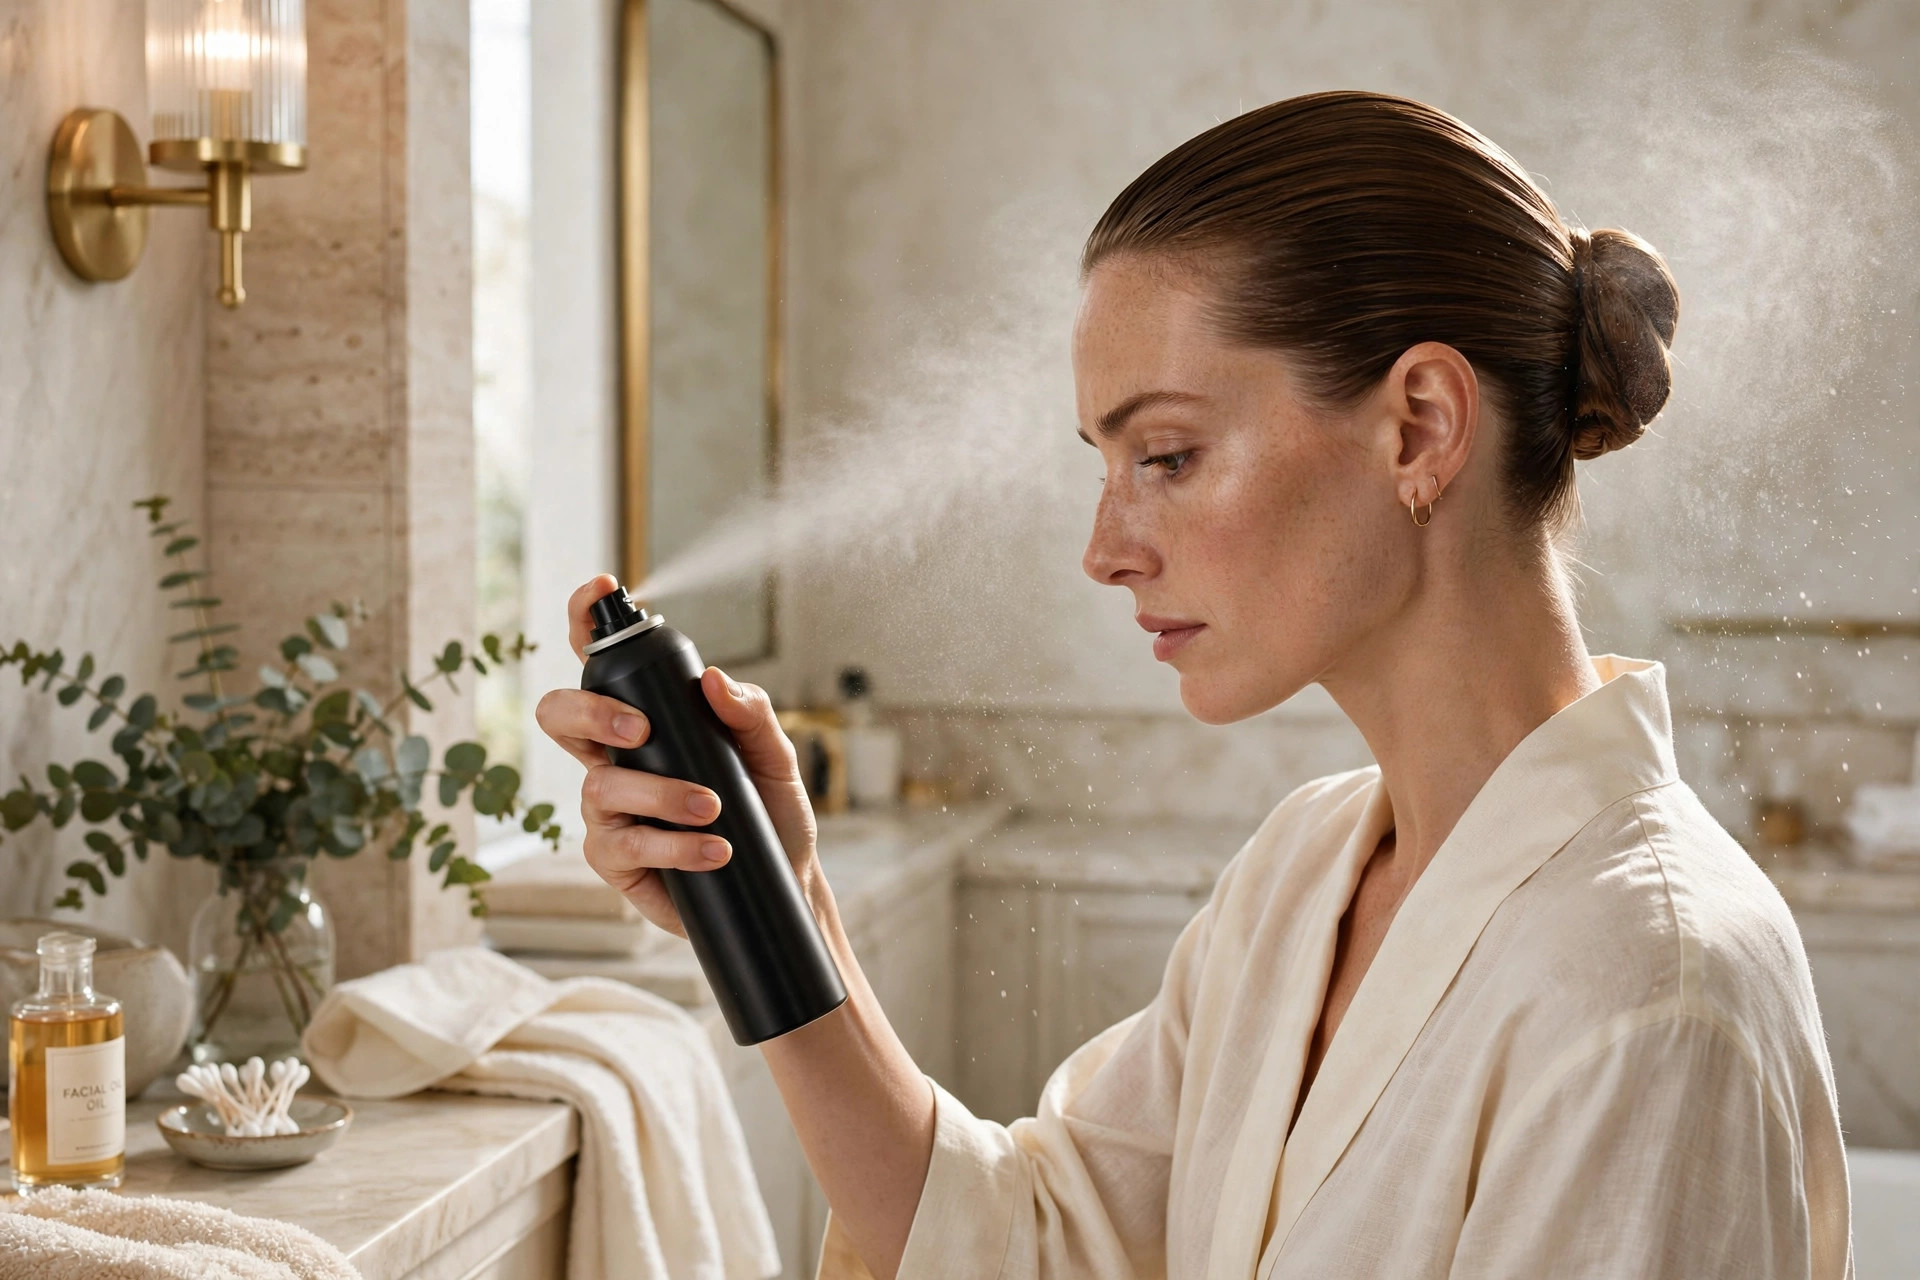
A well-pinned slicked-back bun lasts 8-12 hours, through dinner, dancing, and commute home.
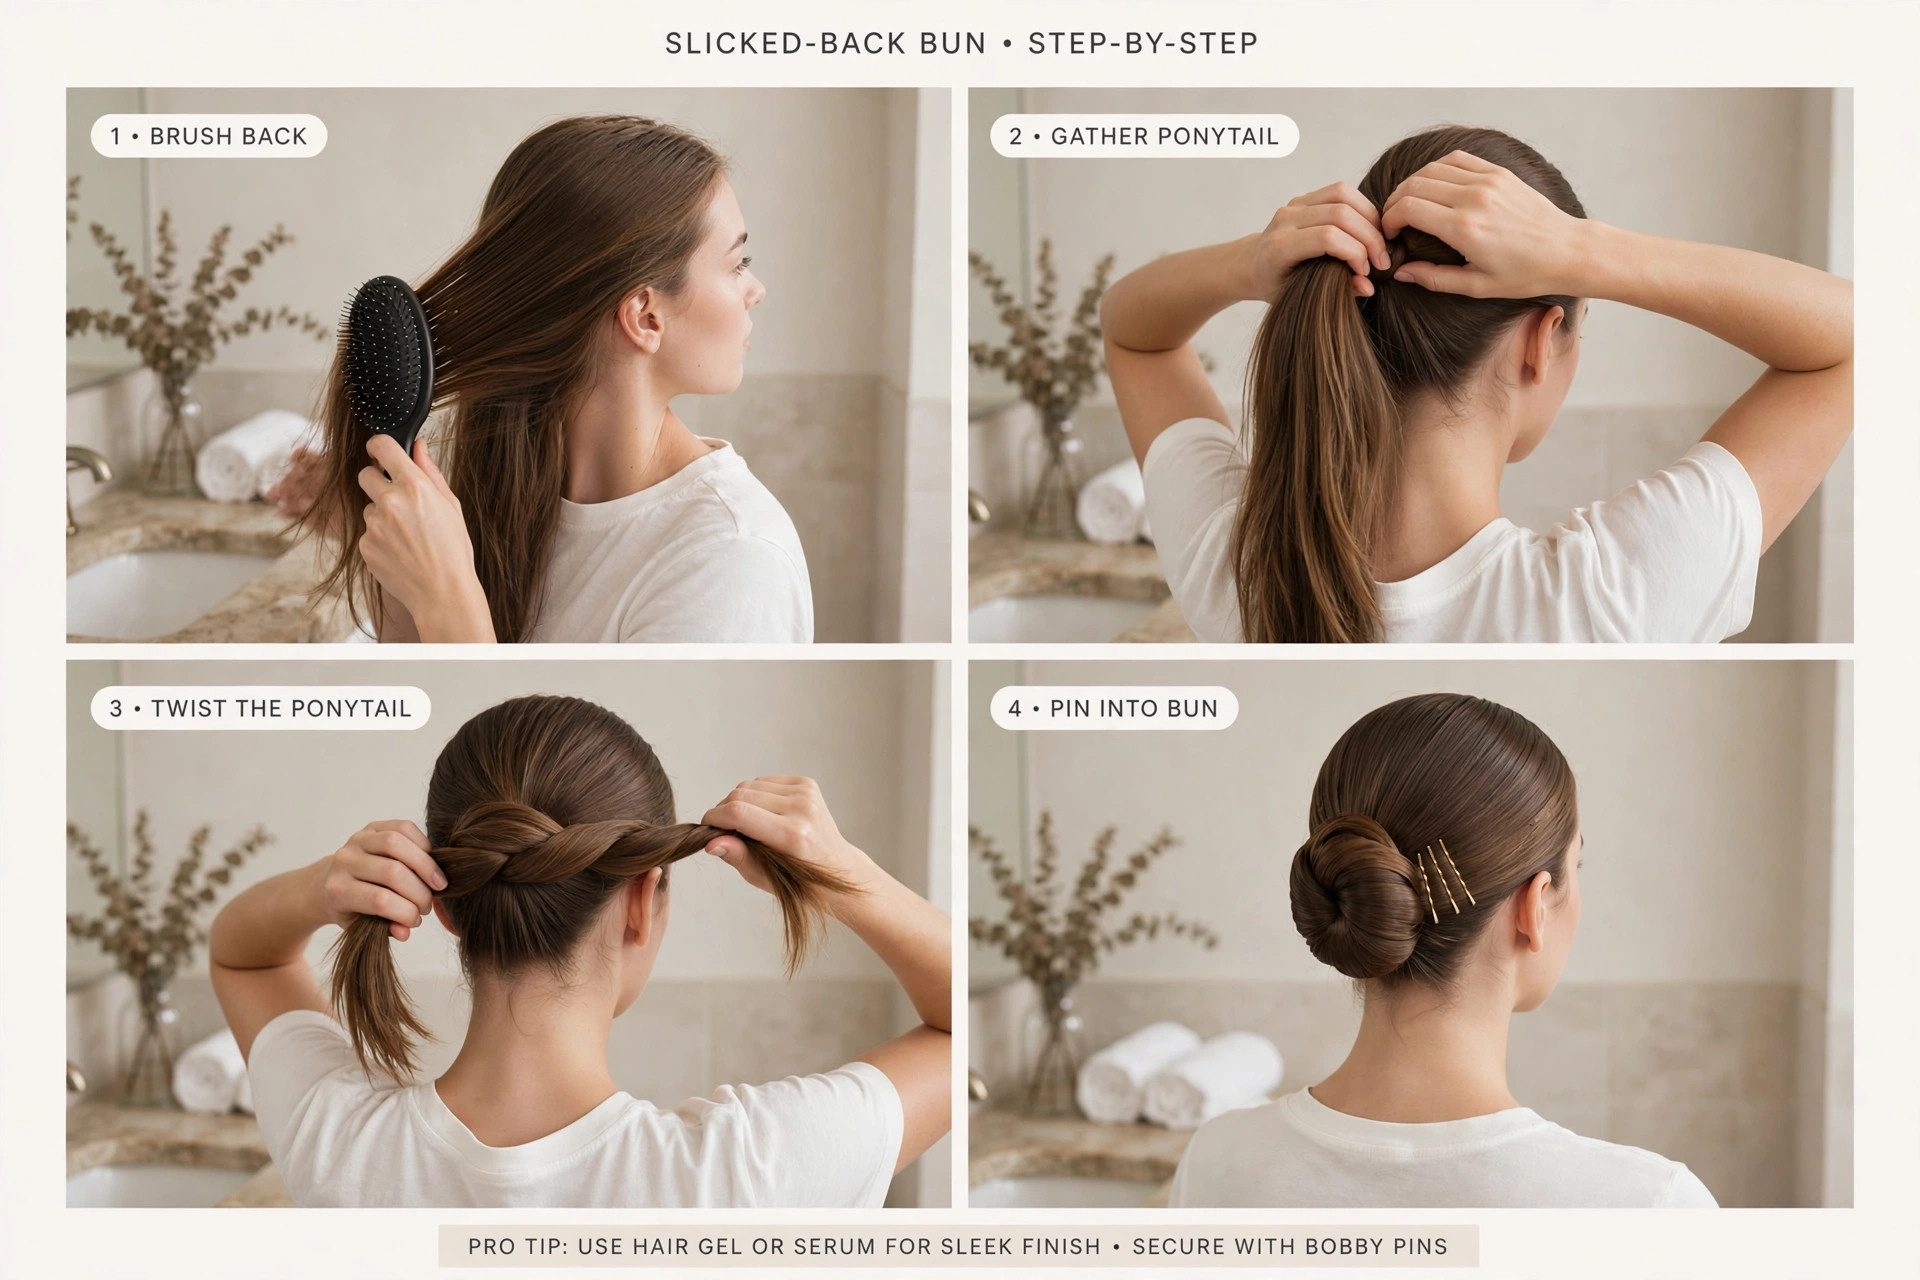
What Other Polished Updos Can You Do in 10 Minutes?
Once you can slick hair back smoothly, these five variations take the same 8-10 minutes and give you a full rotation of party-ready styles. Each uses the same toolkit: brush, gel or cream, elastic, bobby pins, hairspray.
Low Chignon
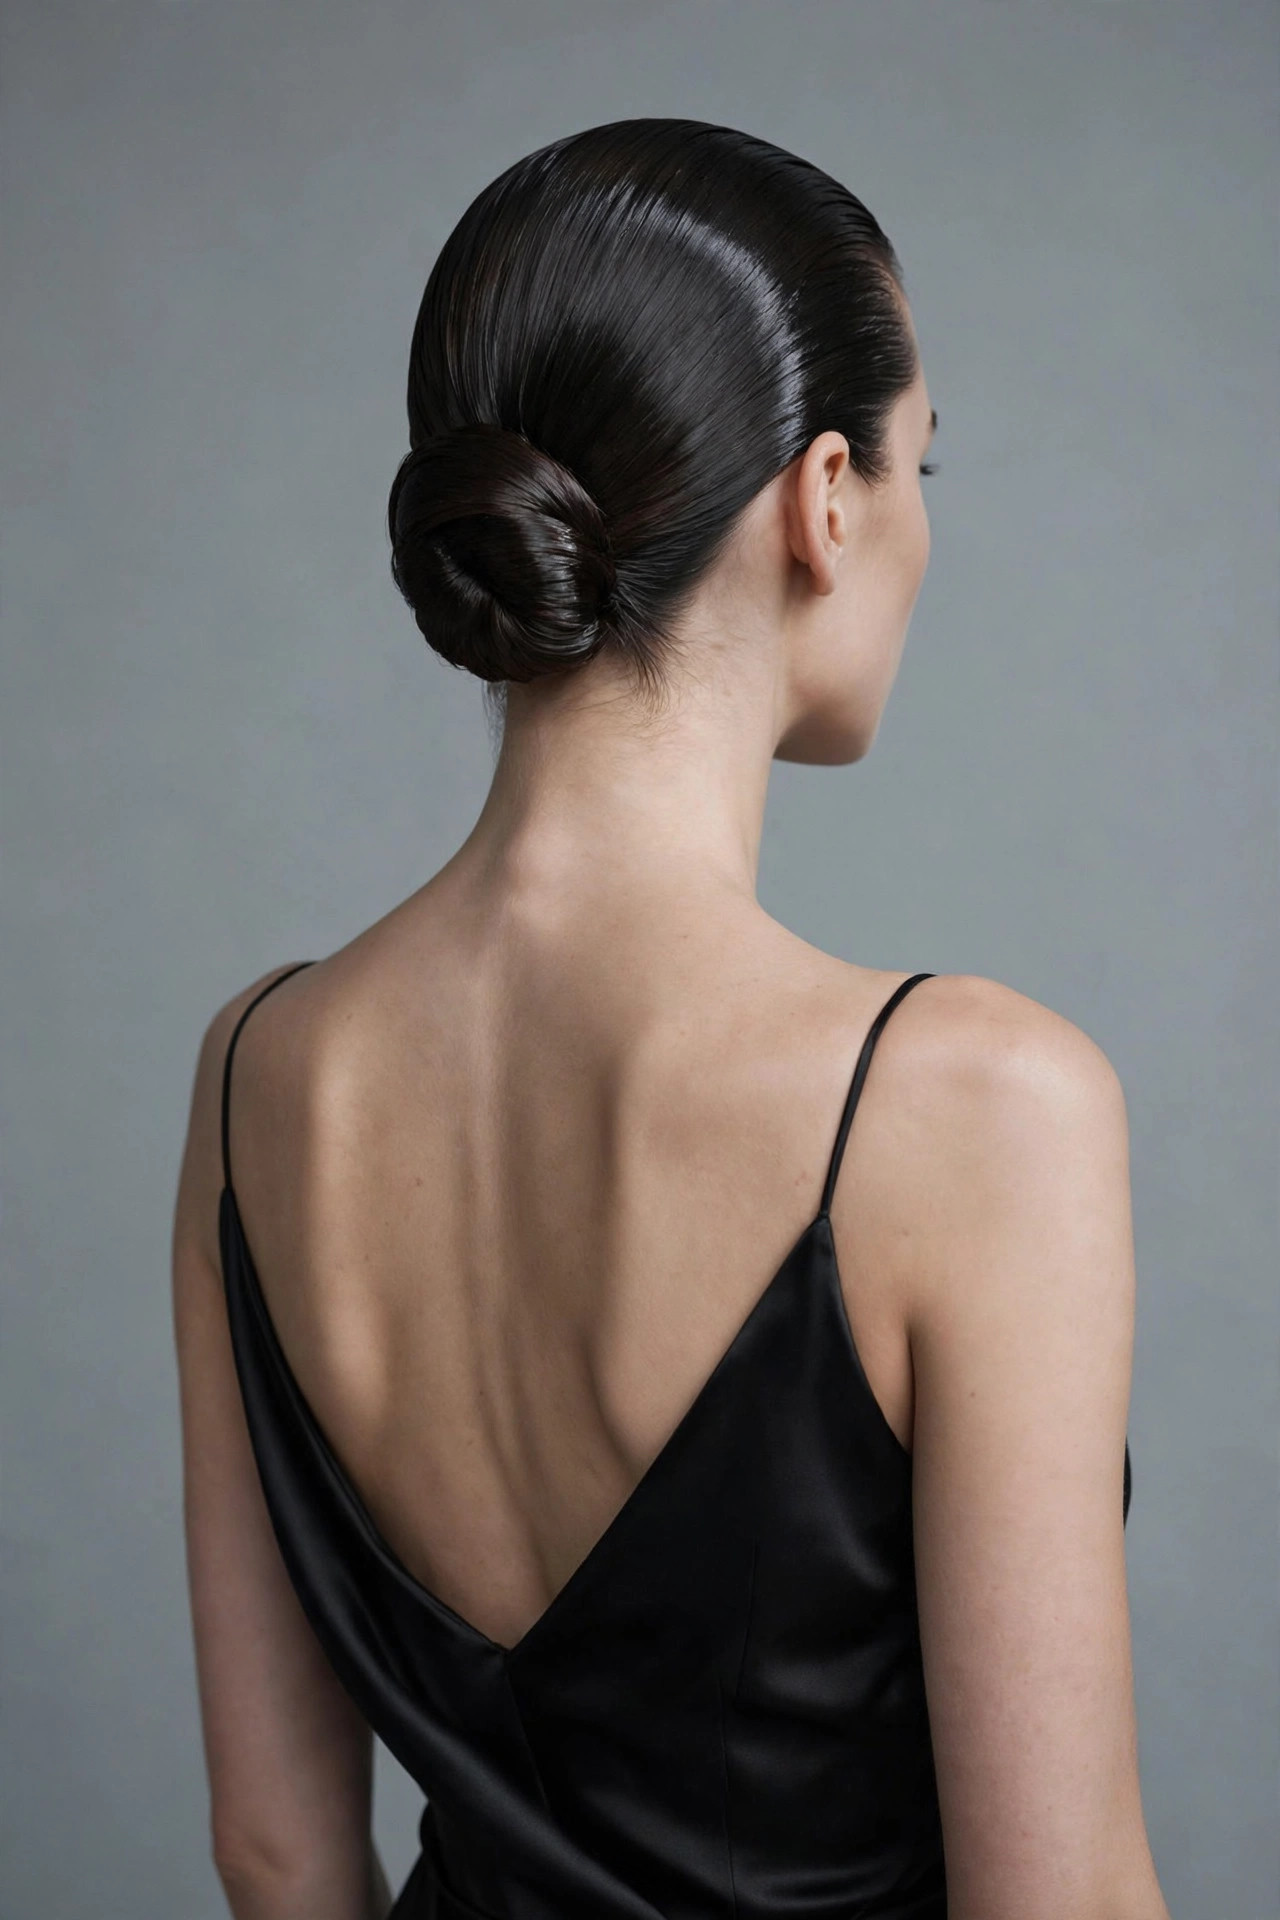
The most elegant option. Slick hair back into a low ponytail at the nape, twist the length loosely, coil it flat against the nape, and pin. Unlike the classic bun, the chignon sits low and slightly loose, with the coil spread wider for a soft, romantic shape. Leave two thin face-framing pieces out before slicking for a softer finish, curling them lightly with a curling iron. Time: 10 minutes. Best for: weddings, formal dinners, work events.
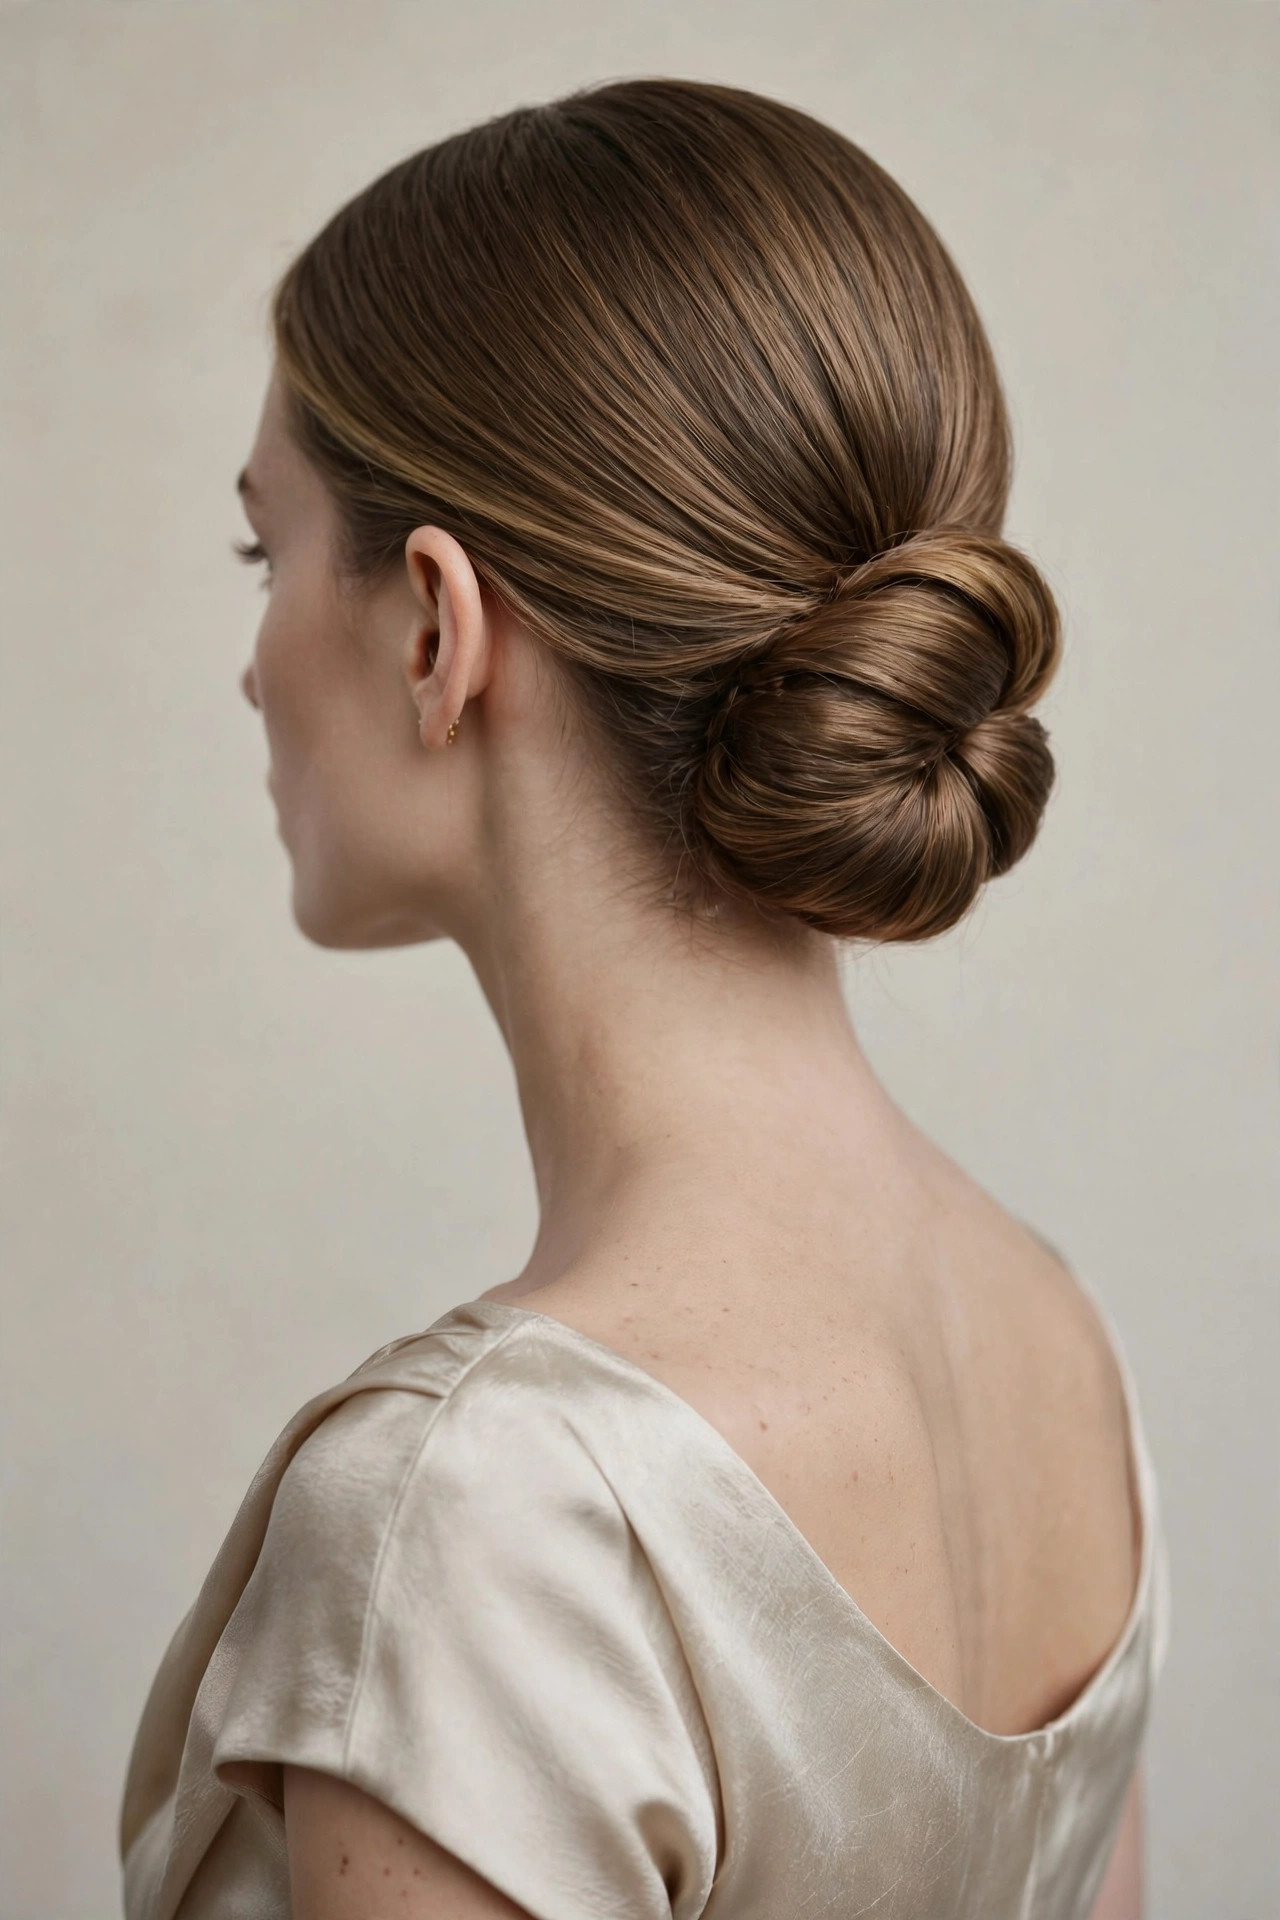
Twisted French Twist
The shortcut version of the classic. Gather hair to one side at the nape, twist the entire length upward along the back of the head, tuck the ends into the twist’s pocket, and pin vertically with 5-7 bobby pins hidden inside the twist. Smooth the surface with gel and the fine-tooth comb. It looks intricate but is genuinely one twist and a row of pins. Time: 10 minutes. Best for: cocktail parties, date nights.
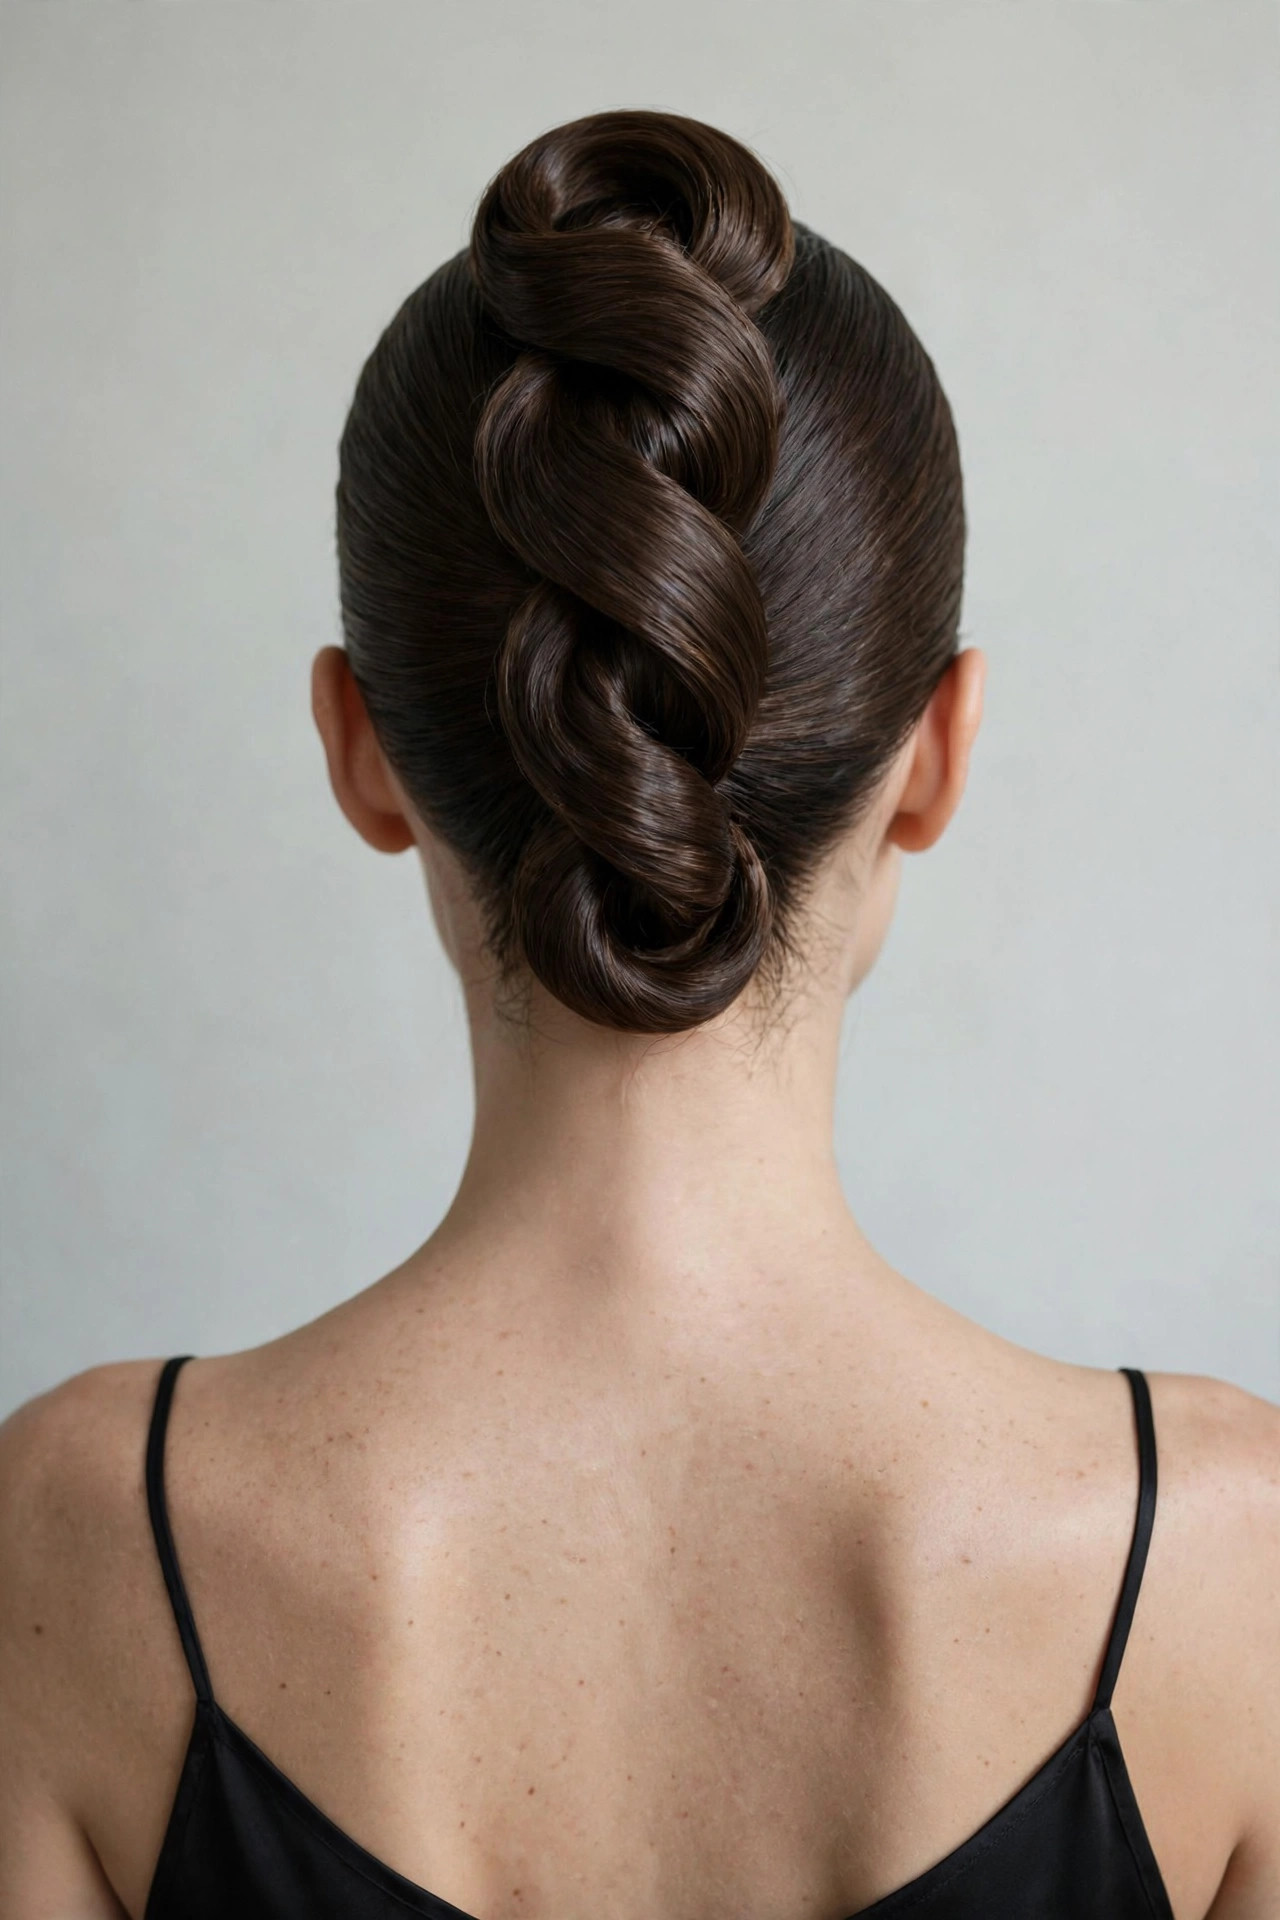
Sleek High Ponytail
Maximum drama, minimum effort. Slick everything back into a high ponytail at the crown using gel, secure tightly, then take a half-inch section from underneath the ponytail, wrap it around the elastic, and pin underneath to hide the band. Flat-iron the ponytail length for a glass finish, or add a subtle bend with a curling iron for movement. For extra length and fullness, clip in one weft of extensions before wrapping – the sleek texture hides the clips completely. Time: 8 minutes. Best for: parties, nights out, photos.
Polished Top Knot
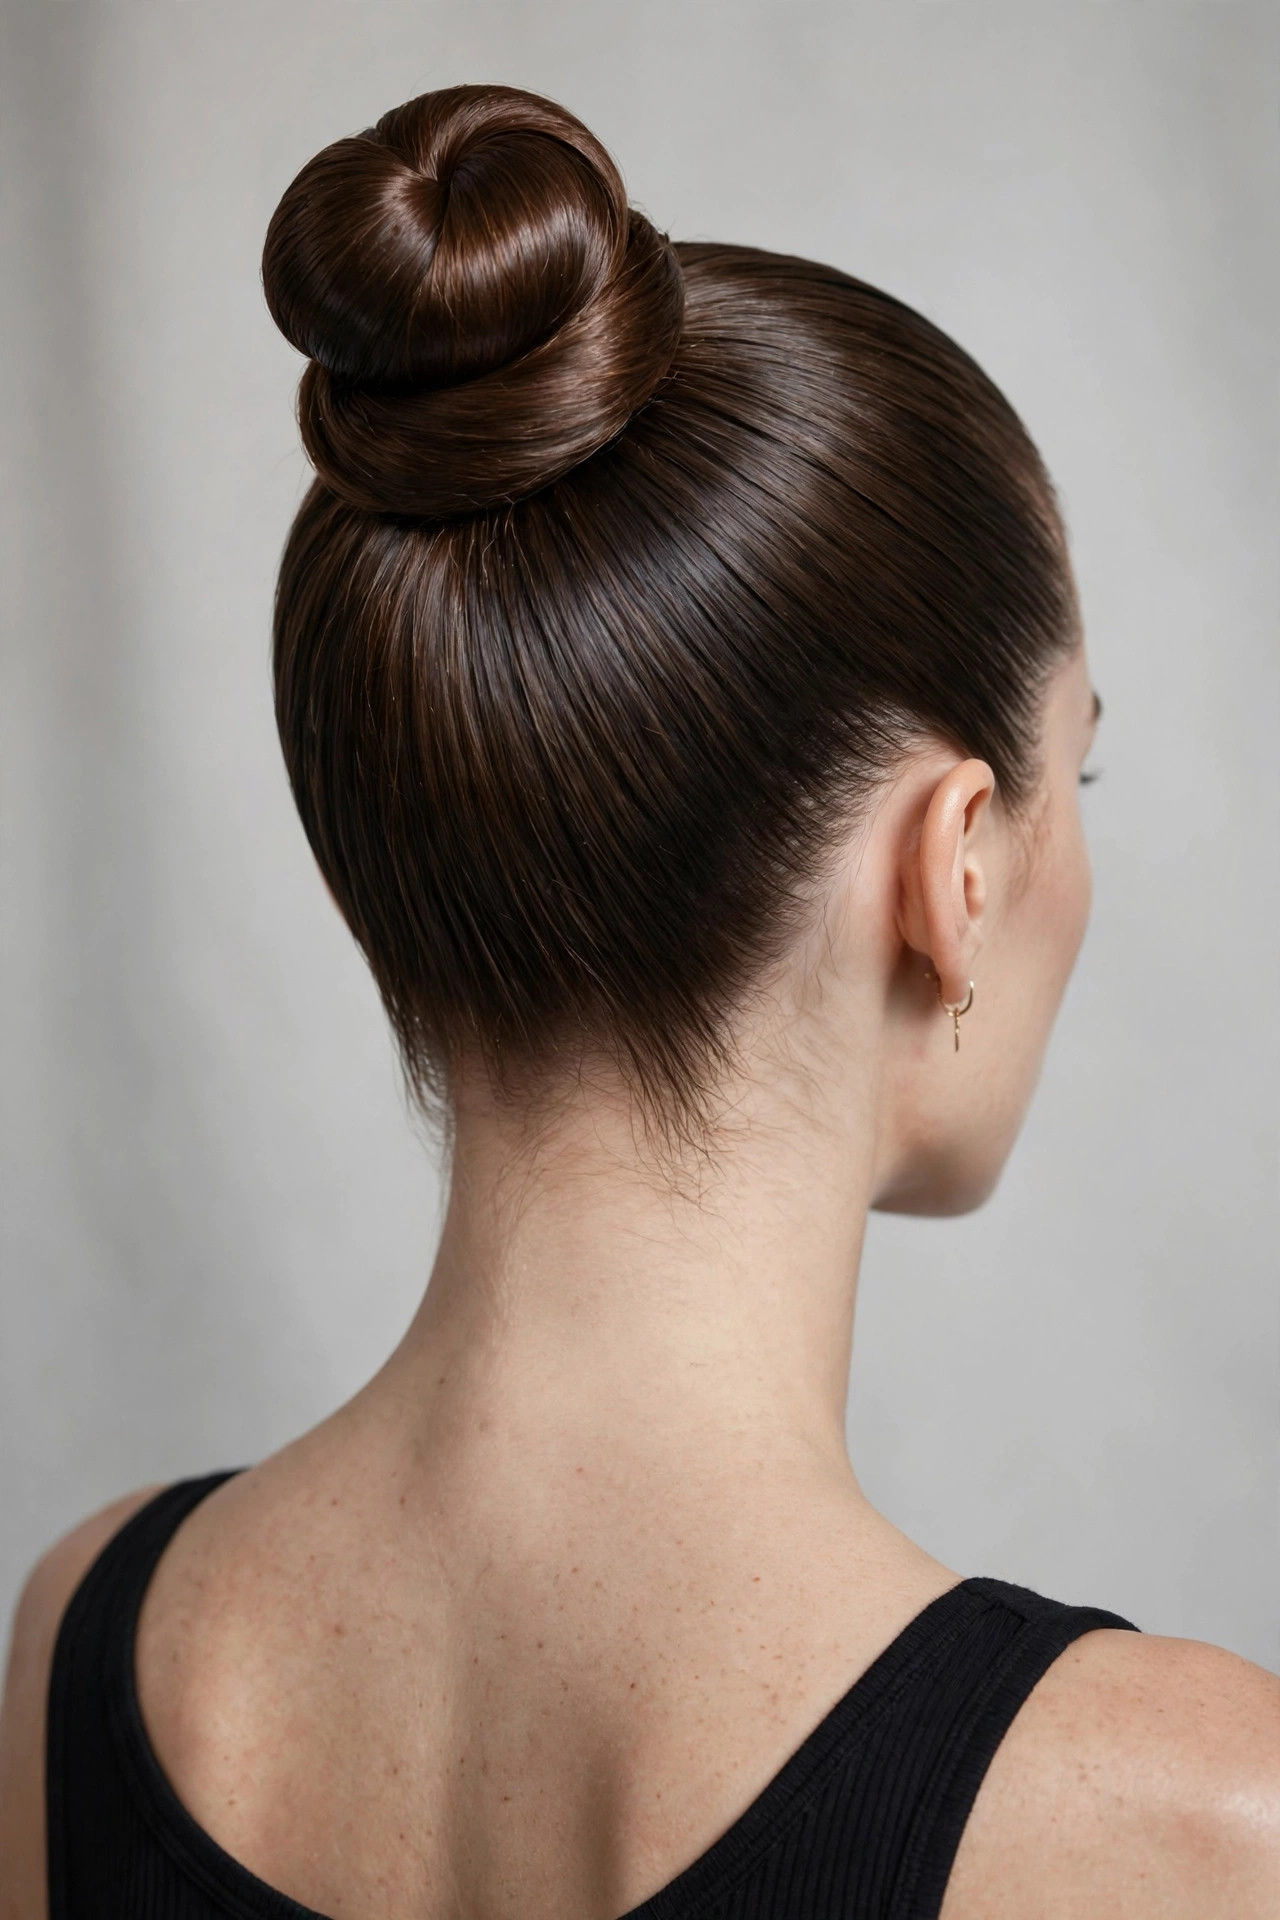
The fashion-editor favorite. Slick hair into a very high ponytail, twist tightly, coil into a compact knot sitting on top of the crown, and pin securely. The key difference from a casual top knot: every surface must be smooth, with gel applied generously and the hairline combed flat. This style shows off earrings and a strong jawline beautifully. Time: 7 minutes. Best for: gallery openings, fashion events, hot weather.
Braided Crown Bun
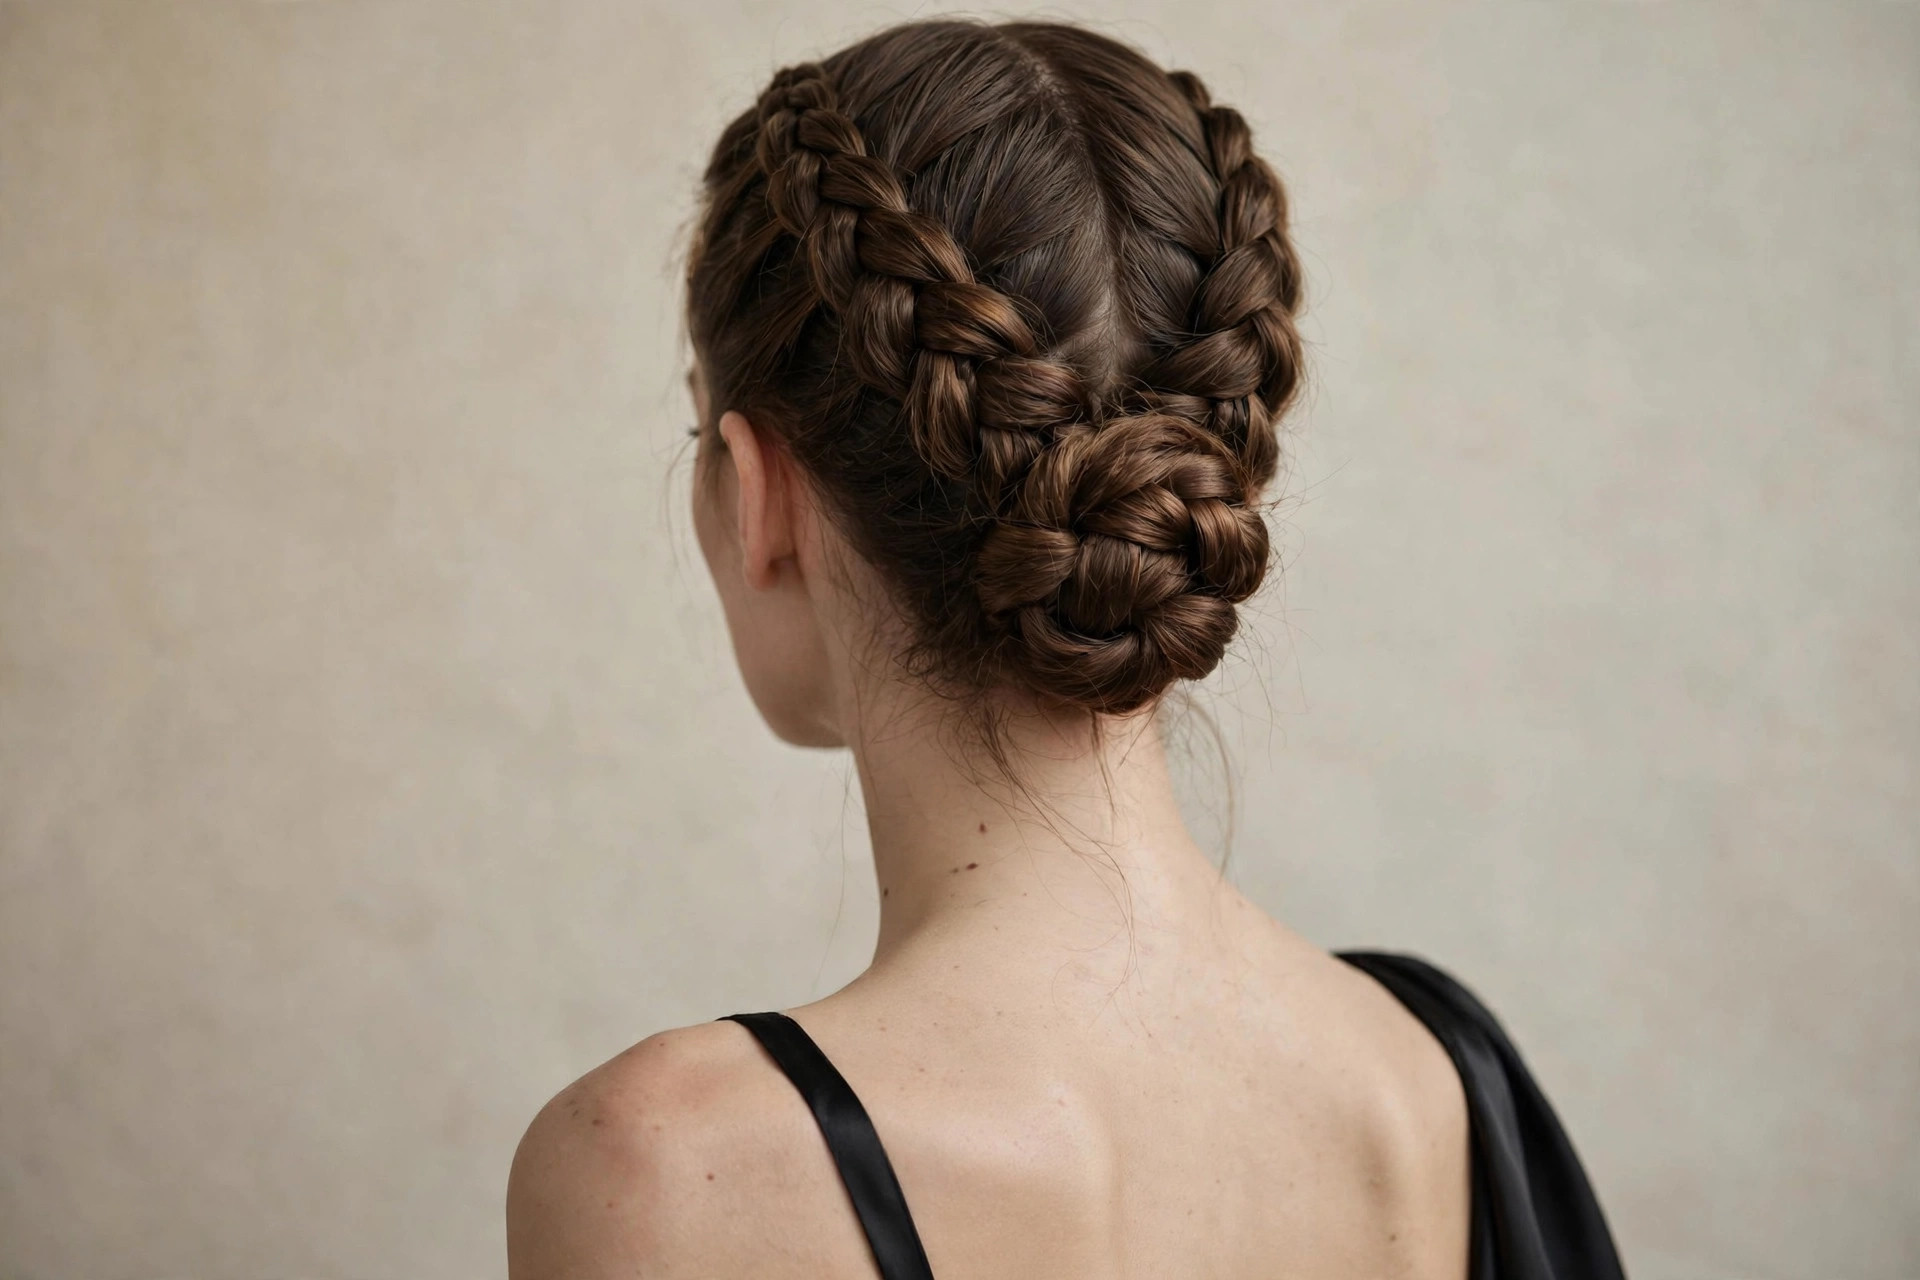
The most secure option for thick hair. Create two Dutch braids (inside-out French braids) from the temples back, joining them into a low ponytail at the nape, then twist and coil into a bun and pin. The braids add texture and grip that keeps heavy hair in place far longer than a plain bun. Time: 10-12 minutes with practice. Best for: all-day events, dancing, outdoor parties where wind is a factor.
Which Products Make a Slicked-Back Style Actually Stay?
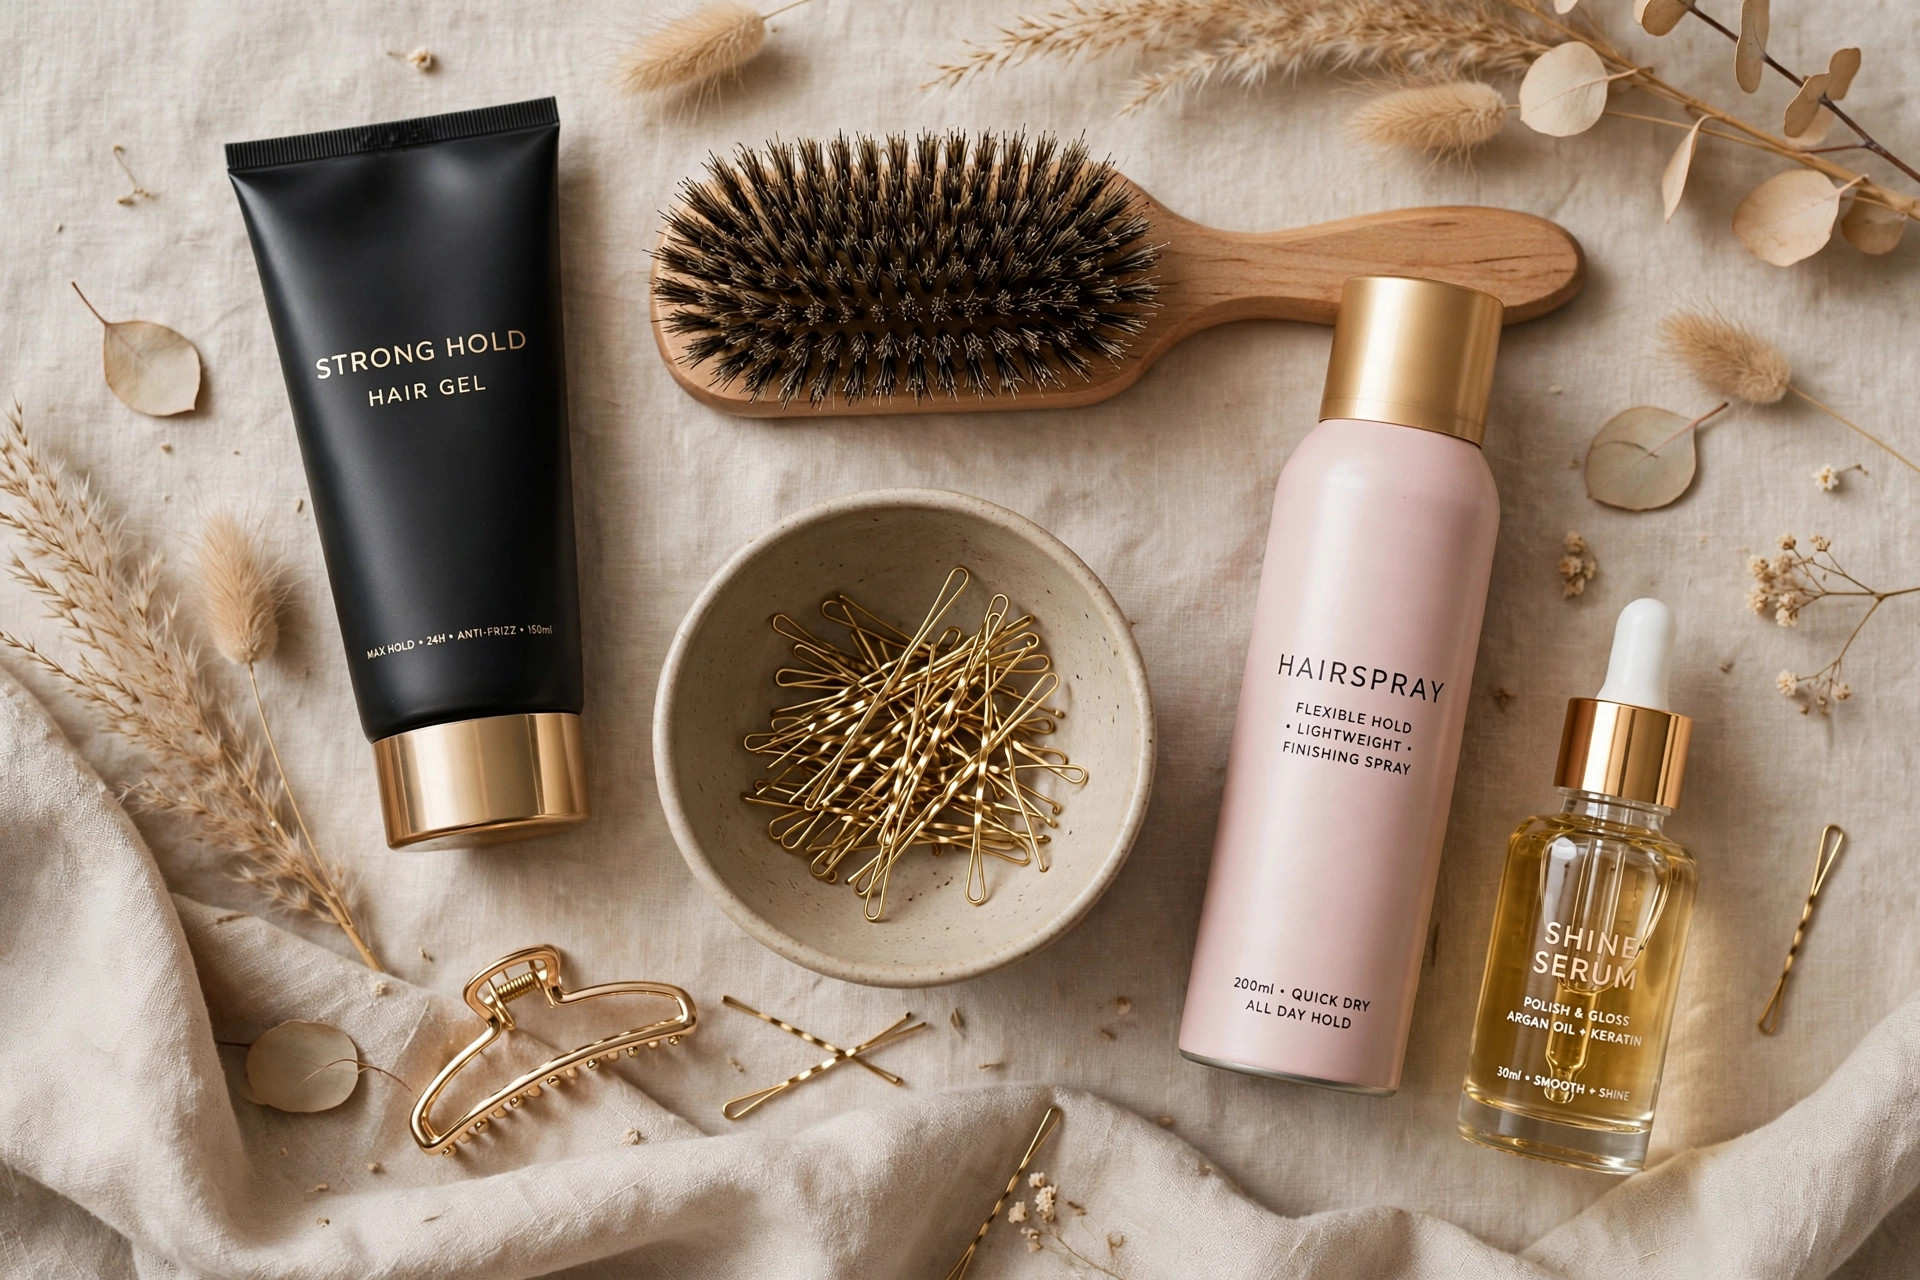
Product choice is the difference between a bun that lasts all night and one that sags by dessert. For hold, a strong-hold gel is the workhorse – apply to damp or dry hair before brushing back. Alcohol-free gels prevent the crunch and flaking that cheap gels cause; look for “strong hold” plus “no flake” on the label. For fine hair that gets weighed down, a smoothing cream or lightweight pomade gives control without the wet look – use half the amount you think you need and add more only if flyaways persist. As a rule of thumb: gel for hold, cream for control, pomade for shine and edge work – and never all three at full strength on the same head.
For the glass-smooth surface, the brush matters as much as the product. A boar bristle brush (or a boar-nylon mix for thick hair) compresses the hair cuticle flat in a way paddle brushes cannot – this is the tool behind the “glass hair” finish. Use it as your final smoothing pass after the paddle brush does the detangling. A fine-tooth comb handles the hairline and parts; a clean mascara spoolie with a dab of gel is the secret weapon for baby hairs and edges.
For security, invest in good bobby pins: they should match your hair color, have a strong spring (cheap pins lose tension after a few uses), and go in wavy-side-down against the scalp for maximum grip. Crisscross two pins in an X at stress points for hold that survives dancing. Skip the heavy-duty hairspray – a light or medium-hold spray misted from distance sets the style without the helmet-head stiffness that makes updos look dated. Finish with a pea-sized amount of shine serum or a shine spray on the bun itself for the reflective, polished surface that photographs so well.
One product to use with restraint: edge control. It is excellent for laying down edges and baby hairs, but applied heavily across the whole head it looks greasy within hours. Restrict it to the hairline, and keep the rest of the style to gel or cream. Our general hair styling guide covers product layering order in more detail if you want to build a full styling routine around these updos.
How Do You Adapt These Updos for Your Hair Type?
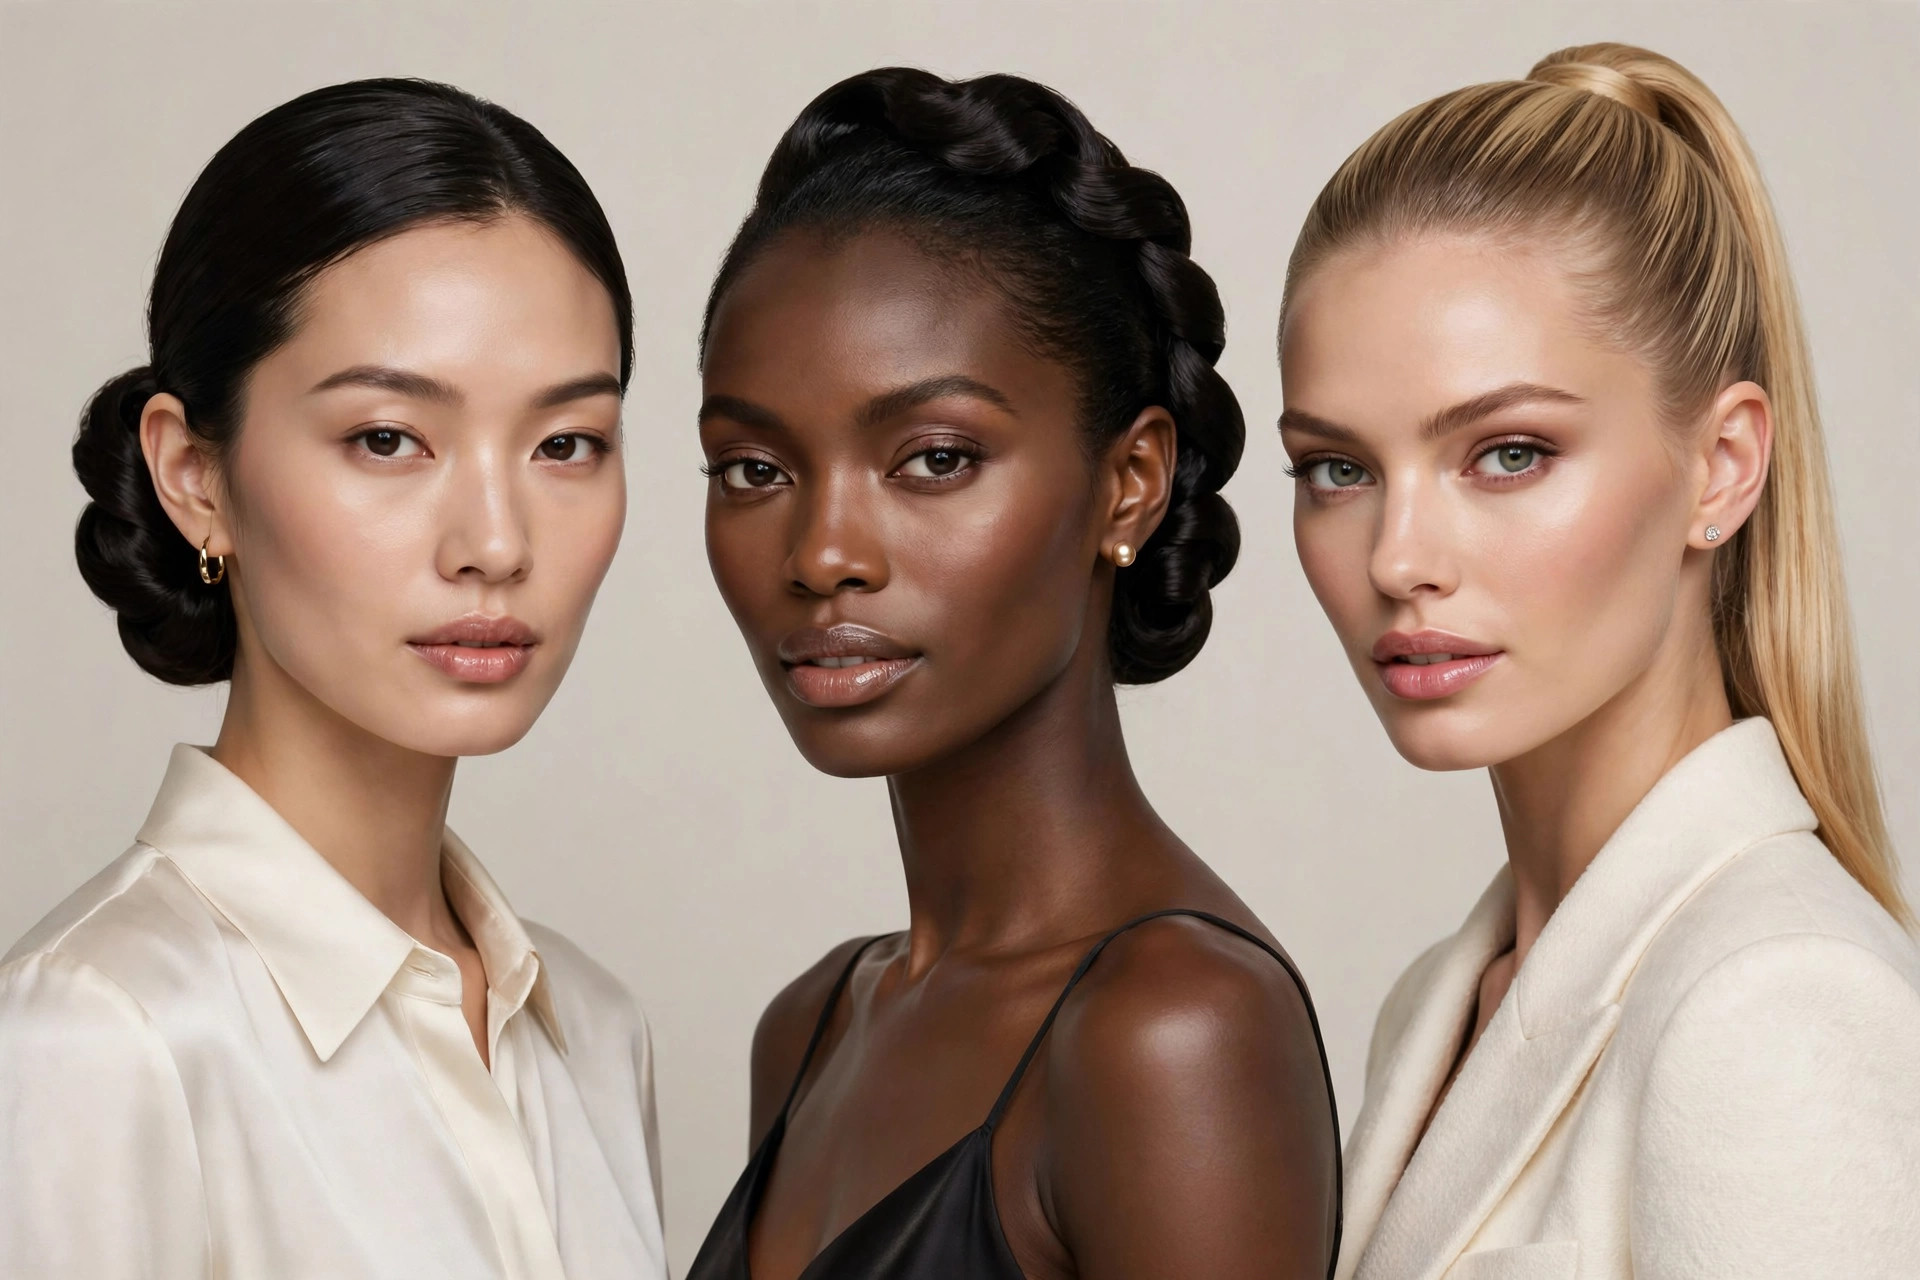
Fine hair: Your challenge is grip and volume. Use texturizing powder or dry shampoo at the roots before styling for grip, choose smoothing cream over heavy gel, and backcomb the ponytail lightly before coiling to create fullness in the bun. Bobby pins slip in fine hair, so use mini claw clips or U-pins instead for better hold, and consider a small bun maker or hair donut for a fuller-looking chignon.
Thick or coarse hair: Your challenge is weight and smoothness. Section the hair into top and bottom halves, slick and secure each separately, then combine – this distributes weight and prevents the style from pulling. Use strong-hold gel generously and a boar-nylon mix brush that can penetrate dense hair. The braided crown bun is your best friend; braids manage bulk better than plain coils. Expect to use 8-10 pins rather than 4-6.
Curly or coily hair: Your texture is an advantage – curls give natural grip and volume. Stretch the hair first with a blow-dryer or banding method for the sleekest result, or work with your texture for a beautiful voluminous bun: slick the front smooth with gel and let the bun itself stay curly for a gorgeous contrast. Edge control on the hairline plus gel on the smoothed sections gives the polished finish. Silk or satin scrunchies as your base elastic prevent breakage on delicate curls.
Short hair (chin to shoulder length): The slicked-back bun is absolutely possible – see our short hair styling guide for the full toolkit. Use a low chignon or nape bun rather than a high bun, since shorter lengths cannot reach the crown smoothly. French-pin the ends under rather than coiling, and use more pins (6-8) since short layers escape easily. A deep side part with the lengths slicked into a low twist is the most flattering short-hair updo. For medium, shoulder-length hair specifically, our medium-length styling guide has updo variations tuned to that in-between length.
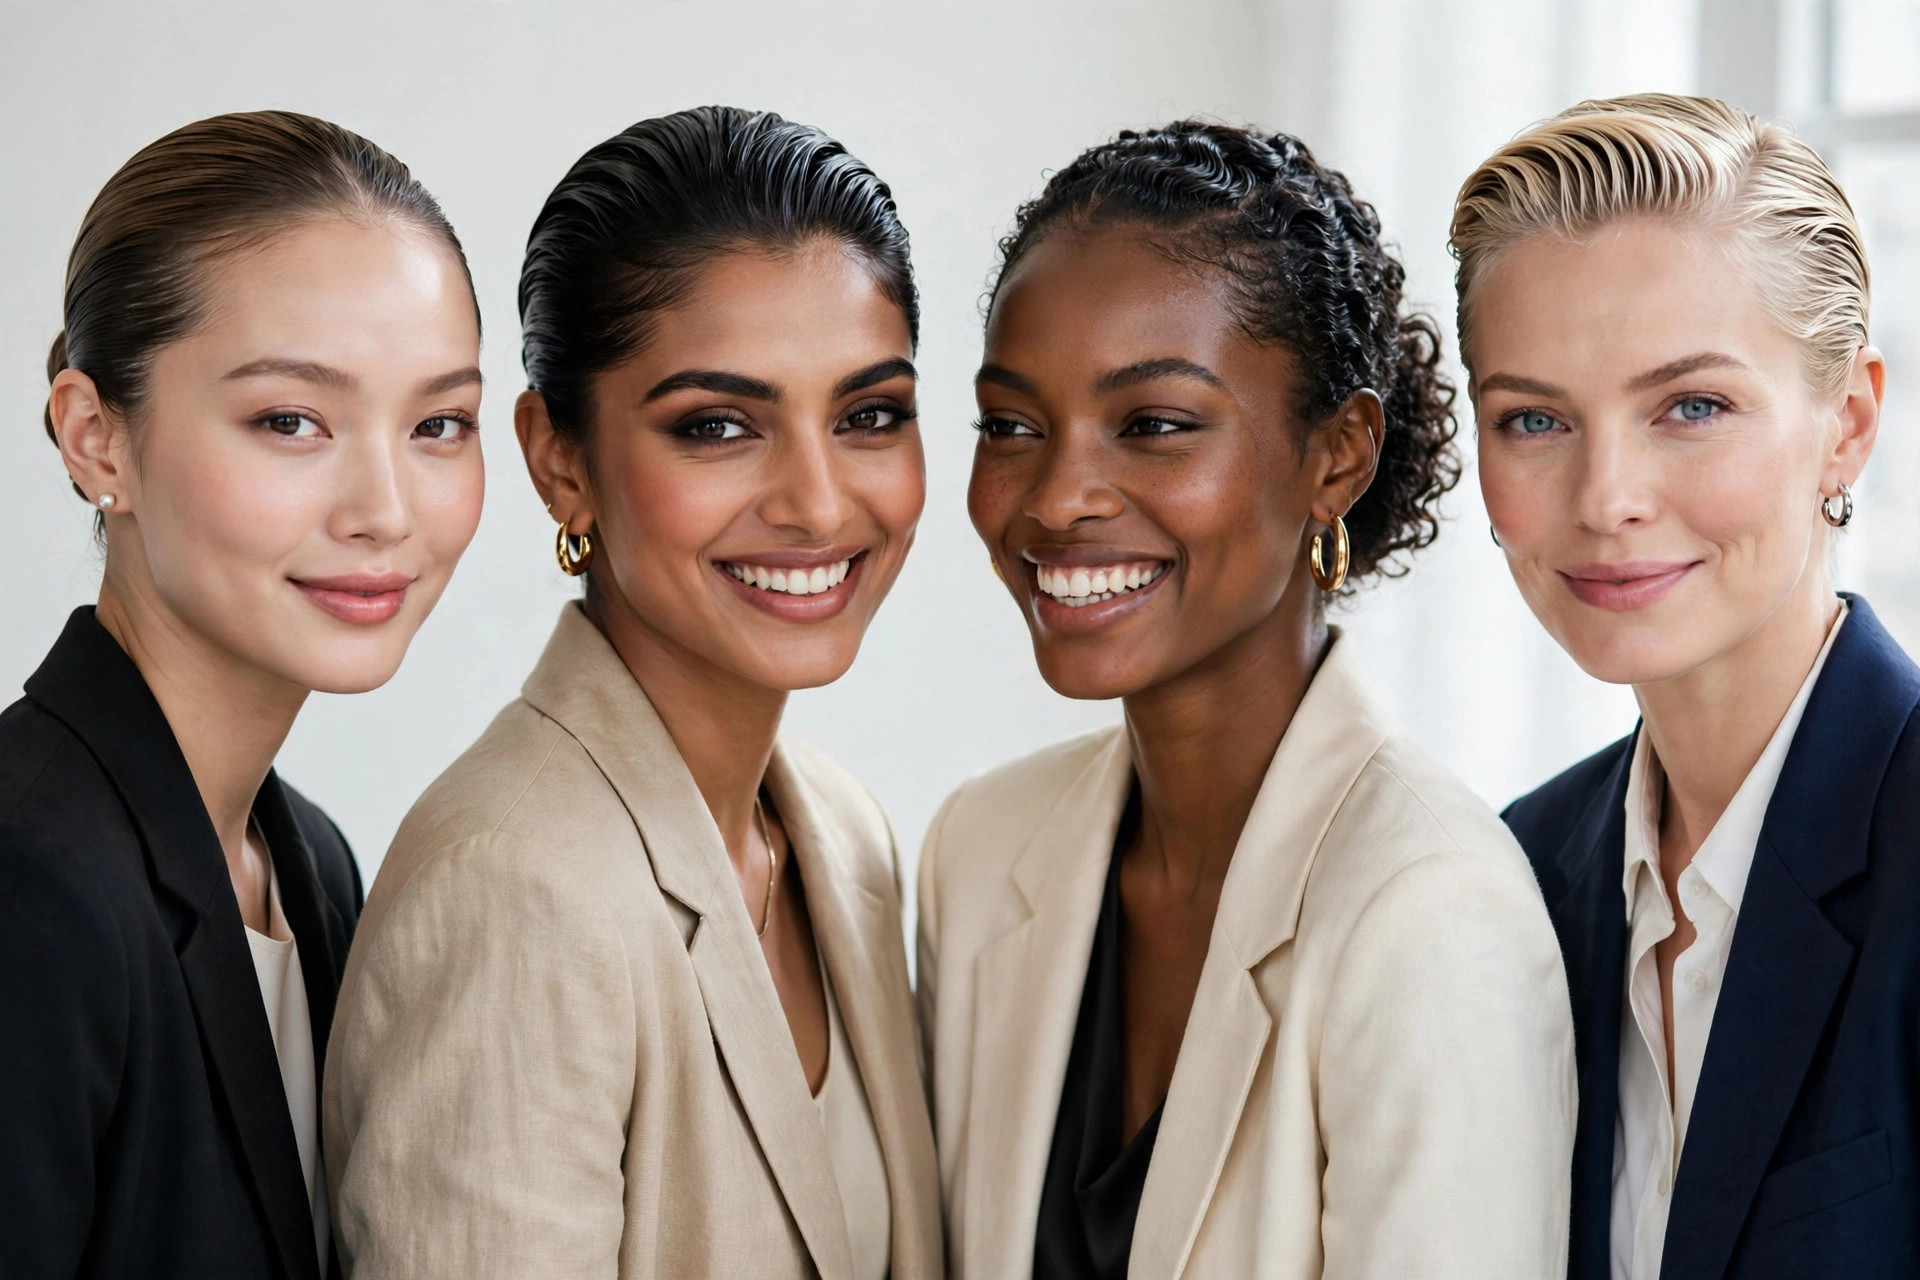
Can Tight Updos Damage Your Hair?
Worn occasionally, no – but daily tight updos can cause traction alopecia, a form of hair loss from sustained pulling at the follicles. The warning signs are tenderness or pain at the hairline, broken hairs around the forehead, and a gradually receding hairline where the style pulls tightest. Dermatologists advise that pain during styling means the style is too tight – loosen it immediately rather than powering through. A science explainer on hairstyles and hair loss details how prolonged tension damages follicles and why alternating styles matters.
Protect your hair with five habits. First, never sleep in a tight updo – take it down and sleep with hair loose or in a loose braid. Second, vary your part and bun position; wearing the identical tight bun in the identical spot daily concentrates stress on the same follicles. Third, keep styles snug, not painful – you should be able to wiggle a fingertip under the elastic. Fourth, give your hair full down-days between updo days, especially if you wear them for work. Fifth, use fabric-covered elastics and silk scrunchies rather than thin rubber bands, which snap hair.
The ten-minute party updos in this guide are designed for occasional wear – a few evenings a month – which is well within safe limits for healthy hair. If you already notice thinning at the hairline, choose the loosest variation (low chignon with face-framing pieces) and keep wear to a few hours. Healthy styling is about balance: enjoy the polished looks, then let your hair rest.
Which Updo Should You Choose for Each Occasion?
Match the style to the event’s formality and your outfit’s neckline. For black-tie and formal galas, the low chignon is the gold standard – its nape position pairs perfectly with open-back dresses, high necklines, and statement earrings, and it reads timeless in photos. For cocktail parties and holiday gatherings, the classic slicked-back bun or twisted French twist hits the sweet spot of polished but not stuffy; both work with cocktail dresses and jumpsuits.
For work events and professional dinners, choose the low chignon or a sleek low ponytail variation – polished, understated, and boardroom-appropriate. For date nights, the twisted French twist or a slightly softened slicked-back bun with face-framing pieces feels romantic without trying too hard. For nights out with friends, concerts, or fashion events, go bold: the polished top knot or sleek high ponytail makes a statement and shows off your outfit’s neckline and shoulders. When the dress code is unclear, the classic mid-head slicked-back bun is the safest choice – it reads appropriately everywhere from offices to weddings.
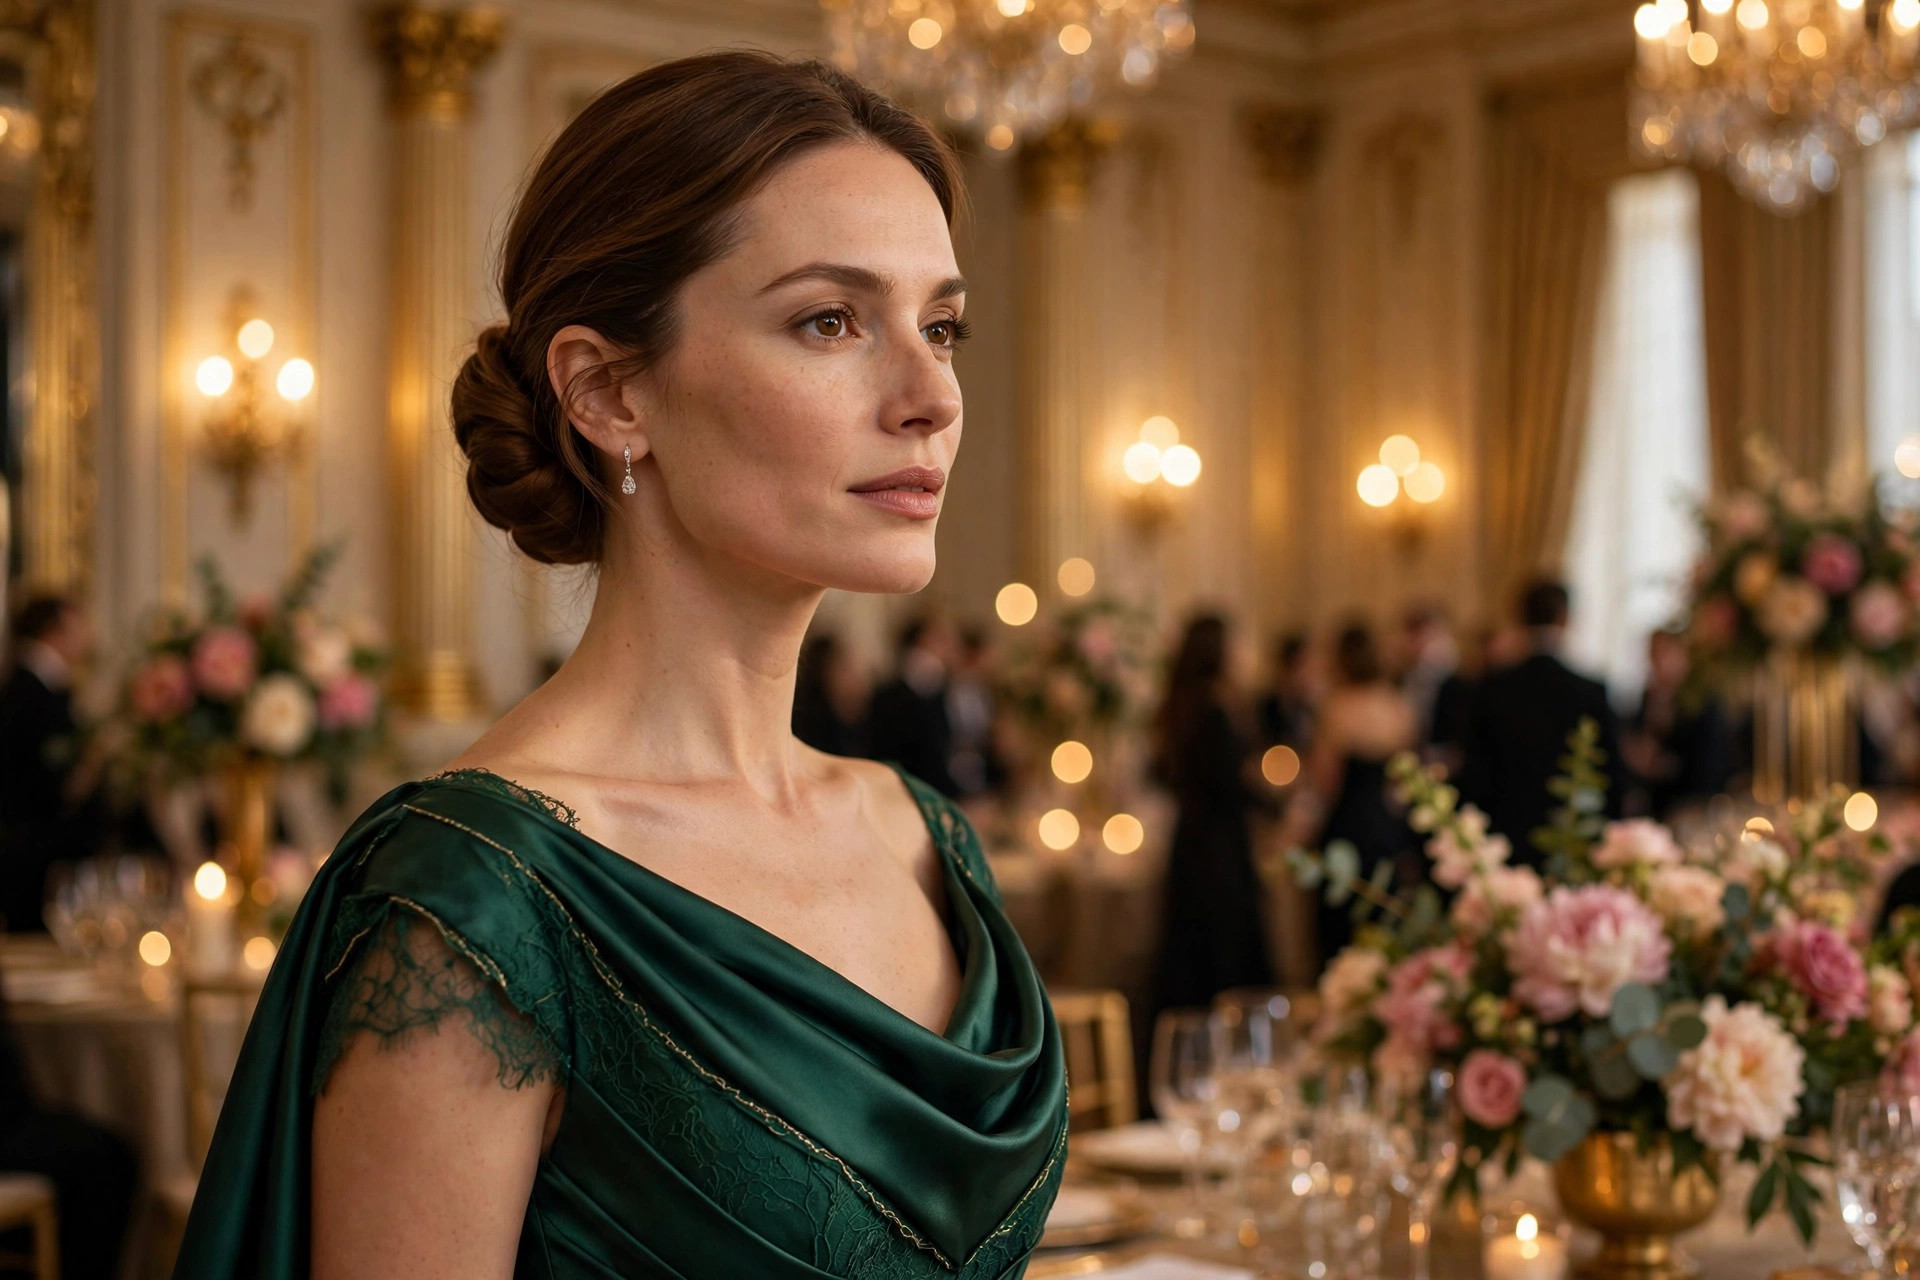
Consider practical factors too. Outdoor events call for the braided crown bun – wind-resistant and secure for hours. Events involving dancing favor the classic slicked-back bun or braided crown, both pinned for movement. If you will be photographed heavily (weddings, galas), the sleek high ponytail and polished top knot photograph dramatically from every angle, while the chignon looks best from the front and three-quarter views. And for events where you will be hugging people all night, lower styles survive embraces better than high ones – a top knot takes direct hits.
Time your choice to your schedule as well. If you have a full hour to get ready, any style works. If you are doing hair in a car or office bathroom (we have all been there), the polished top knot and sleek high ponytail are the most forgiving – they look intentional even when done fast, while the French twist punishes rushing. Keep a mini kit in your bag for touch-ups: two bobby pins, a travel hairspray, and a folded tissue for blotting shine. These three items fix nearly every mid-event updo emergency in under a minute, so the style you left home with is the style you bring back.
How Do You Fix Common Updo Problems?
Bumps on the crown: The most common complaint. Fix before pinning the bun by smoothing with a fine-tooth comb and a dab of gel, brushing from the hairline toward the ponytail base. If bumps appear after the bun is done, slide a bobby pin under the bump to anchor the loose section flat rather than re-brushing the whole head.
Flyaways and frizz halo: Usually means too little product or the wrong product. Apply gel to dry hair before brushing (not after), use the boar bristle brush as your final pass, and finish with hairspray. For persistent baby hairs, a clean mascara spoolie with edge control lays them flat. In humid weather, an anti-humidity spray as your final step prevents the halo from returning within the hour.
Bun sagging or tilting: Almost always a weak foundation. Take the bun down and redo the ponytail base tighter – wrap the elastic one more time and check that it does not rotate when you tug it. When re-coiling, pin into the elastic base itself, not just into the hair around it. For heavy hair, add a second elastic or use a bun maker as an internal scaffold.
Style looks too severe or scraped: Loosen the coil slightly with your fingertips, pull out two face-framing pieces, or switch from a center scrape to a soft side part. A tiny bit of volume at the crown – achieved by gently pulling the hair upward at the crown before securing – takes the harshness out instantly.
Headache from tension: Your style is too tight, full stop. Take it down, massage your scalp for a minute, and redo it one notch looser – the style should feel secure, never painful. If you get headaches from updos regularly, choose the low chignon (least tension of the six) and avoid wearing any updo for more than 6-8 hours.
Style falls flat by evening: This is usually product failure, not technique failure. Strong-hold gel (not medium) for the base, light-hold hairspray to set (not heavy, which weighs hair down over hours), and a mid-event touch-up: excuse yourself to the restroom, smooth the surface with damp hands, add one pin where needed, and mist lightly. Two minutes restores the first-hour look.

Frequently Asked Questions
1. How long does a slicked-back bun take?
The classic slicked-back bun takes 8-10 minutes once you know the technique: 2 minutes prep and product, 2 minutes brushing smooth, 1 minute securing the ponytail, 2 minutes forming and pinning the bun, and 1-2 minutes finishing with hairspray. Your first attempt may take 15 minutes; by the third try most people hit the 10-minute mark. The polished top knot is fastest at 7 minutes, while the braided crown bun takes 10-12 minutes. Practice on a low-stakes day first – learning a new updo 20 minutes before an event is a recipe for frustration.
2. What hair length do you need for a slicked-back bun?
Shoulder-length hair (about 10-12 inches) is the practical minimum for a true coiled bun. Chin-to-shoulder hair can do a low chignon or French-pinned bun using the tuck-and-pin method rather than coiling. Very short pixie cuts cannot bun, but can do a slicked-back style with gel and pins for the same polished effect. Hair past the shoulders has the easiest time with all six styles in this guide. When in doubt, try the low chignon first – its nape position is reachable at the shortest lengths of any bun style.
3. How do you keep a slicked-back bun from falling out?
Three things: a genuinely tight ponytail base (wrap the elastic 3-4 times), enough pins (4-6 minimum, crisscrossed at stress points), and the right products (gel before styling, light hairspray after). Start with day-old hair for natural grip, or add texturizing powder to freshly washed hair. If your bun still sags, the usual culprit is a loose base ponytail – redo the foundation tighter rather than adding more pins to a weak base. For very heavy hair, a second elastic wrapped over the first doubles the anchor strength.
4. Should you do a slick bun on clean or dirty hair?
Day-old or second-day hair is ideal – natural oils provide grip that makes smoothing easier and holding stronger. Freshly washed hair is slippery and flyaway-prone; if that is all you have, work texturizing powder or dry shampoo through the roots and a little extra gel through the lengths before brushing back. Avoid heavy conditioner on updo days, since over-conditioned hair resists holding a style. Third-day hair works too and actually gives the best grip of all – just refresh the roots with dry shampoo first so the style looks clean rather than oily at the part line.
5. What face shapes suit a slicked-back bun?
Oval, heart, and square face shapes suit the fully slicked look best, since pulling everything back showcases balanced proportions and strong bone structure. Round faces can wear it too – add height at the crown (a slightly higher bun) and leave two face-framing pieces out to elongate. Long faces should choose a lower bun position (nape chignon) rather than a high top knot, which adds unwanted vertical length. Diamond face shapes look beautiful with a side-parted slick-back, which softens the angles of the cheekbones.
6. How do you slick back short or layered hair without pieces falling out?
Use more product at the roots, choose a low bun position that shorter layers can reach, and pin aggressively – 6-8 bobby pins for short hair versus 4-6 for long. Twist and French-pin the ends under instead of coiling, since short ends will not wrap neatly. A strong-hold gel plus a final mist of hairspray, with a touch-up kit (2 pins and a travel hairspray) in your bag, handles the few escapees that appear during the evening.
7. Can you do a slicked-back bun with curly hair?
Yes, and it looks stunning. For the sleekest result, stretch curls first with a blow-dryer on medium heat or overnight banding, then slick the lengths smooth with gel. For a faster textured version, slick the front and crown smooth with gel and edge control, gather into a ponytail, and let the bun itself stay curly – the contrast between sleek roots and a voluminous curly bun is a gorgeous, intentional look. Use a silk scrunchie as your base to protect curls from breakage. Type 4 coils may need a heavier gel and the banding method for the smoothest finish, while looser curl patterns often slick down easily with medium-hold gel alone.
8. What is the difference between a bun and a chignon?
A bun sits as a compact coil, usually at the crown or mid-head, with a neat rounded shape. A chignon sits low at the nape, coiled flatter and often slightly looser, with a softer, more romantic silhouette. The chignon reads more formal and elegant; the bun reads more modern and versatile. Both use the same pinning technique – the difference is purely position and tension. In practice, “chignon” is also used loosely for any low, elegant bun, so do not worry about the terminology police – pick the position that suits your event.
9. How do you make a slicked-back bun look less severe?
Soften it four ways: leave two thin face-framing pieces out and curl them lightly, choose a low chignon position instead of a high tight bun, pull the coil slightly looser with your fingertips after pinning for softness, and pair it with soft makeup (glowy skin, neutral lip) rather than sharp contouring. A middle part with the hair slicked back also reads softer than a scraped-back hairline. The goal is polished, not pulled – and a single spritz of shine spray over the finished style adds a soft-focus glow that takes the edge off.
10. Will wearing slicked-back buns cause hair loss?
Occasional wear is safe for healthy hair. Problems arise from daily tight updos worn for months, which can cause traction alopecia – hair loss from sustained follicle tension. Warning signs include scalp tenderness, broken hairs at the hairline, and gradual thinning where the style pulls. Prevent it by varying your styles, keeping tension snug rather than painful, never sleeping in updos, and giving your hair down-days between styled days. If you notice early thinning, switch to looser styles for a few months – caught early, traction-related thinning is usually reversible.