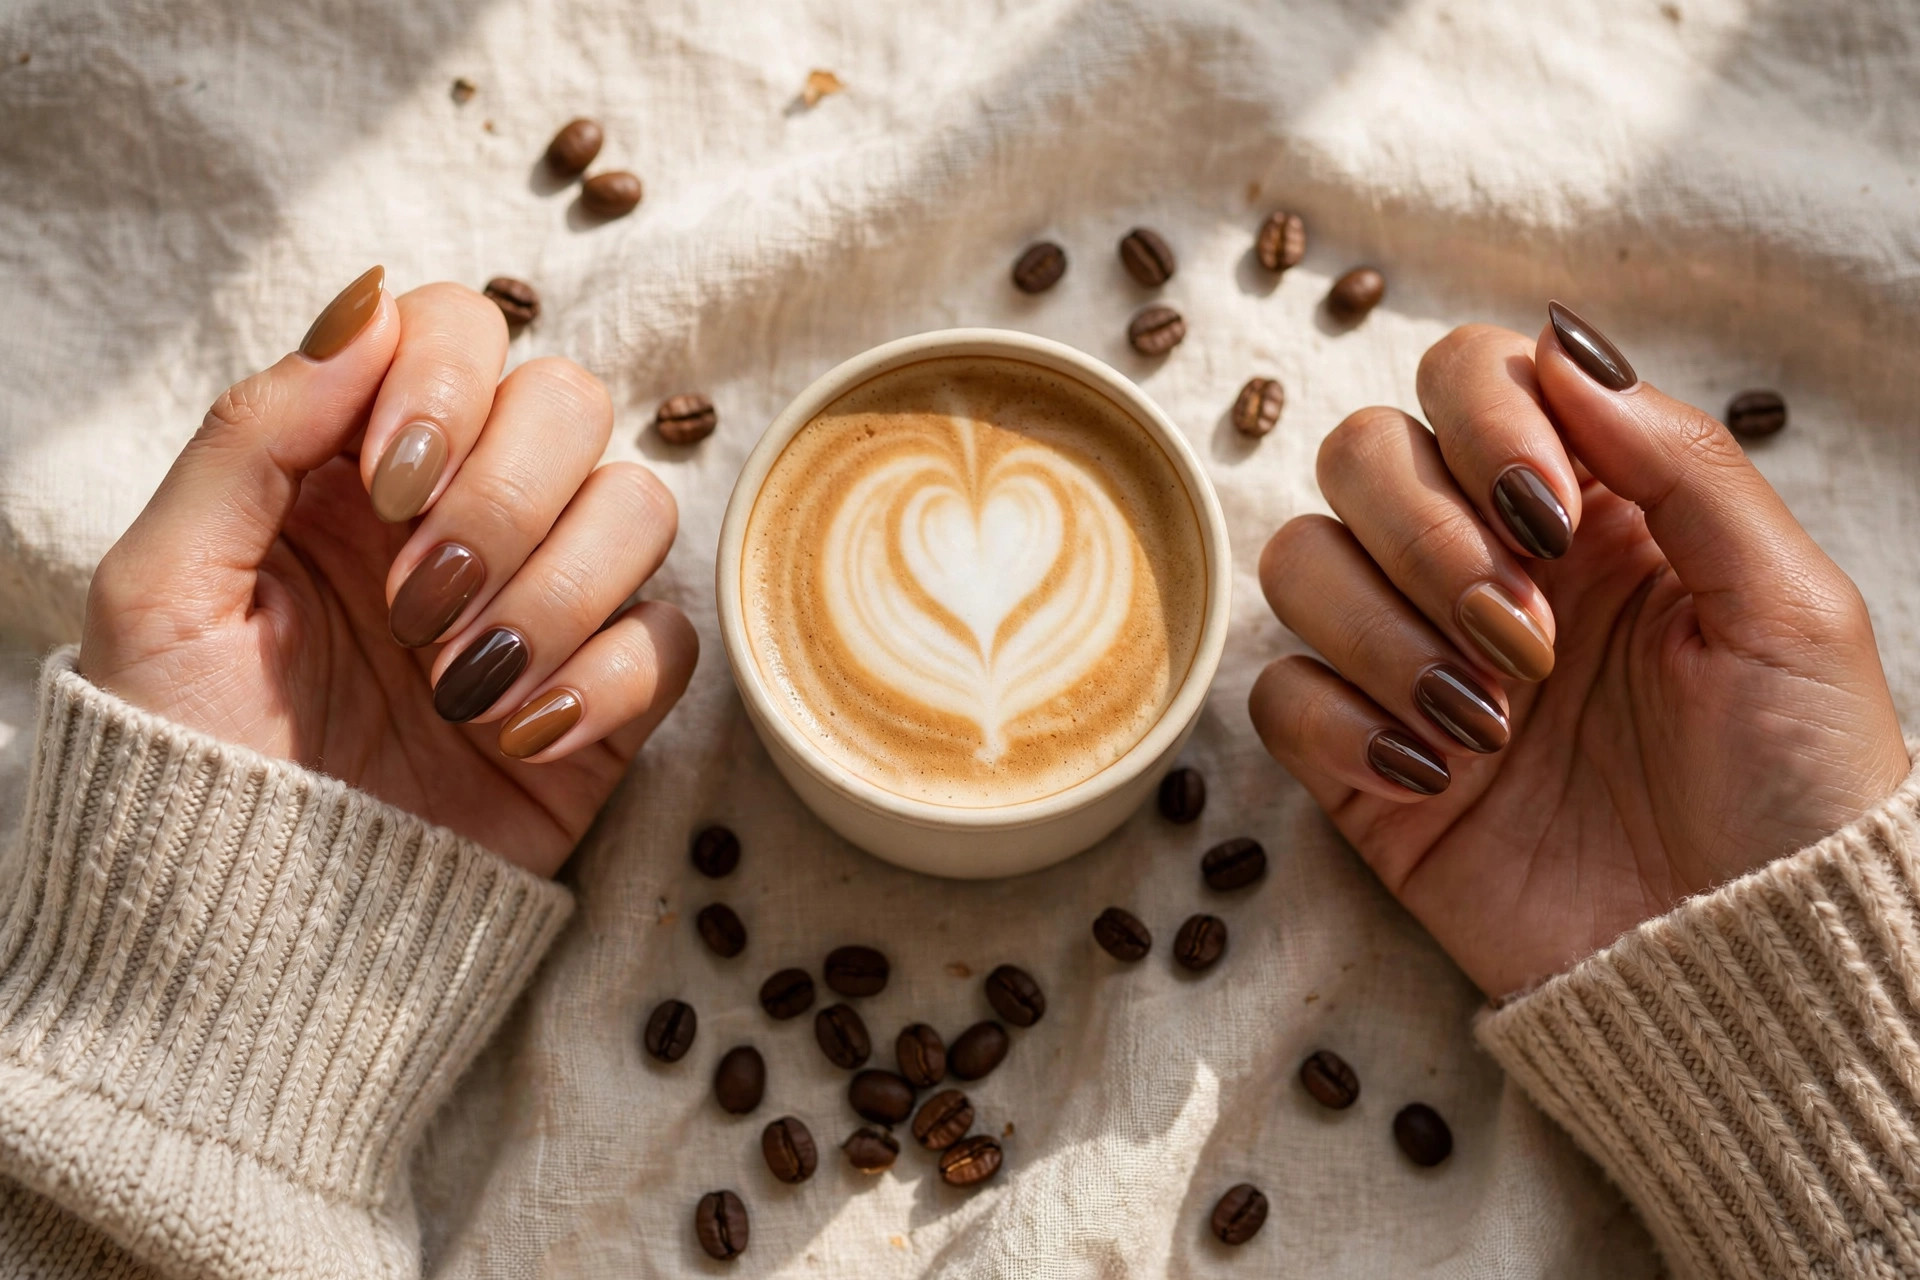
Latte Nails: 25 Caramel, Coffee & Chocolate Nail Designs
If your nail inspiration board is currently full of creamy browns, warm caramels, and glossy chocolate tones, you are right on trend: latte nails – manicures built around coffee-inspired neutrals from milky caramel to deep espresso – are the defining winter nail look, and they flatter every skin tone without the maintenance headache of dark gothic shades. Whether you want a simple caramel gloss or a full set of 3D latte art, this guide gives you 25 designs across four tone families, each with a mini how-to, plus swatch guidance so you pick the right brown the first time. Every design includes a difficulty rating and time estimate, so you can match the art to your skill level and your schedule.
Latte nails are nail designs built on a coffee-inspired palette of caramel, coffee, chocolate, and espresso tones – warm, creamy browns ranging from light milky nude to deep near-black brown, worn as solid colors, gradients, French tips, swirls, and textured art. The trend is backed by serious search data: Pinterest’s autumn 2026 beauty report found searches for “caramel nude nails” up 943 percent and “coffee nails ideas” up 922 percent, making food-inspired browns one of the season’s biggest nail movements (reported in Pinterest’s autumn beauty trend report). The 25 designs below are organized by tone family so you can shop your polish collection as you read.
What Are Latte Nails?
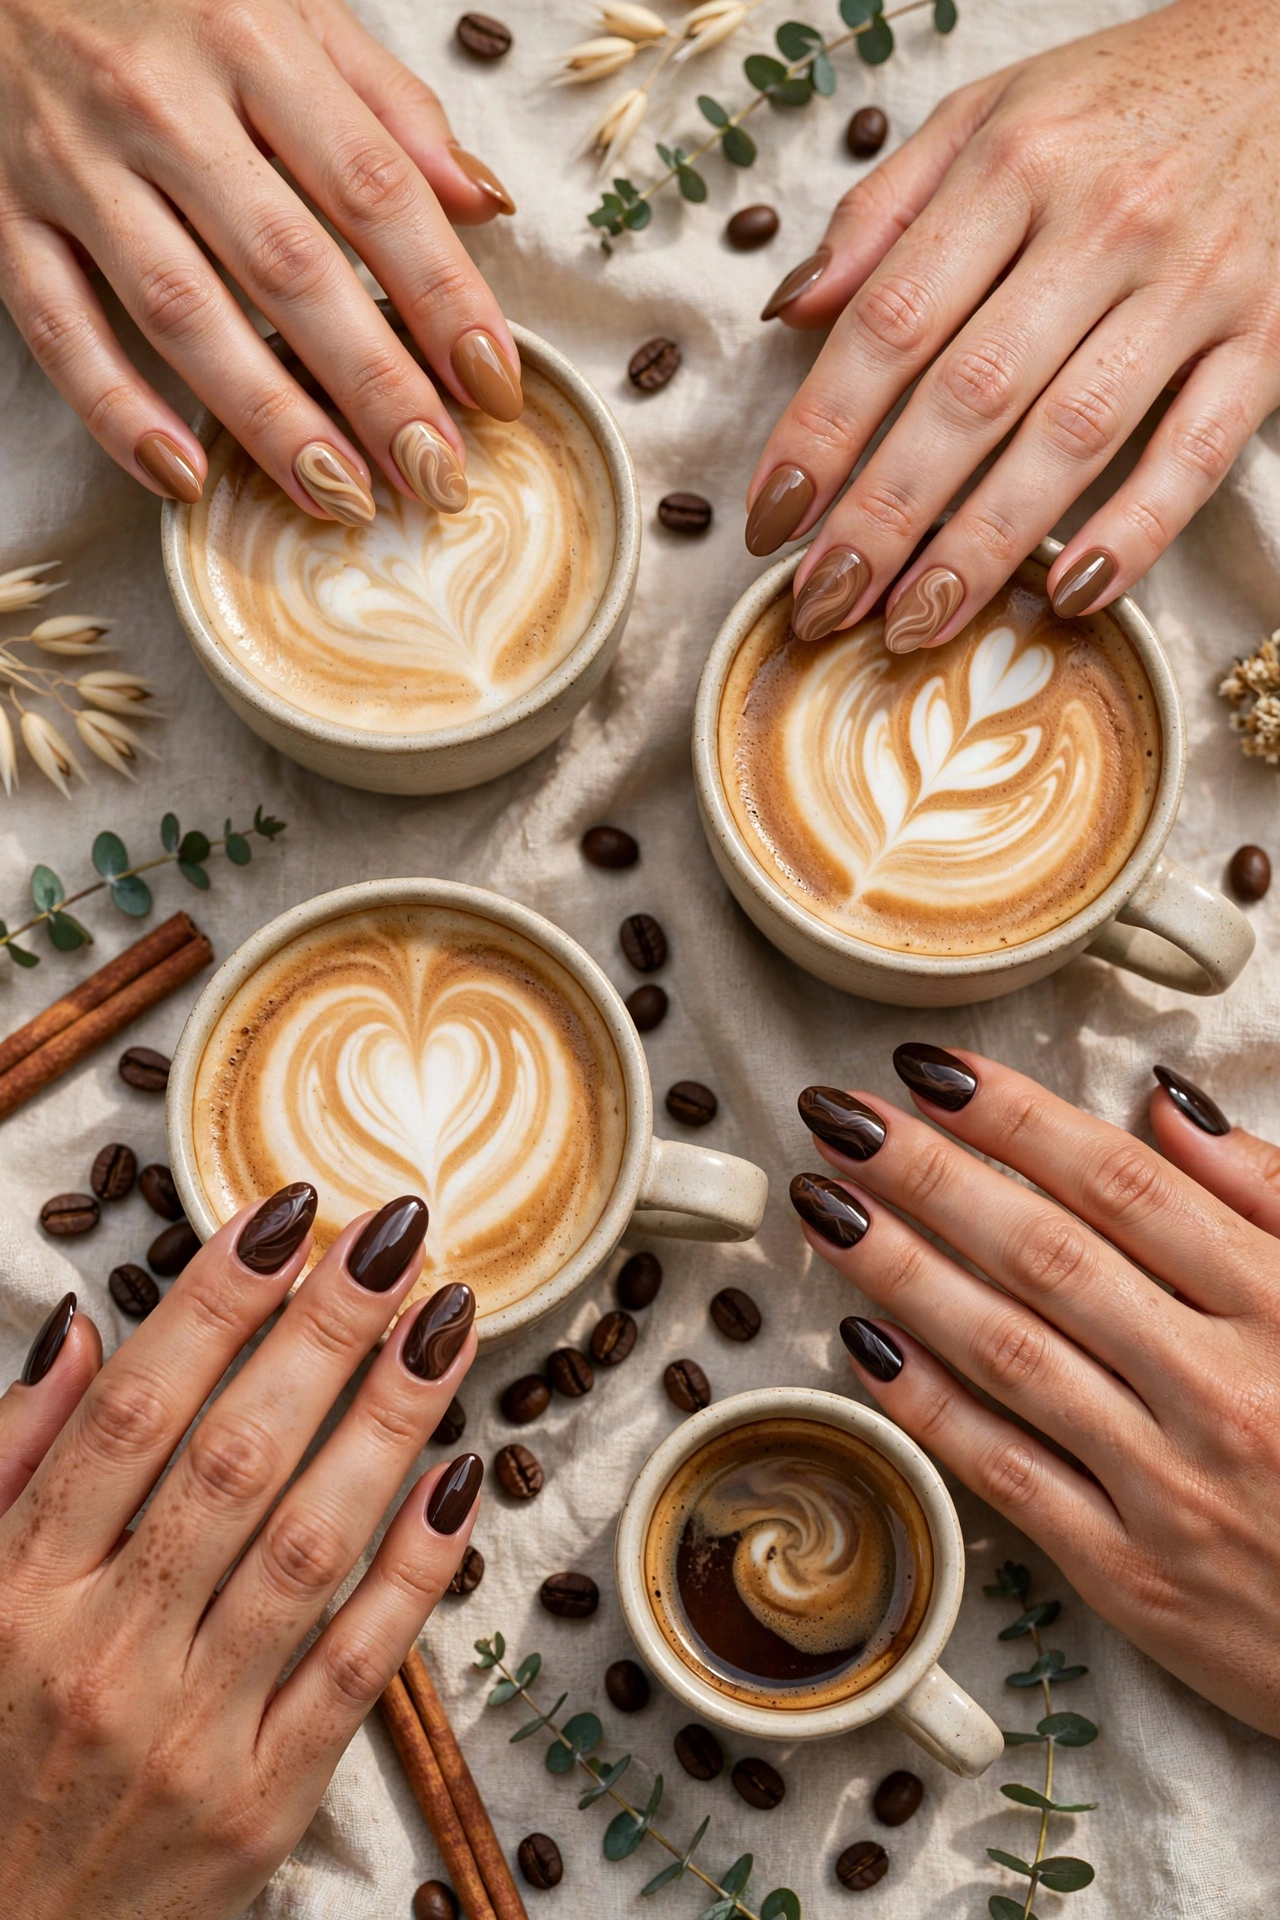
Latte nails translate the colors of coffee drinks into manicure form. The palette runs from pale milky tones (think the foam on a latte) through golden caramel, medium coffee brown, rich chocolate, down to deep espresso – essentially a full gradient of warm browns. What unites them is warmth and creaminess: latte browns have golden, red, or neutral undertones rather than gray or ashy ones, which is why they look rich instead of muddy and why they suit so many skin tones.
The trend grew out of the broader “food-inspired beauty” movement – the same impulse that gave us cherry cola hair, glazed donut skin, and matcha everything. Coffee terminology gives people a precise shorthand for exactly which brown they mean: saying “caramel” versus “espresso” communicates depth instantly in a way “medium brown” never could. And unlike some trends, latte nails are genuinely wearable: the tones are neutral enough for offices, pretty enough for events, and forgiving of chips and regrowth in a way dark shades are not. That versatility is why the trend has lasted multiple seasons instead of flaming out.
Shapes and finishes are flexible. Almond and oval shapes show off the creamy tones beautifully, while short square nails in chocolate brown look modern and chic. Glossy finishes are the default – shine is what makes browns look like latte rather than mud – but matte chocolate and velvet-finish espresso are stunning variations. Most of the 25 designs below work in regular polish, gel, or dip; gel gives the longest wear (2-3 weeks) and the glossiest finish, which matters for this shine-dependent trend. Dip powder is the durability champion at 3-4 weeks and gives the most opaque coverage in deep tones with just one or two dips.
How Do You Pick the Right Latte Shade? (Swatch Guide)
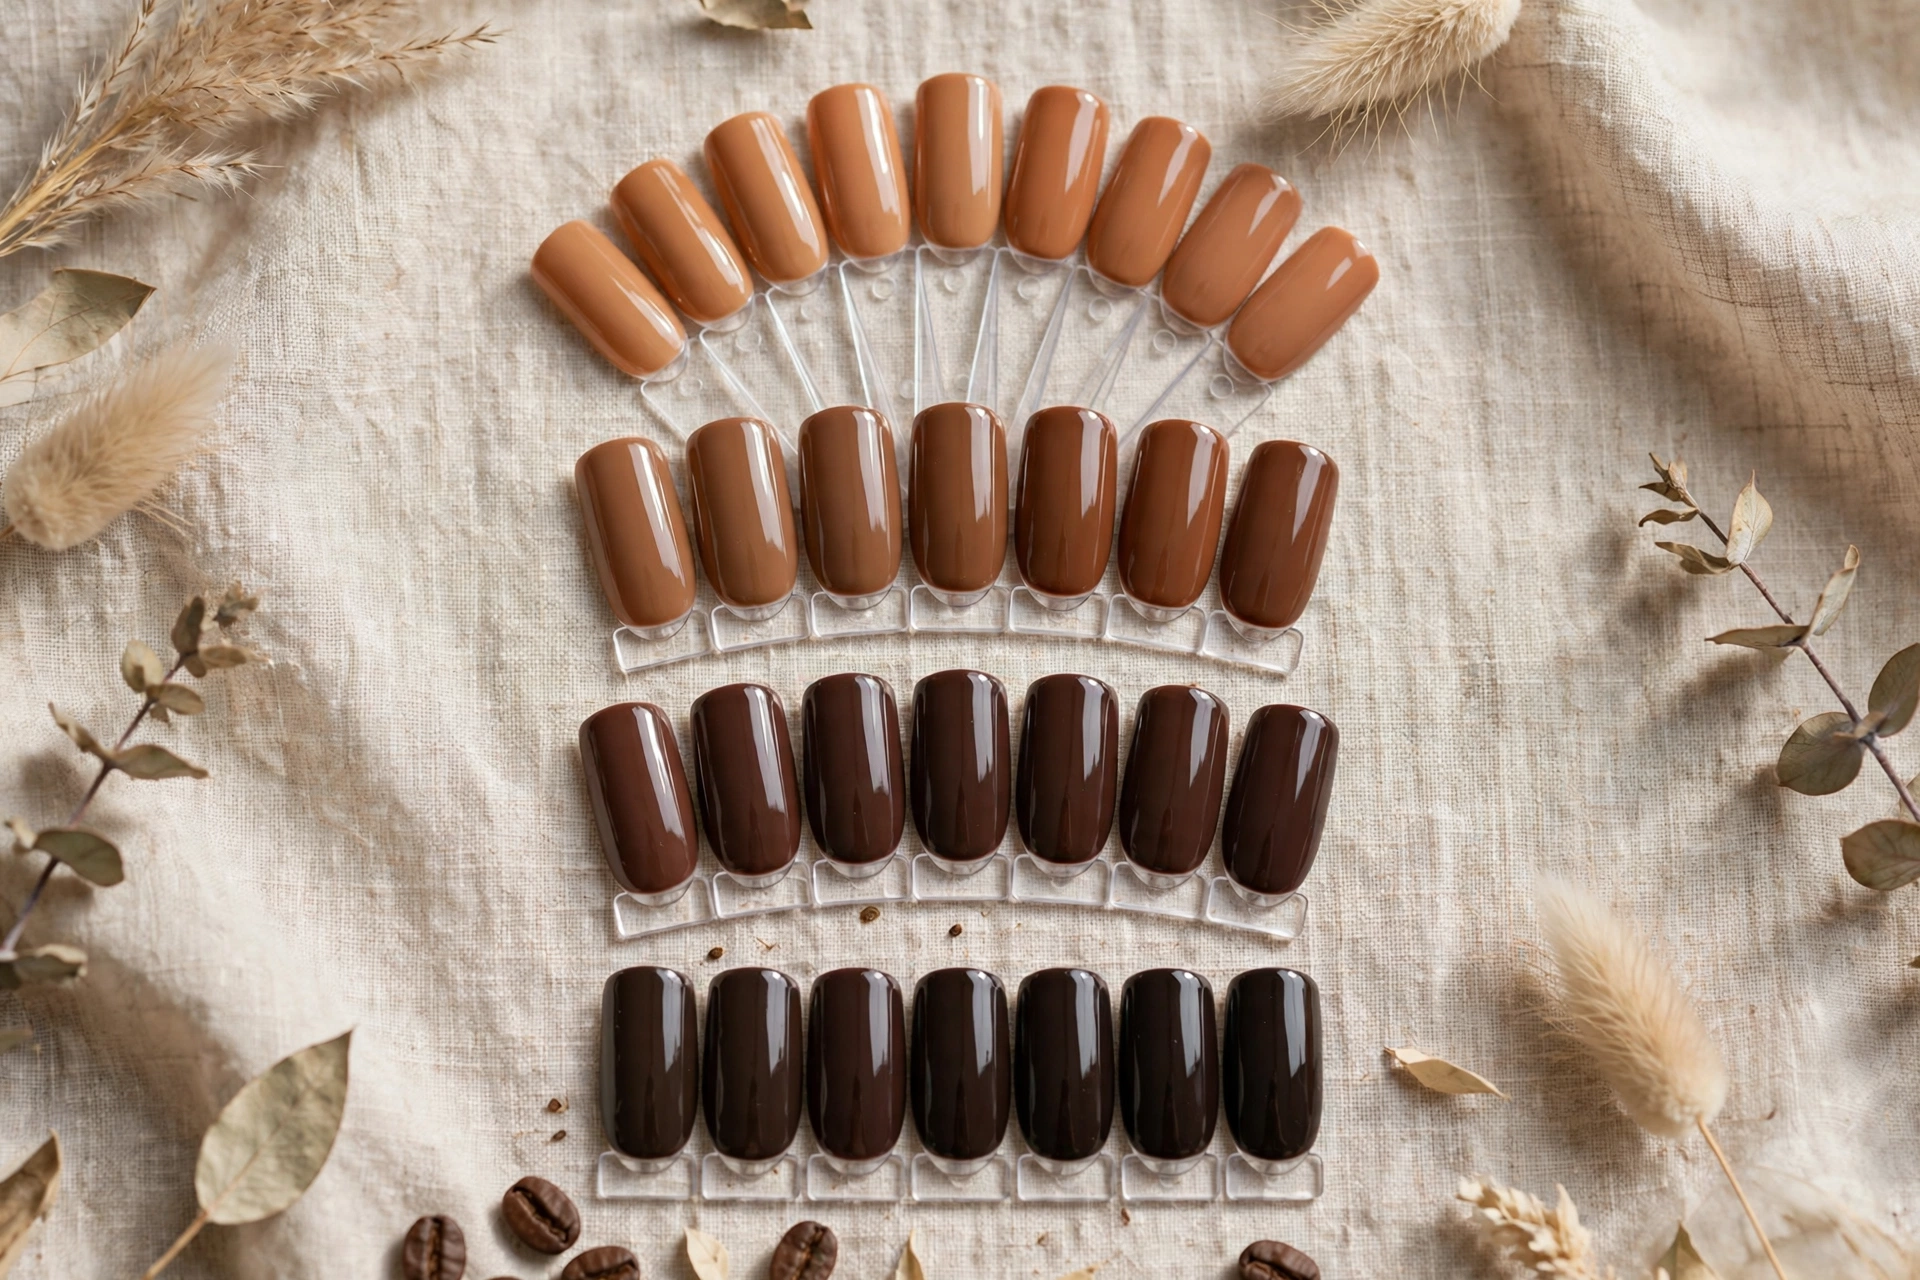
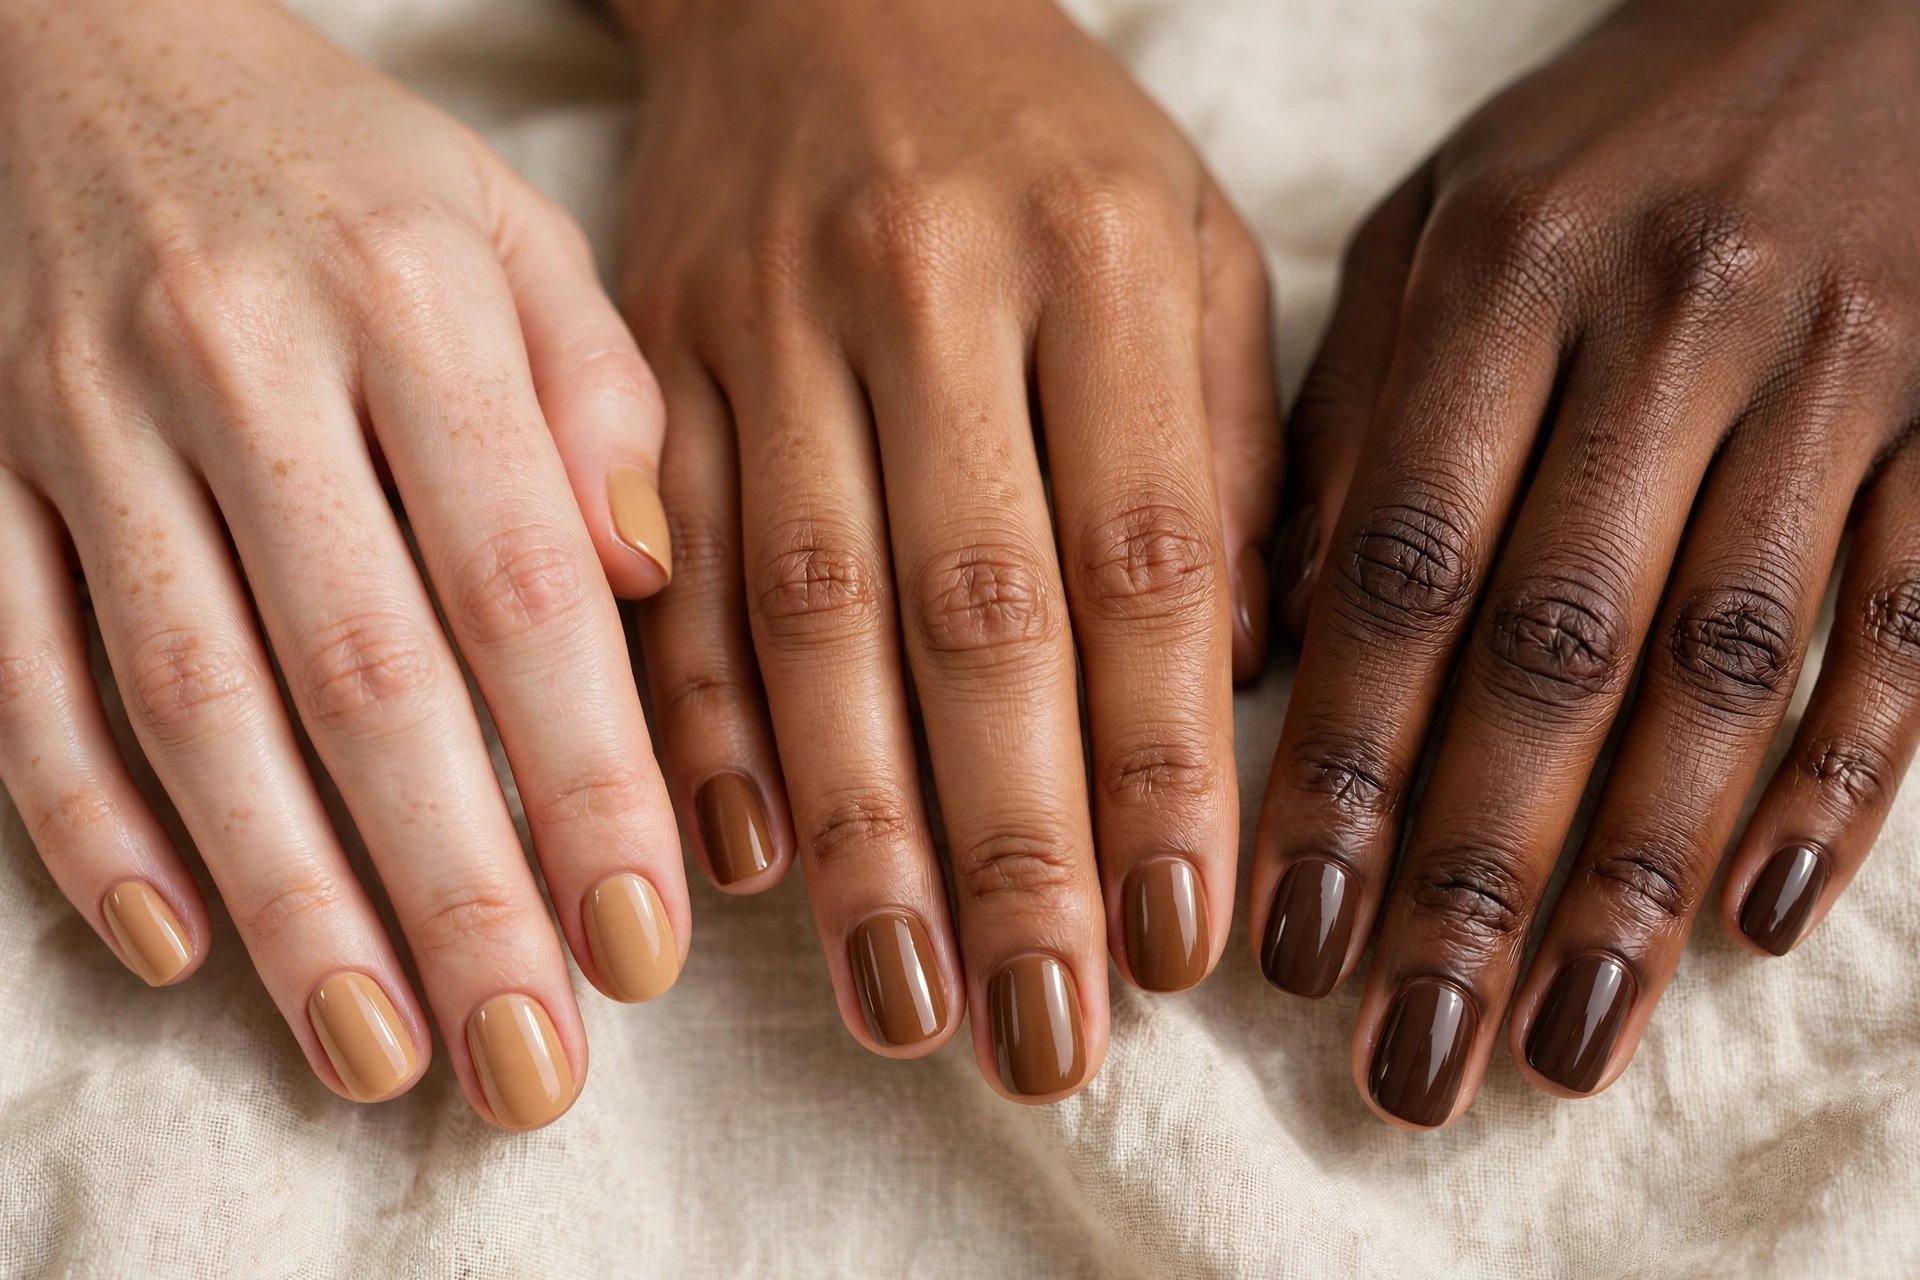
Picking browns is trickier than picking reds because undertones shift dramatically between bottle and nail. The swatch rule: paint two coats on one nail (or a nail wheel) and evaluate in daylight, not store lighting. Here is how the four families break down.
Caramel: golden medium brown with warm yellow-gold undertones, around the depth of a medium skin tone. Caramel suits fair to medium skin beautifully and can wash out very deep skin unless paired with a deeper tone. Look for names with “caramel,” “honey,” “toffee,” or “golden nude.” Caramel is the most-searched latte tone and the best entry point if you have never worn brown nails.
Coffee: true medium brown with neutral-to-warm undertones – the color of milky coffee. Coffee browns suit nearly every skin tone and are the most versatile family. Look for “coffee,” “latte,” “mocha” (lighter), or “cappuccino” names. If you can only buy one latte polish, make it a medium coffee brown.
Chocolate: rich deep brown with red or neutral undertones – dark but clearly brown, not black. Chocolate flatters medium to deep skin tones gorgeously and gives fair skin a striking contrast. Look for “chocolate,” “cocoa,” “truffle,” or “espresso” (lighter espressos overlap here). Chocolate is the most elegant family and the best pick for evening looks.
Espresso: very deep brown, nearly black, with cool or neutral undertones. Espresso suits deep skin tones and gives fair skin a dramatic vamp-adjacent look. Look for “espresso,” “dark chocolate,” or “black coffee” names. Test espresso carefully – on some skin tones it reads as black rather than brown, which changes the whole effect.
A final swatch tip: browns look one shade darker on the nail than in the bottle, so when torn between two, choose the lighter one. And always use a base coat – brown pigments can stain the nail plate yellow, especially the deeper chocolates and espressos. If you are buying online and cannot swatch, check the brand’s swatch photos on different skin tones rather than the bottle photo – reputable brands show real-nail swatches, and those are far more accurate than the bottle color.
25 Latte Nail Designs
Each design includes a mini how-to, difficulty rating, and time estimate. The designs are grouped by tone family – mix families freely for gradient and multi-tone sets.
Caramel Designs (1-6)
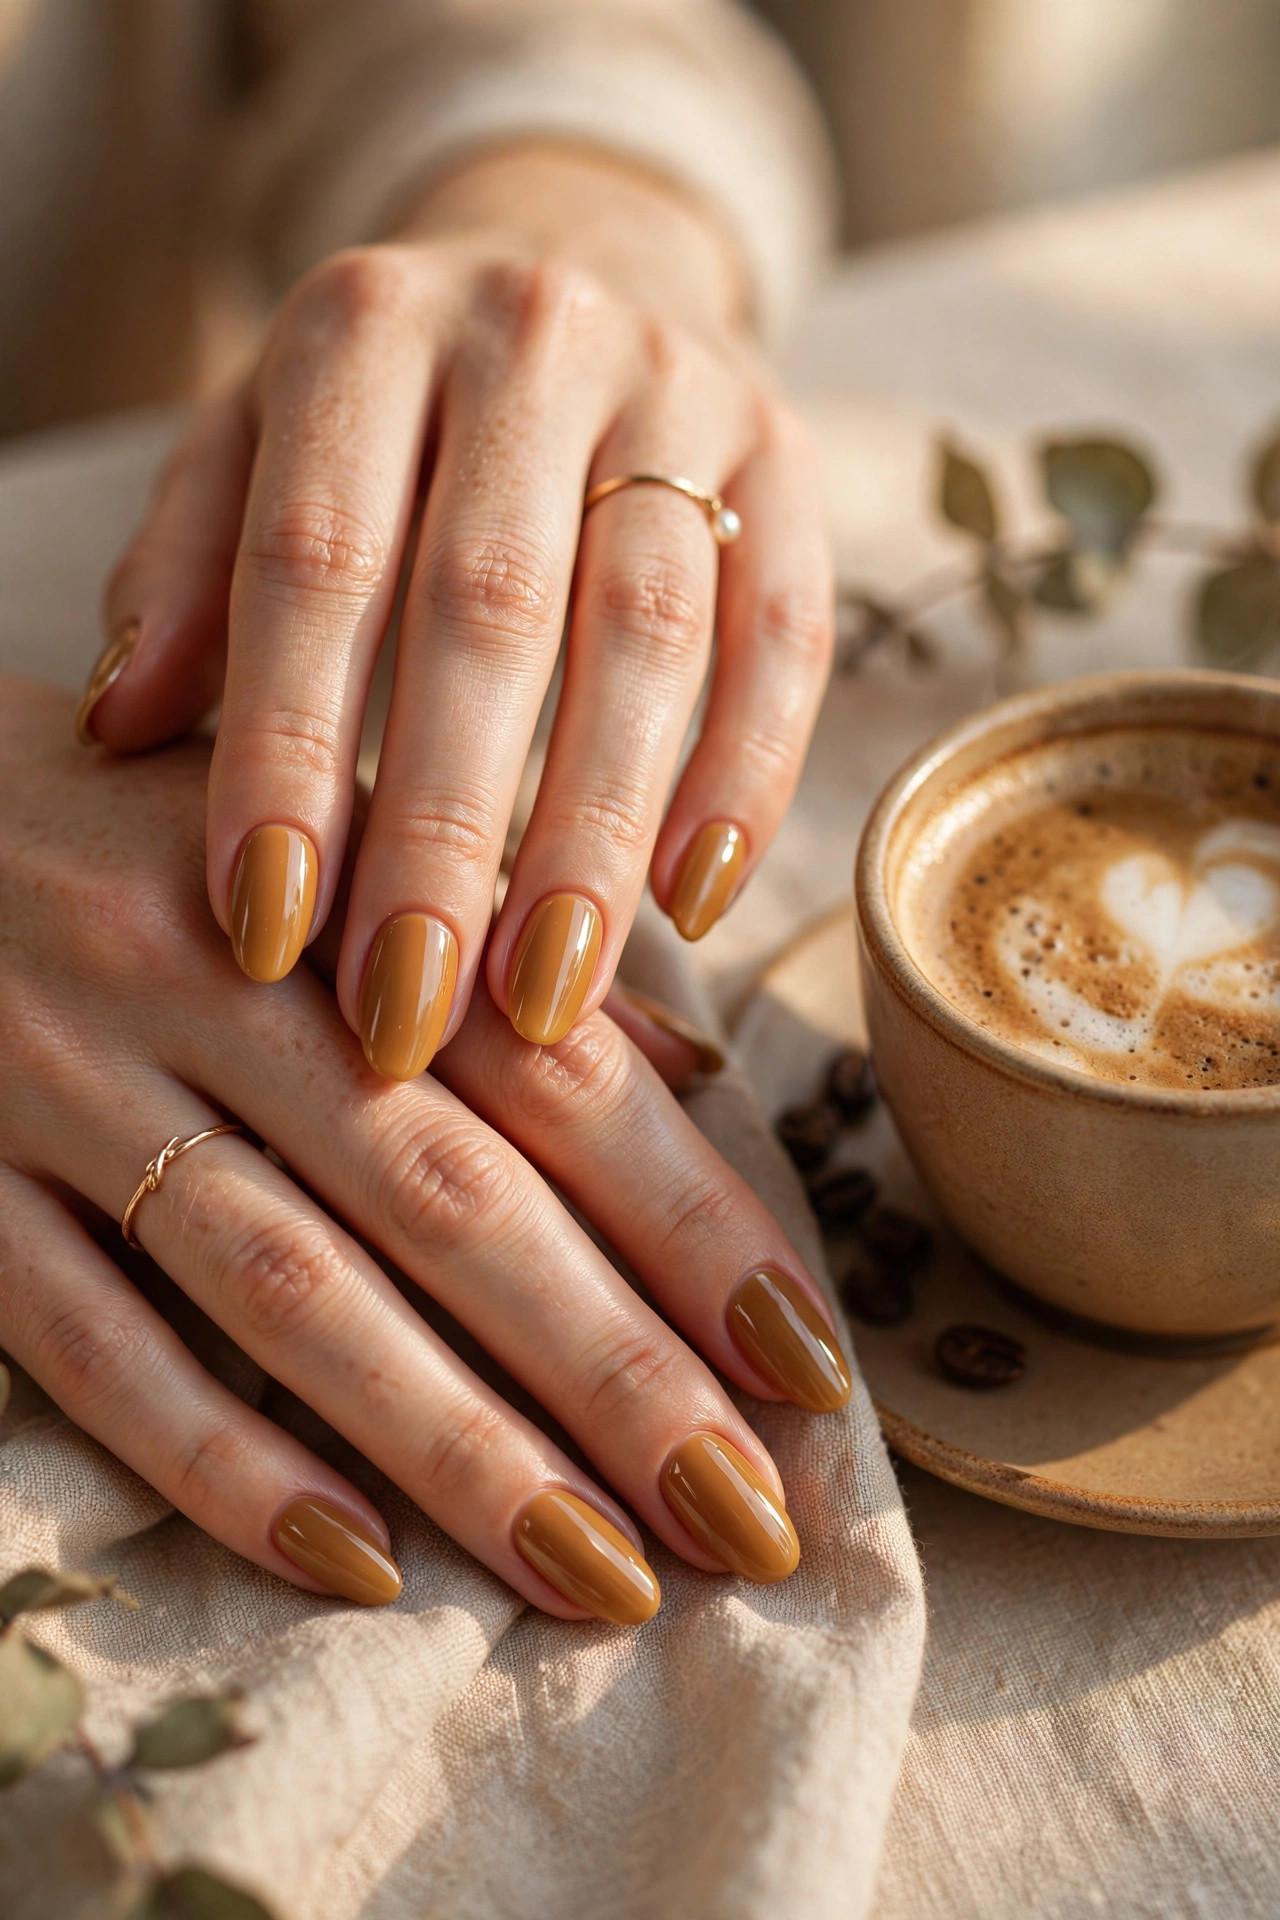
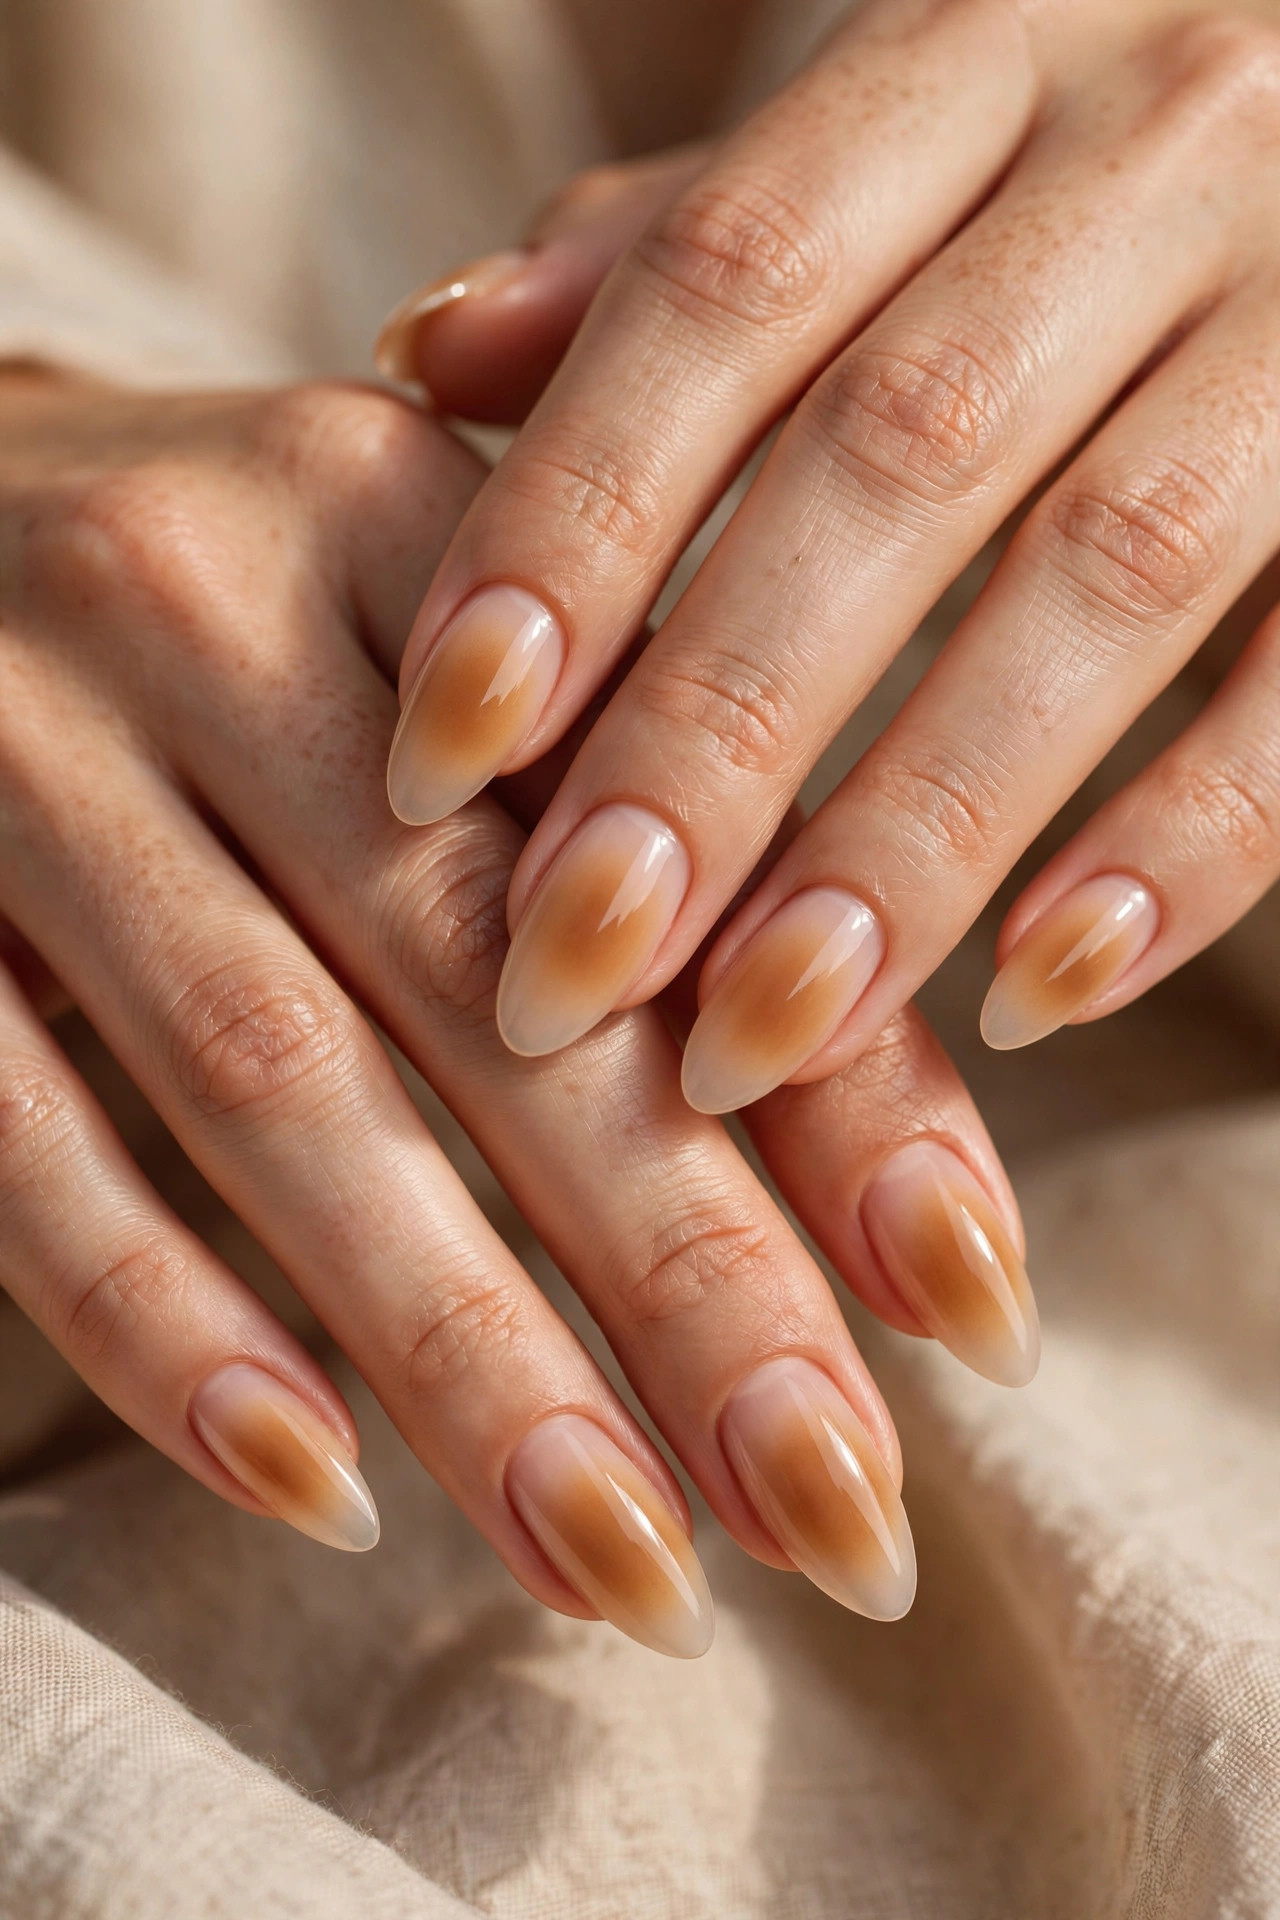
1. Classic Caramel Gloss. Two coats of golden caramel plus high-shine top coat. The simplest latte look and the most wearable – it goes with everything and suits every skin tone that caramel flatters. Apply thin coats to avoid streaking, since warm browns show brush marks more than dark shades. Difficulty: beginner. Time: 15 minutes.
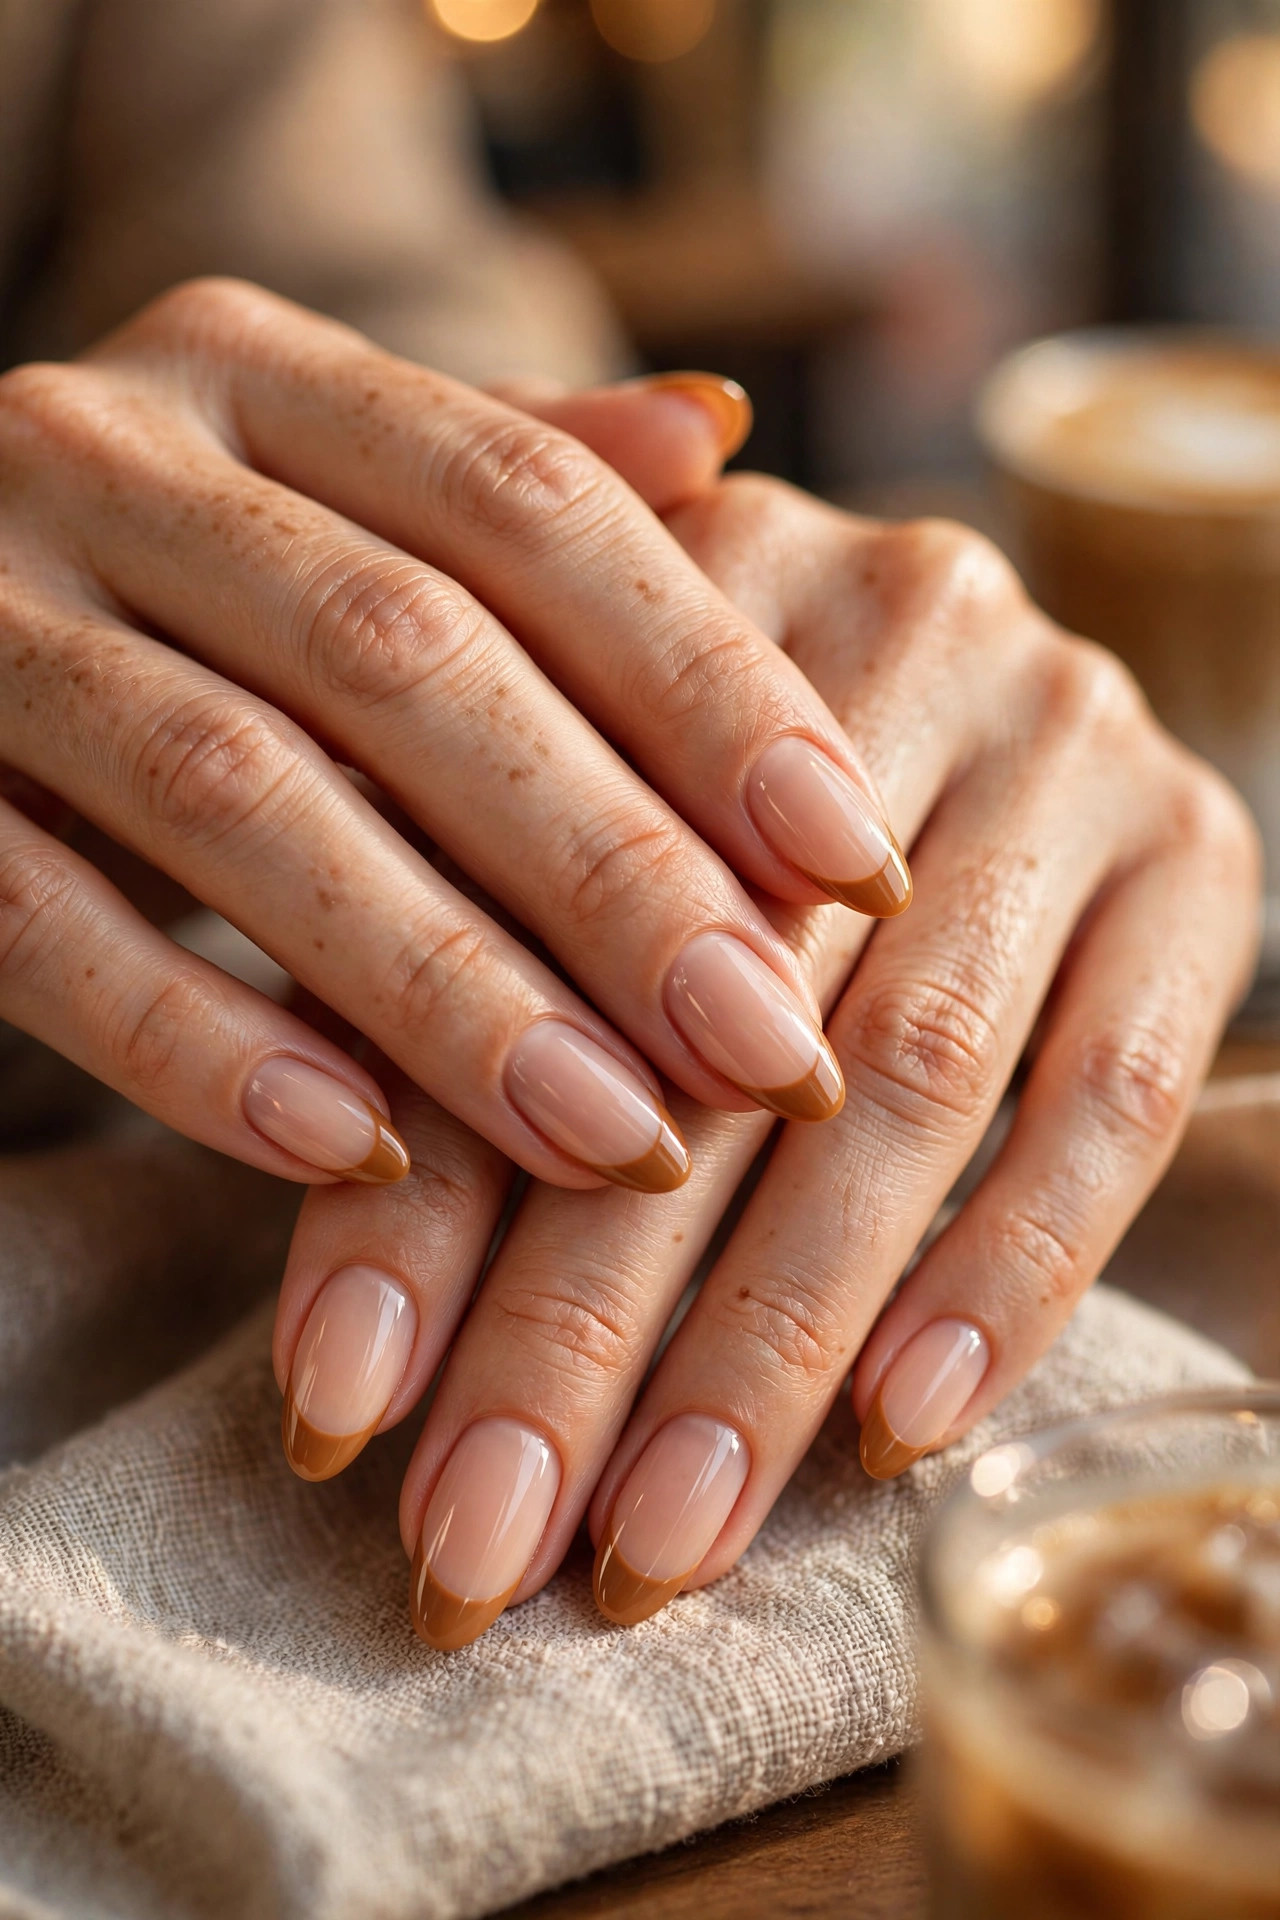
2. Caramel French Tips. Sheer nude base with caramel tips painted freehand or with guides. Softer and more modern than white French, and the warm tips elongate the nail visually. Keep the smile line shallow – a deep curve looks retro, while a slim straight-across tip looks current. Difficulty: easy-intermediate. Time: 25 minutes.
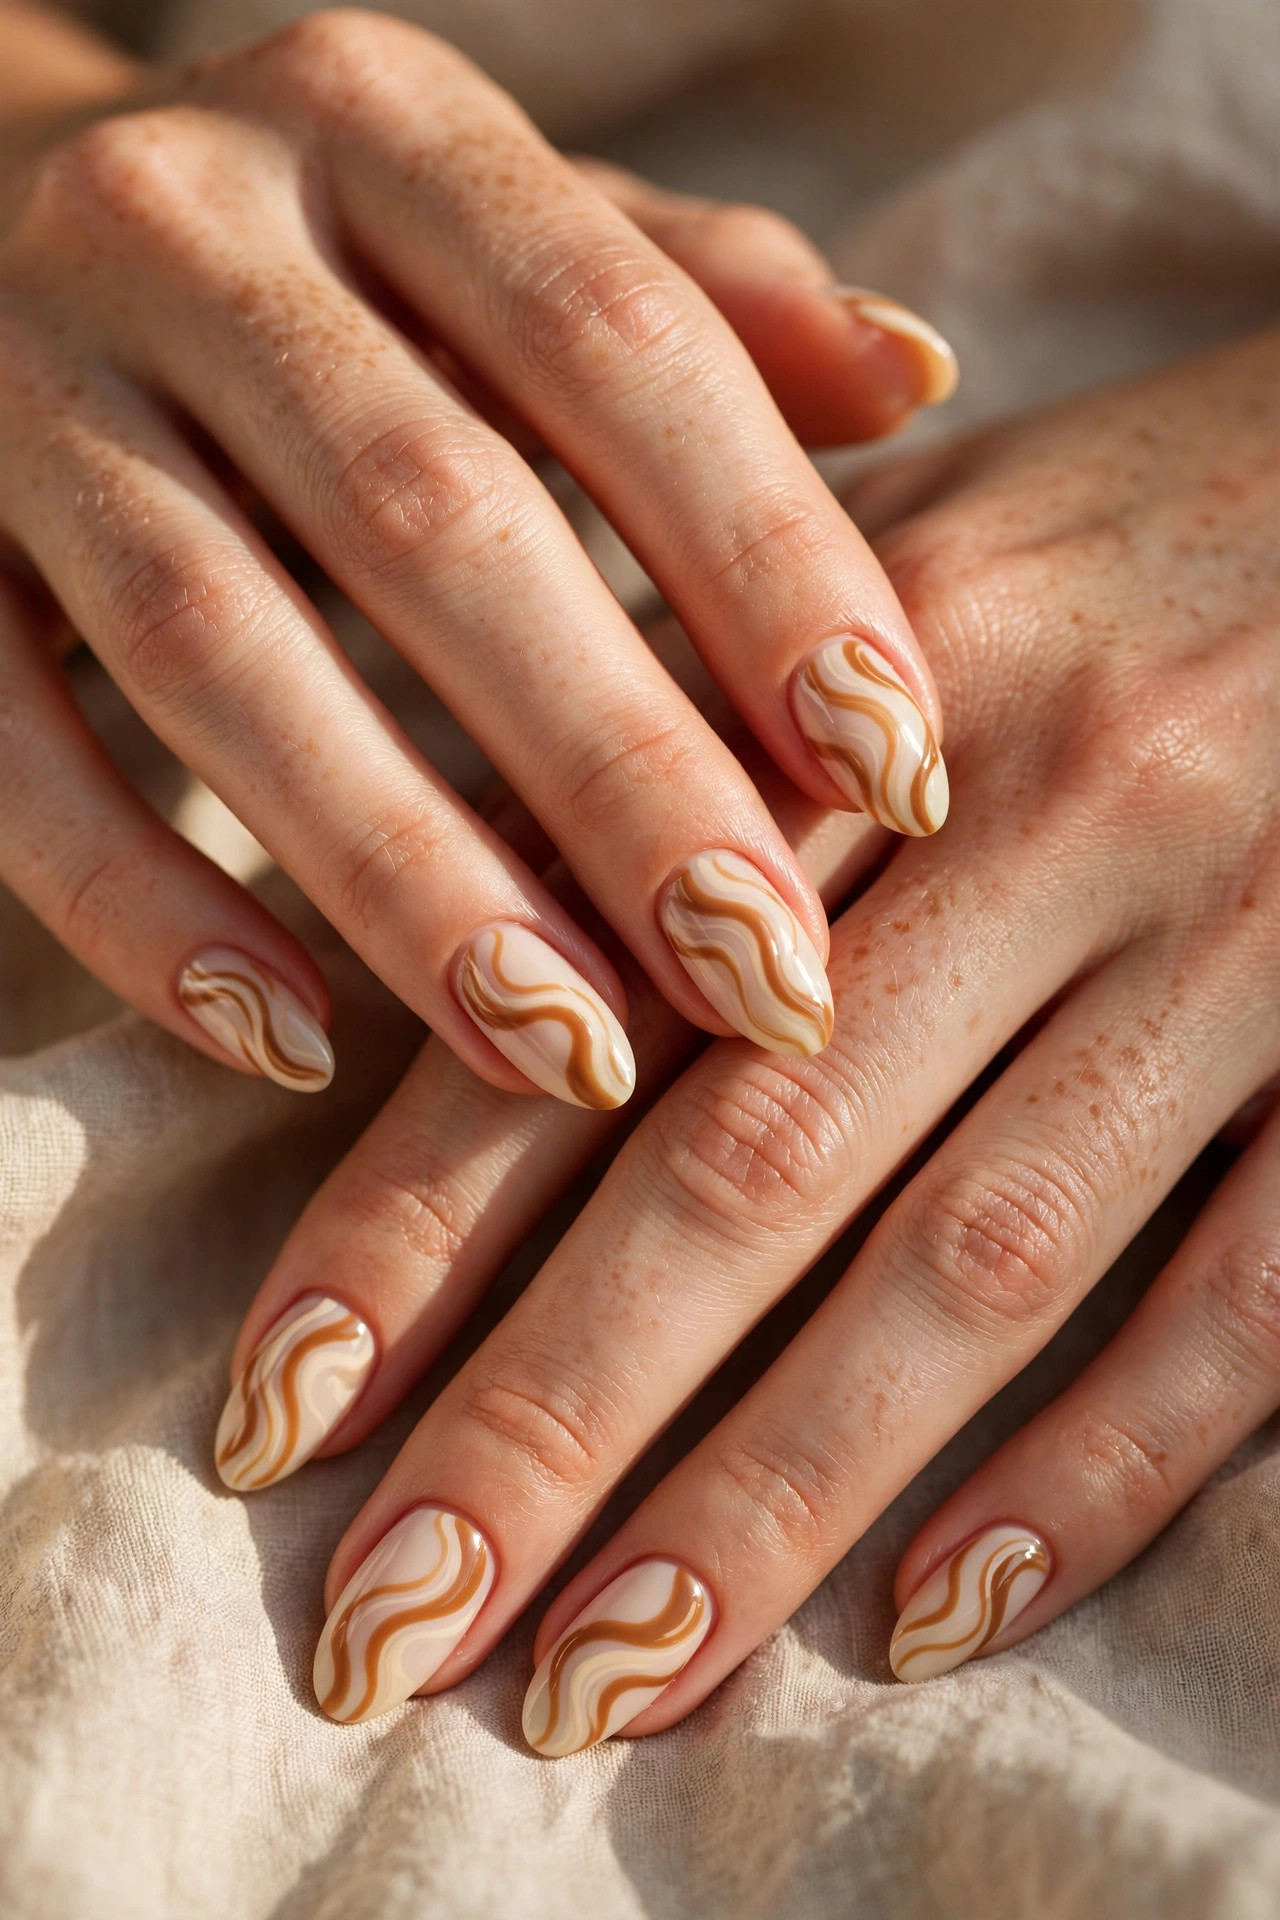
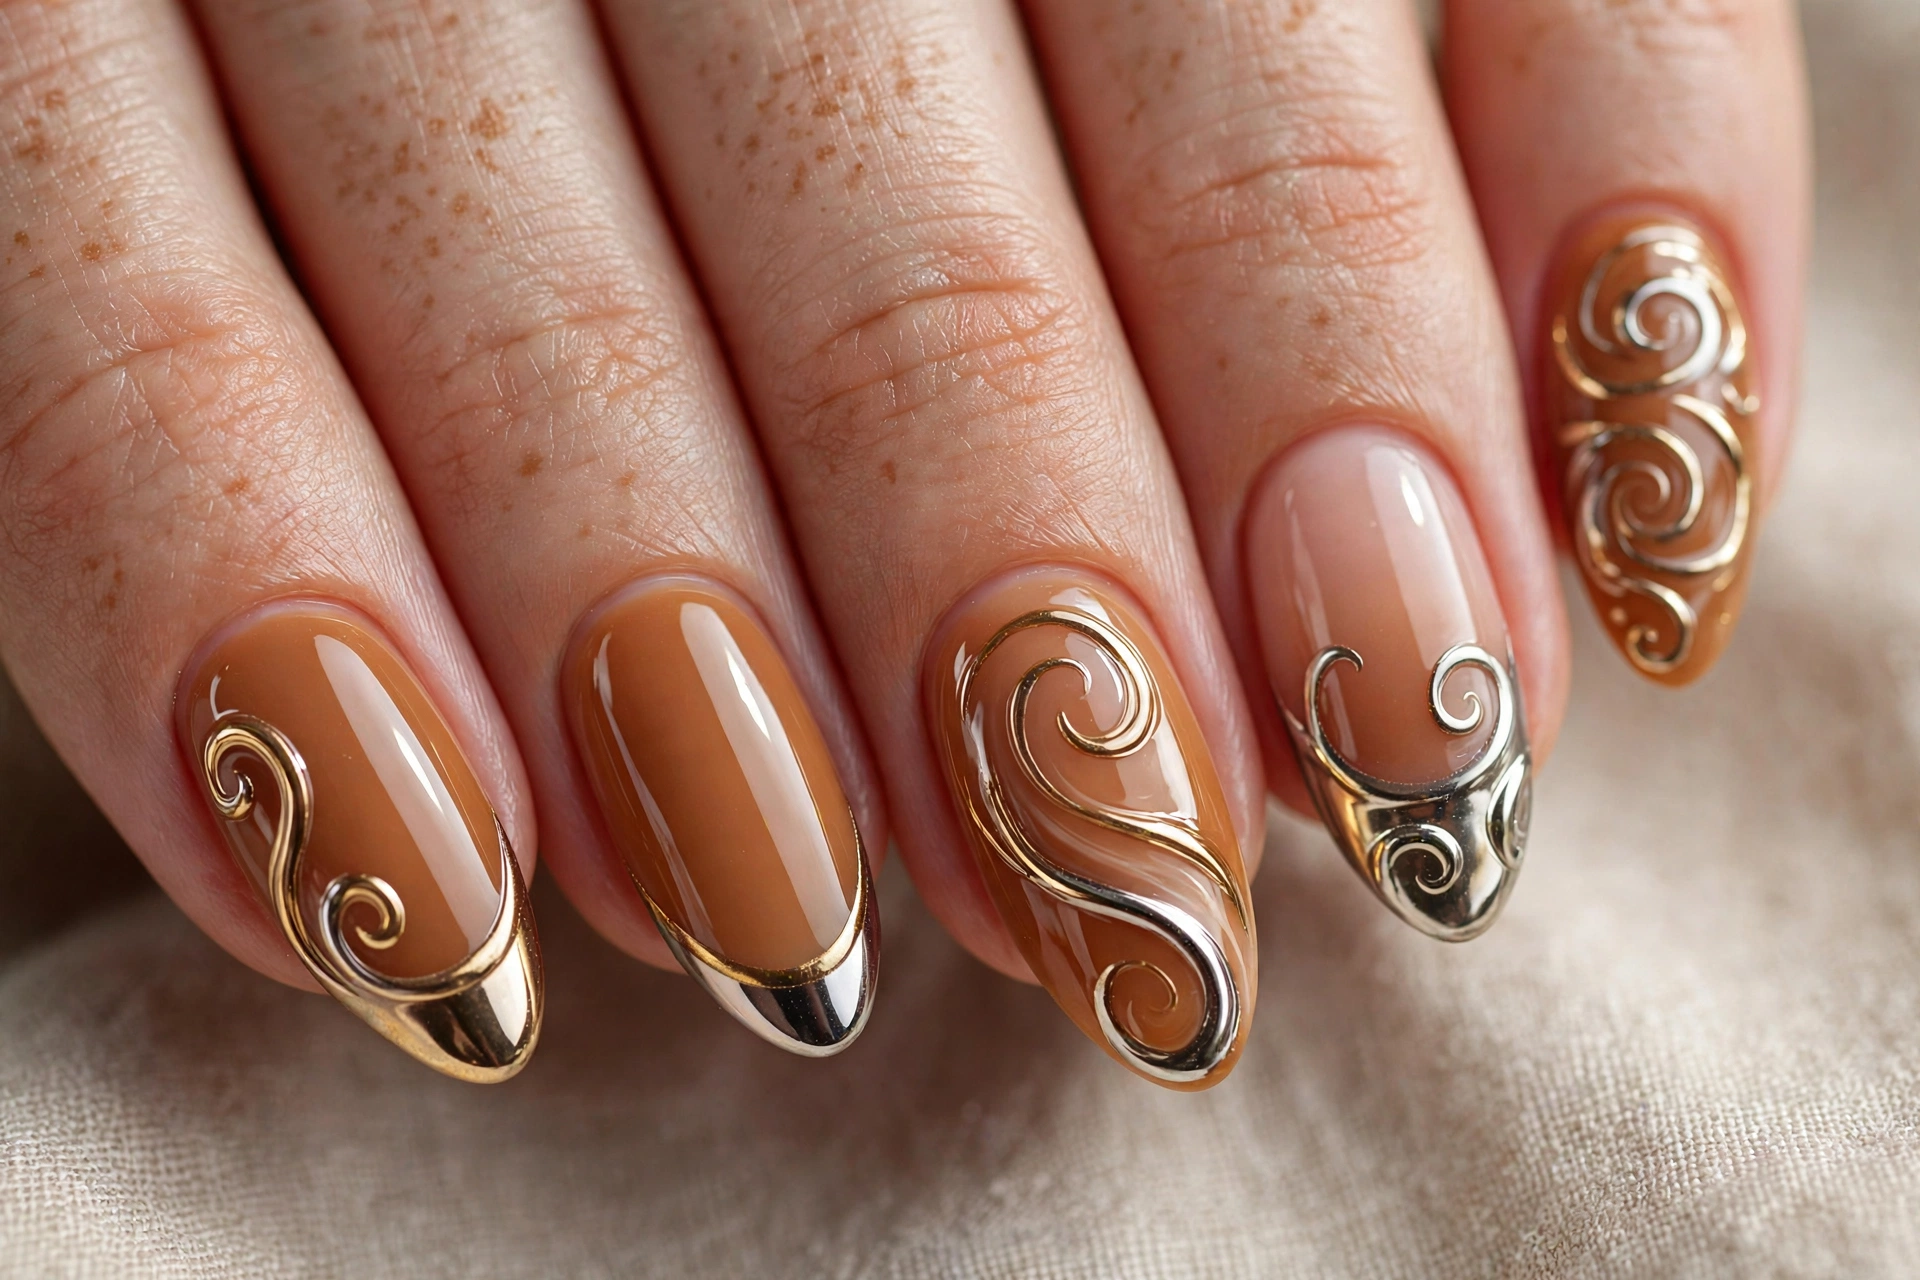
3. Caramel Swirls on Cream. Milky cream base with caramel swirls drawn in a thin brush – one continuous wavy line per nail, sealed with top coat. The swirl trend looks hand-painted and artistic with zero precision required. Vary the swirl direction on each nail so the set looks organic rather than stamped. Difficulty: easy-intermediate. Time: 30 minutes.
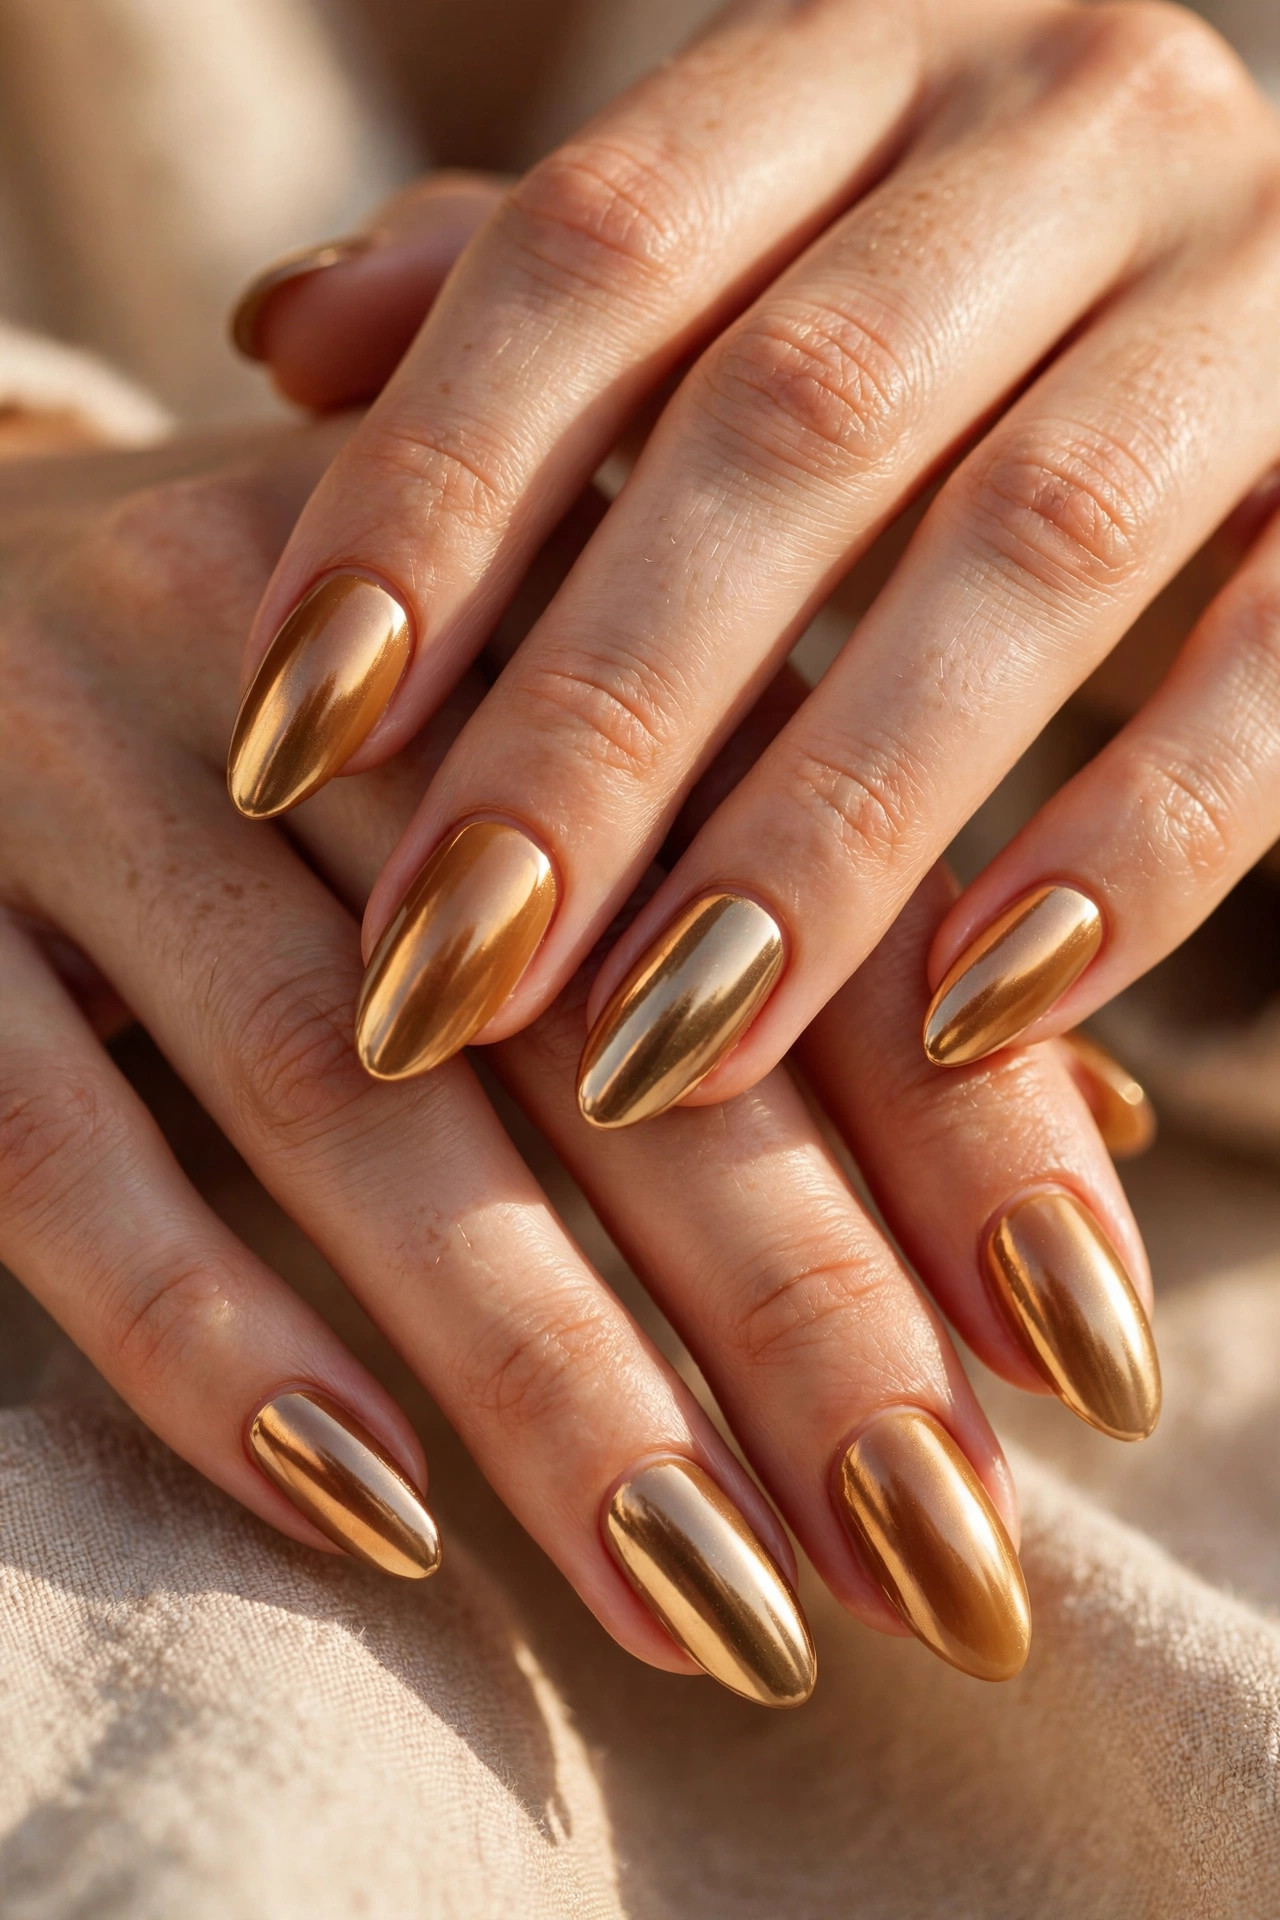
4. Caramel Chrome. Caramel base with gold or champagne chrome powder rubbed over the tacky layer. The chrome turns caramel molten and reflective – the most eye-catching caramel design. Burnish the powder well with the sponge for a true mirror finish rather than a frosty one. Difficulty: intermediate. Time: 30 minutes.
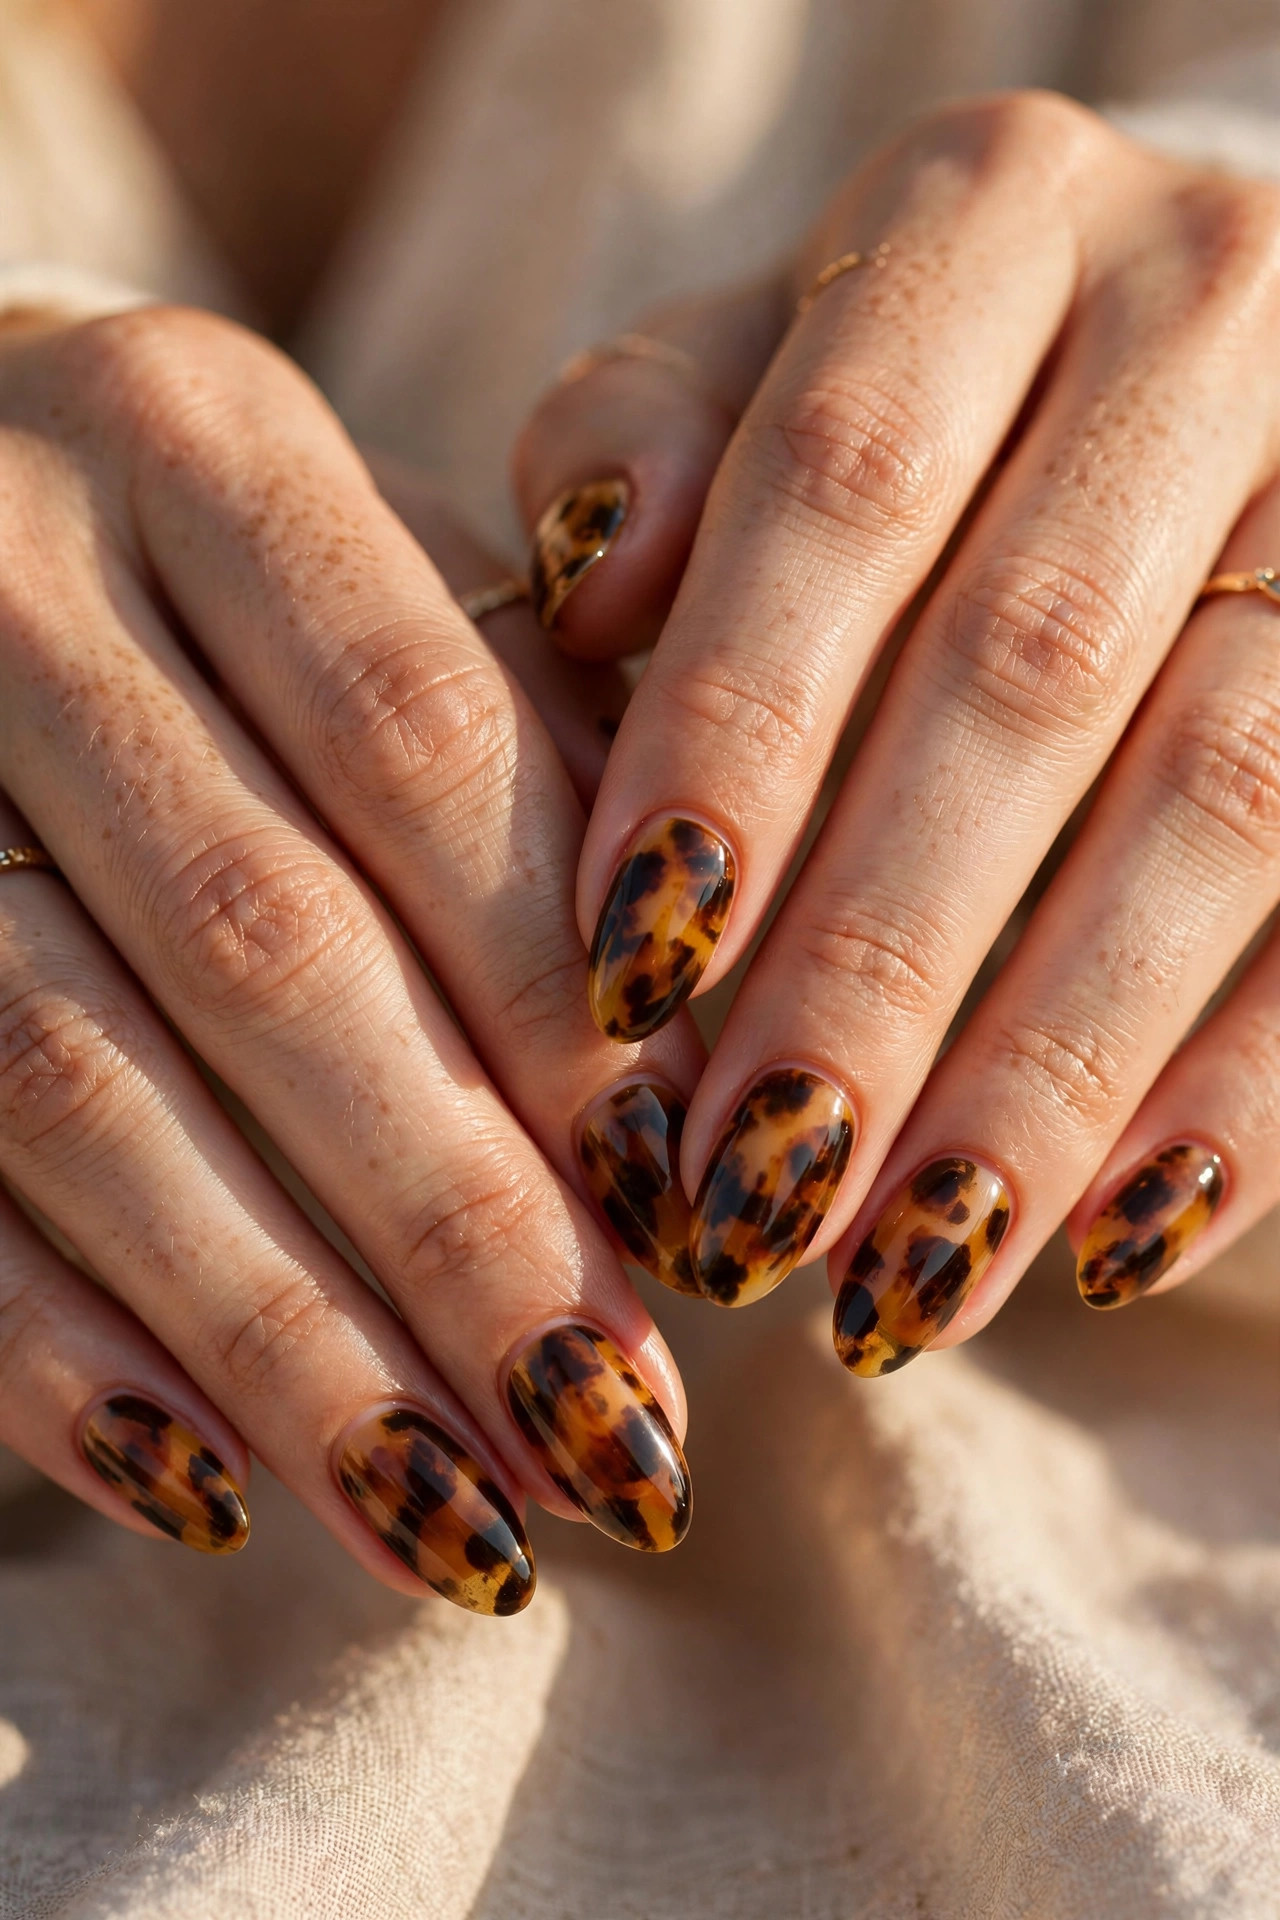
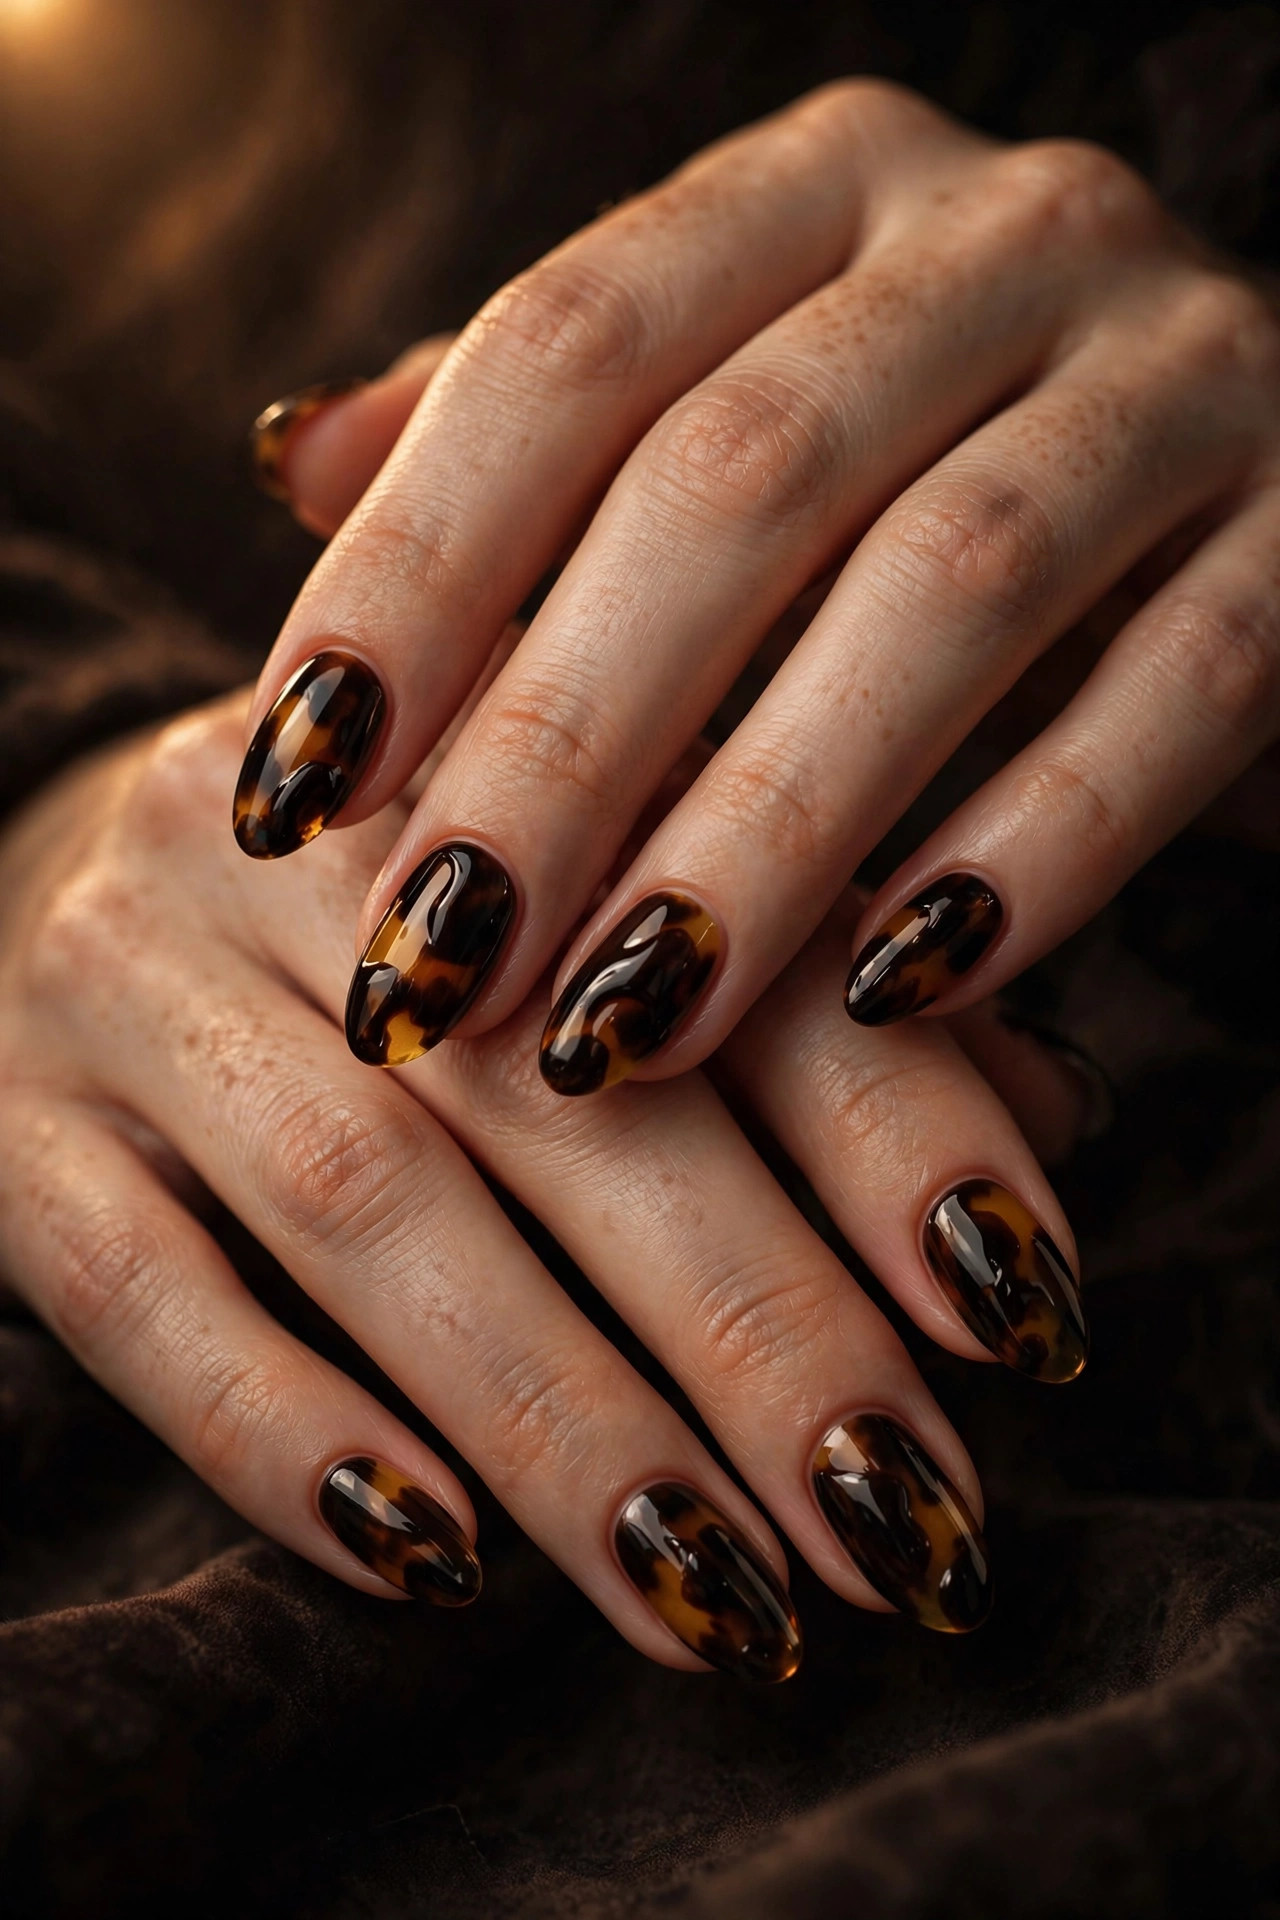
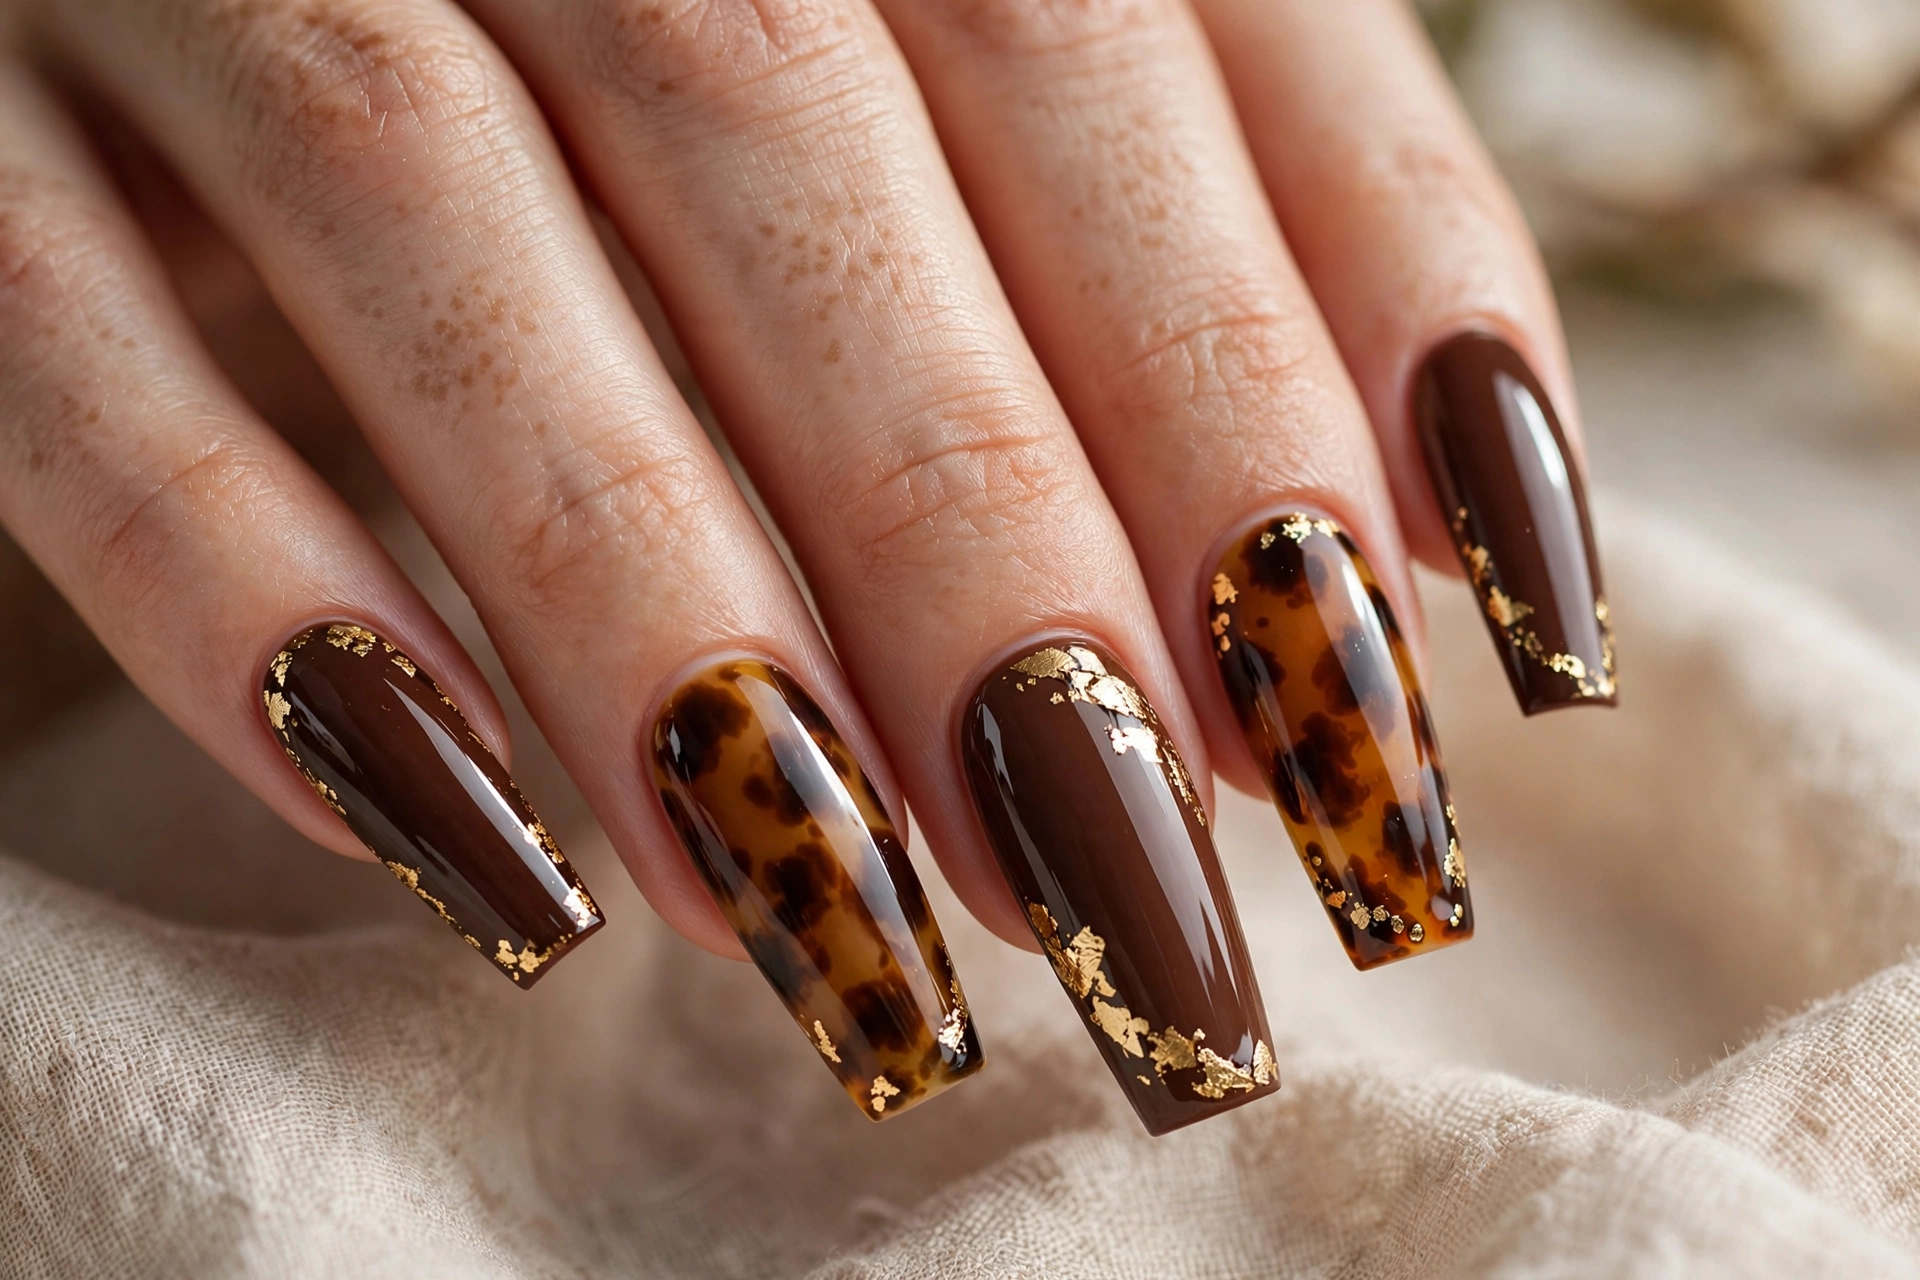
5. Tortoise Caramel. Layer dabs of caramel, amber, and deep brown with top coat between layers so they melt into the tortoise shell effect. Works on any nail length and looks like luxury. Difficulty: intermediate. Time: 35 minutes.
6. Caramel Aura. Nude base with caramel sponged into the center of each nail, blended outward for the soft aura gradient, sealed with glossy top coat. The aura effect in warm tones looks like sunlight on skin. Difficulty: intermediate. Time: 35 minutes.
Coffee Designs (7-12)
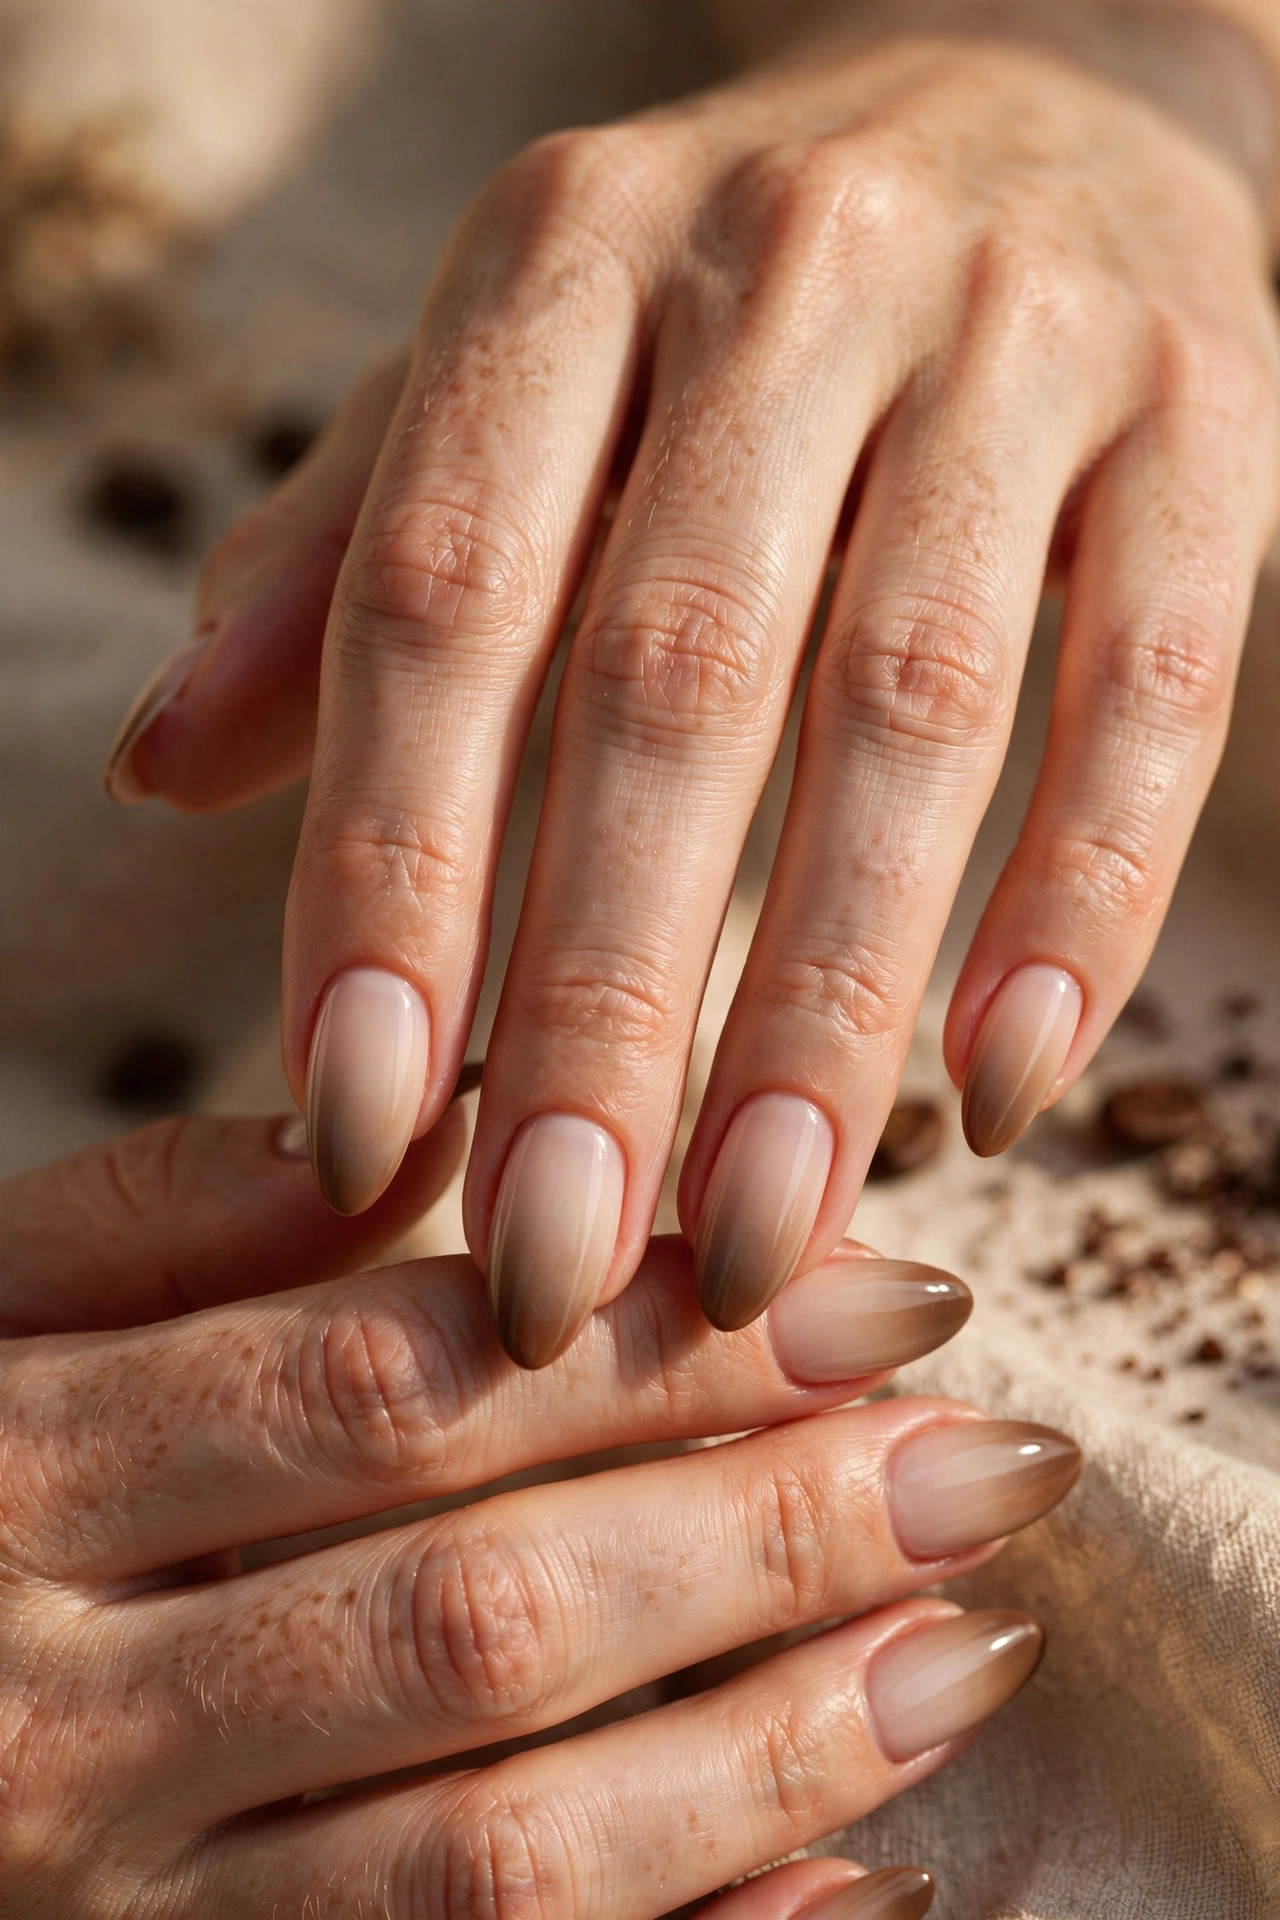
7. Coffee Milk Gradient. Sponge gradient from milky nude at the cuticle to medium coffee at the tips across all nails. The ombre mimics milk mixing into coffee – the literal latte effect. Dab the sponge straight down rather than dragging to avoid muddying the two tones together. Difficulty: intermediate. Time: 35 minutes.
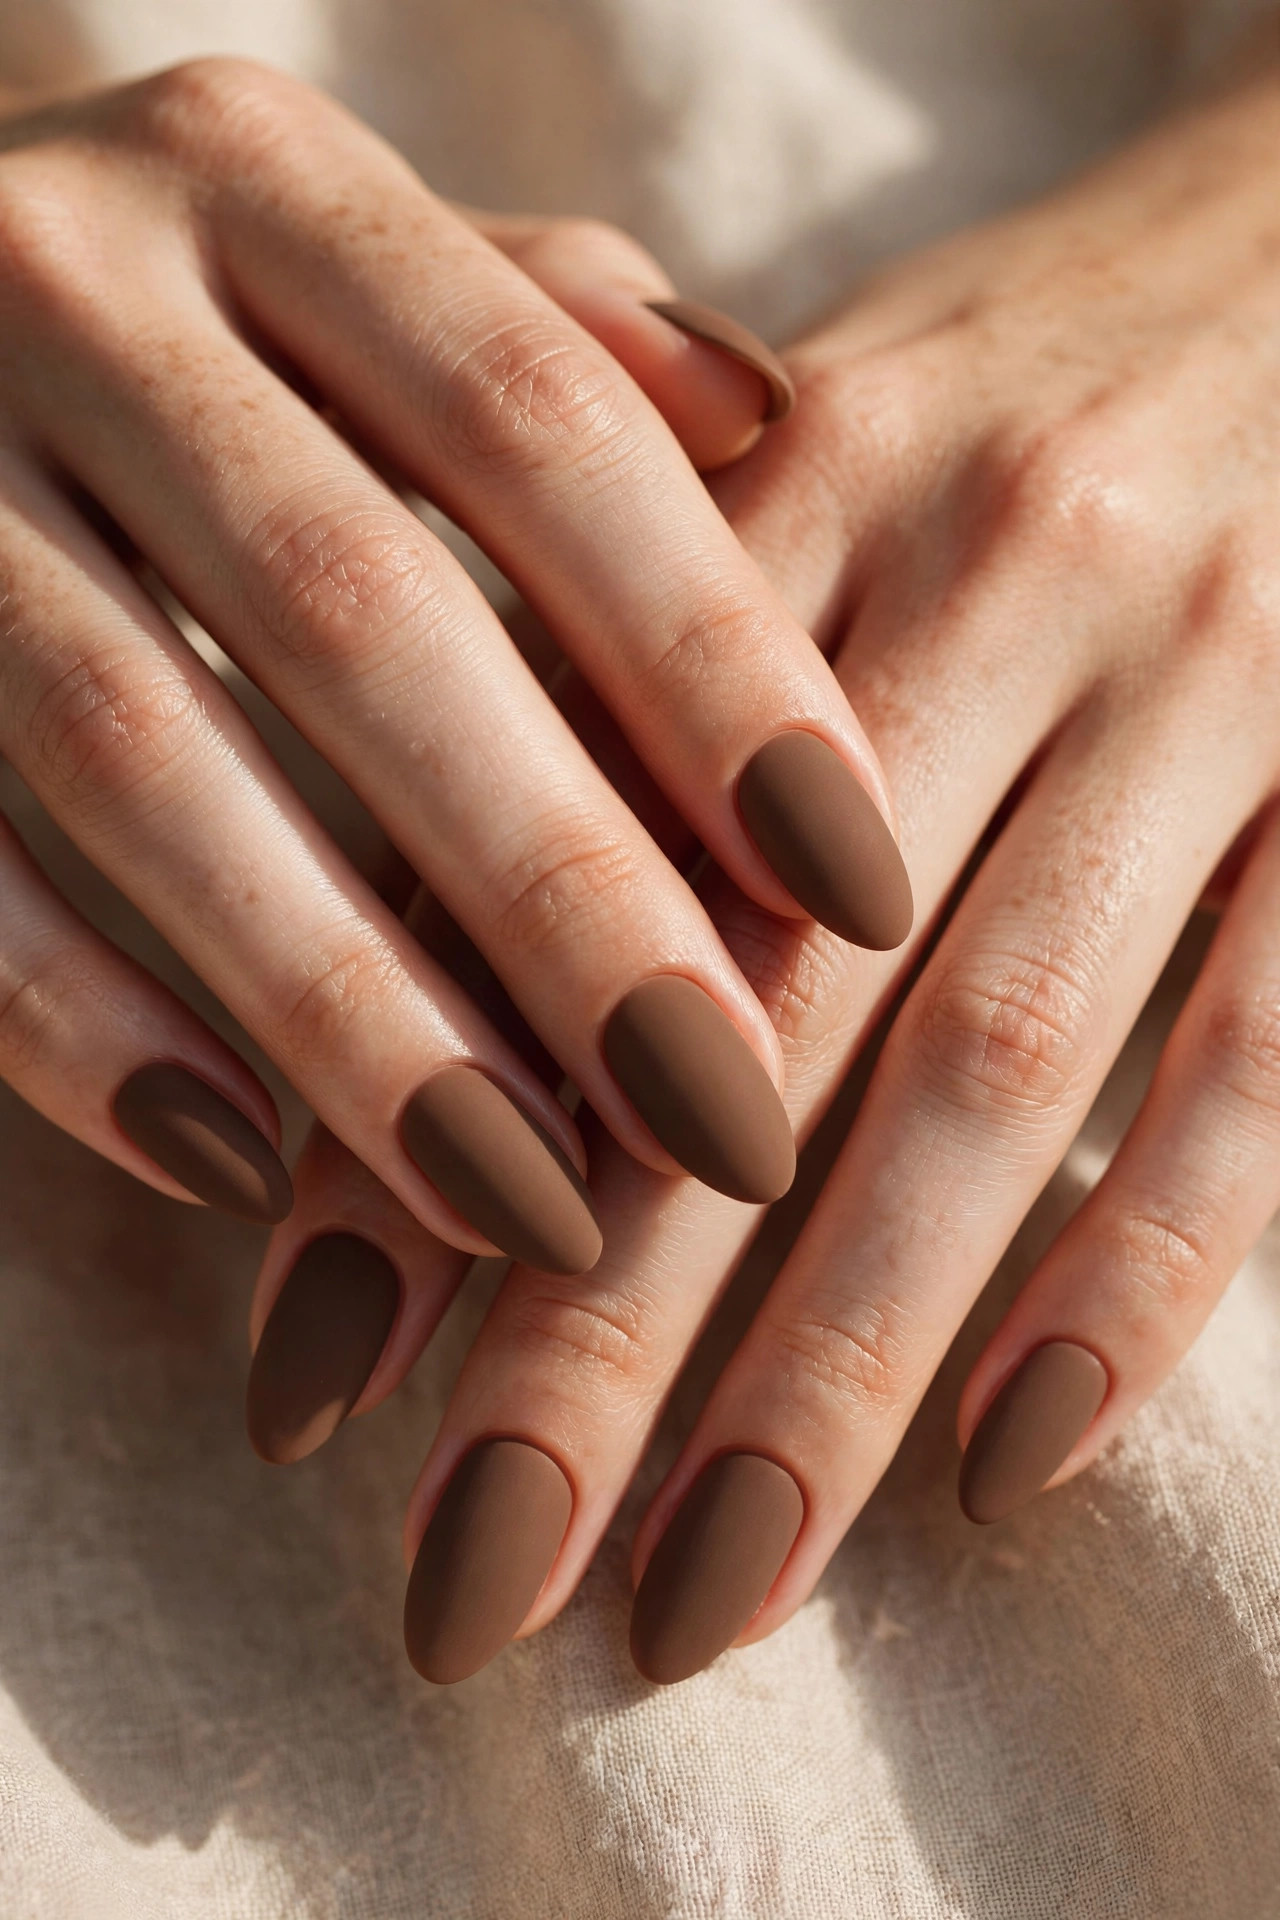
8. Matte Coffee. Two coats of medium coffee brown finished with matte top coat. The velvet finish makes coffee tones look modern and editorial. Keep nails well-shaped first since matte shows imperfections. Difficulty: beginner. Time: 15 minutes.
9. Coffee and Cream Alternating. Alternate solid coffee nails with solid cream nails, or do a 3-2 split across each hand. The high-contrast alternation looks designed with almost no effort. For a softer version, use caramel and cream instead of coffee and cream. Difficulty: beginner. Time: 20 minutes.
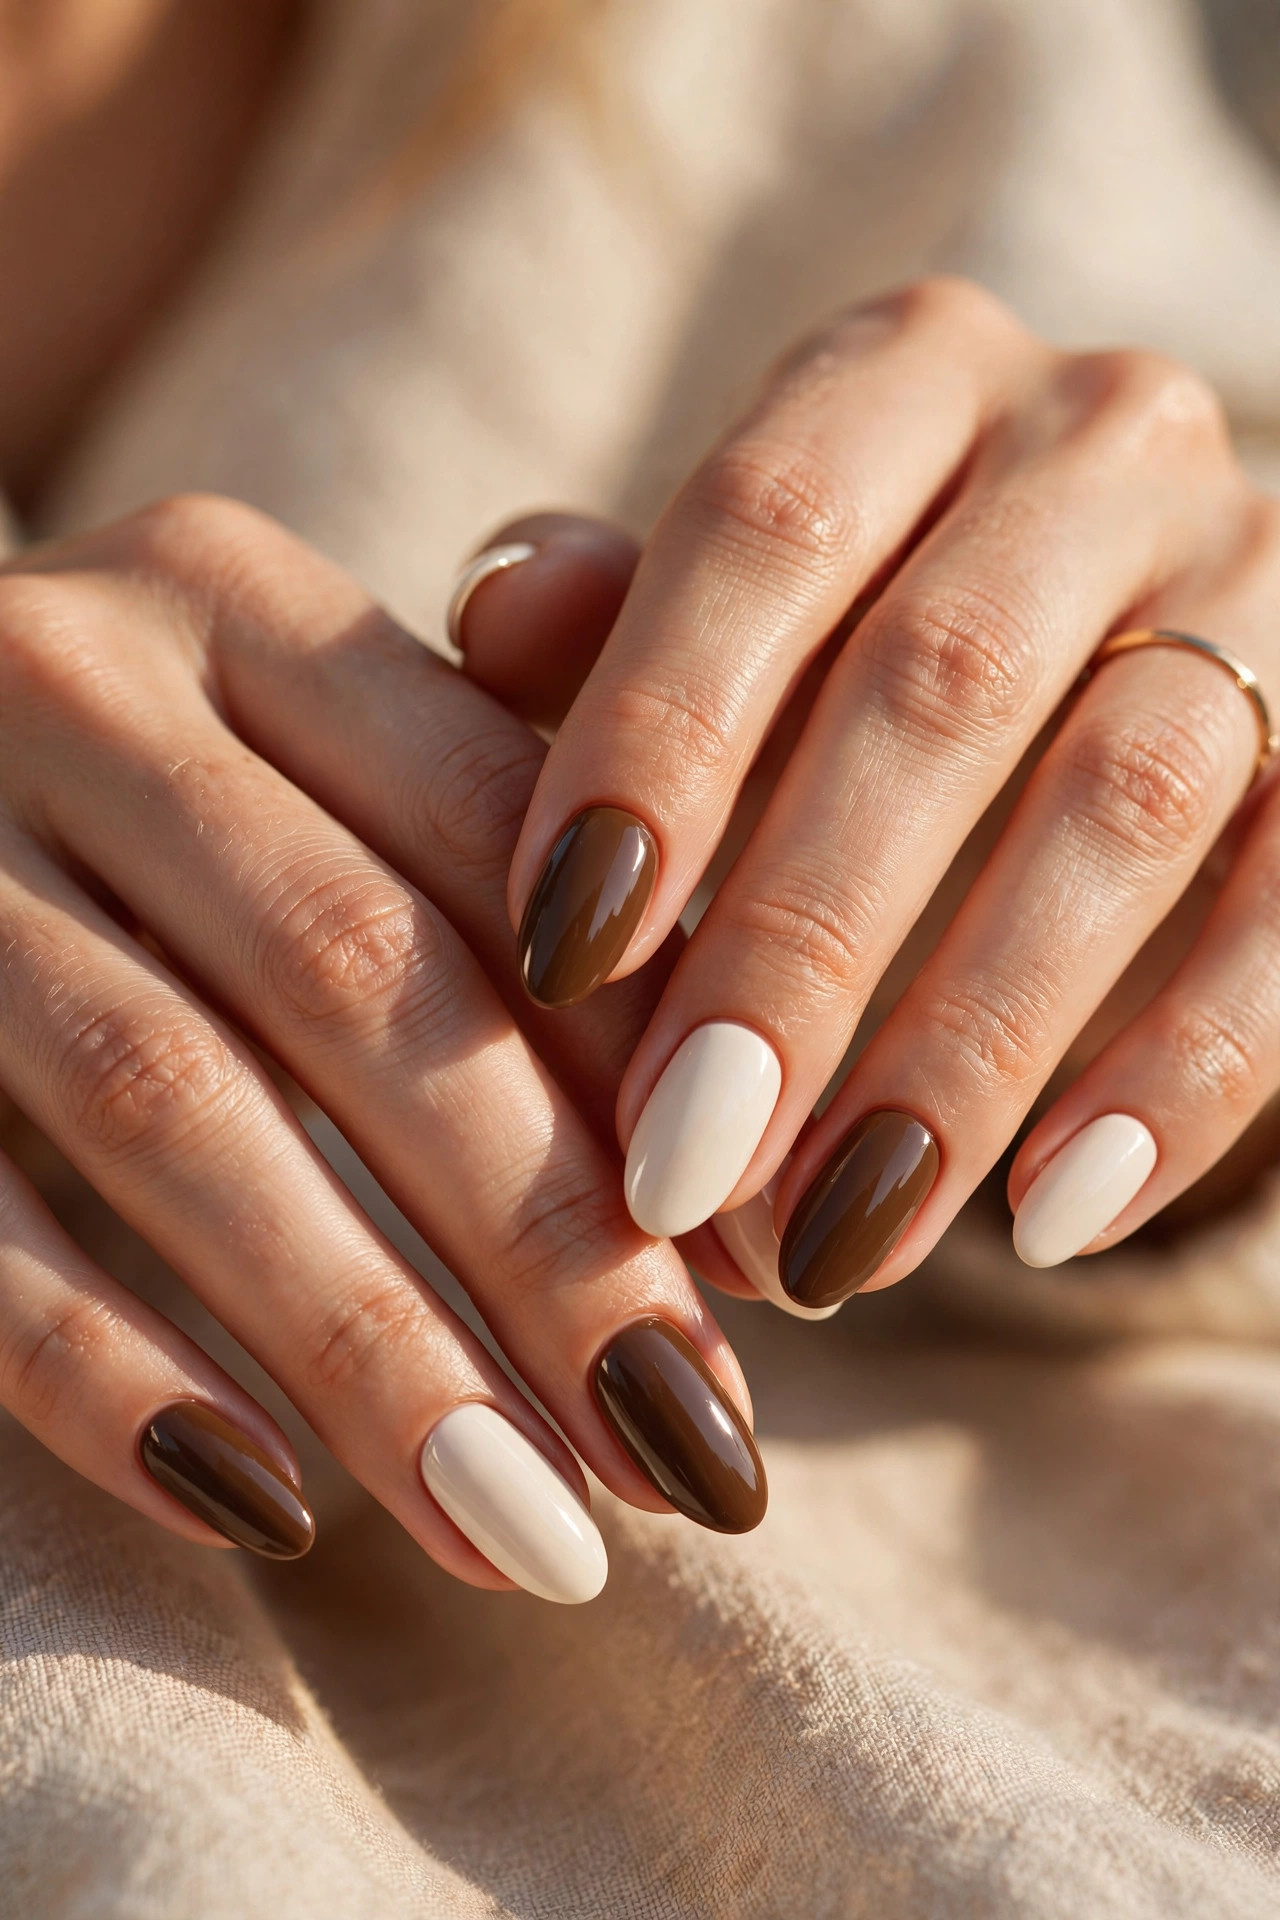
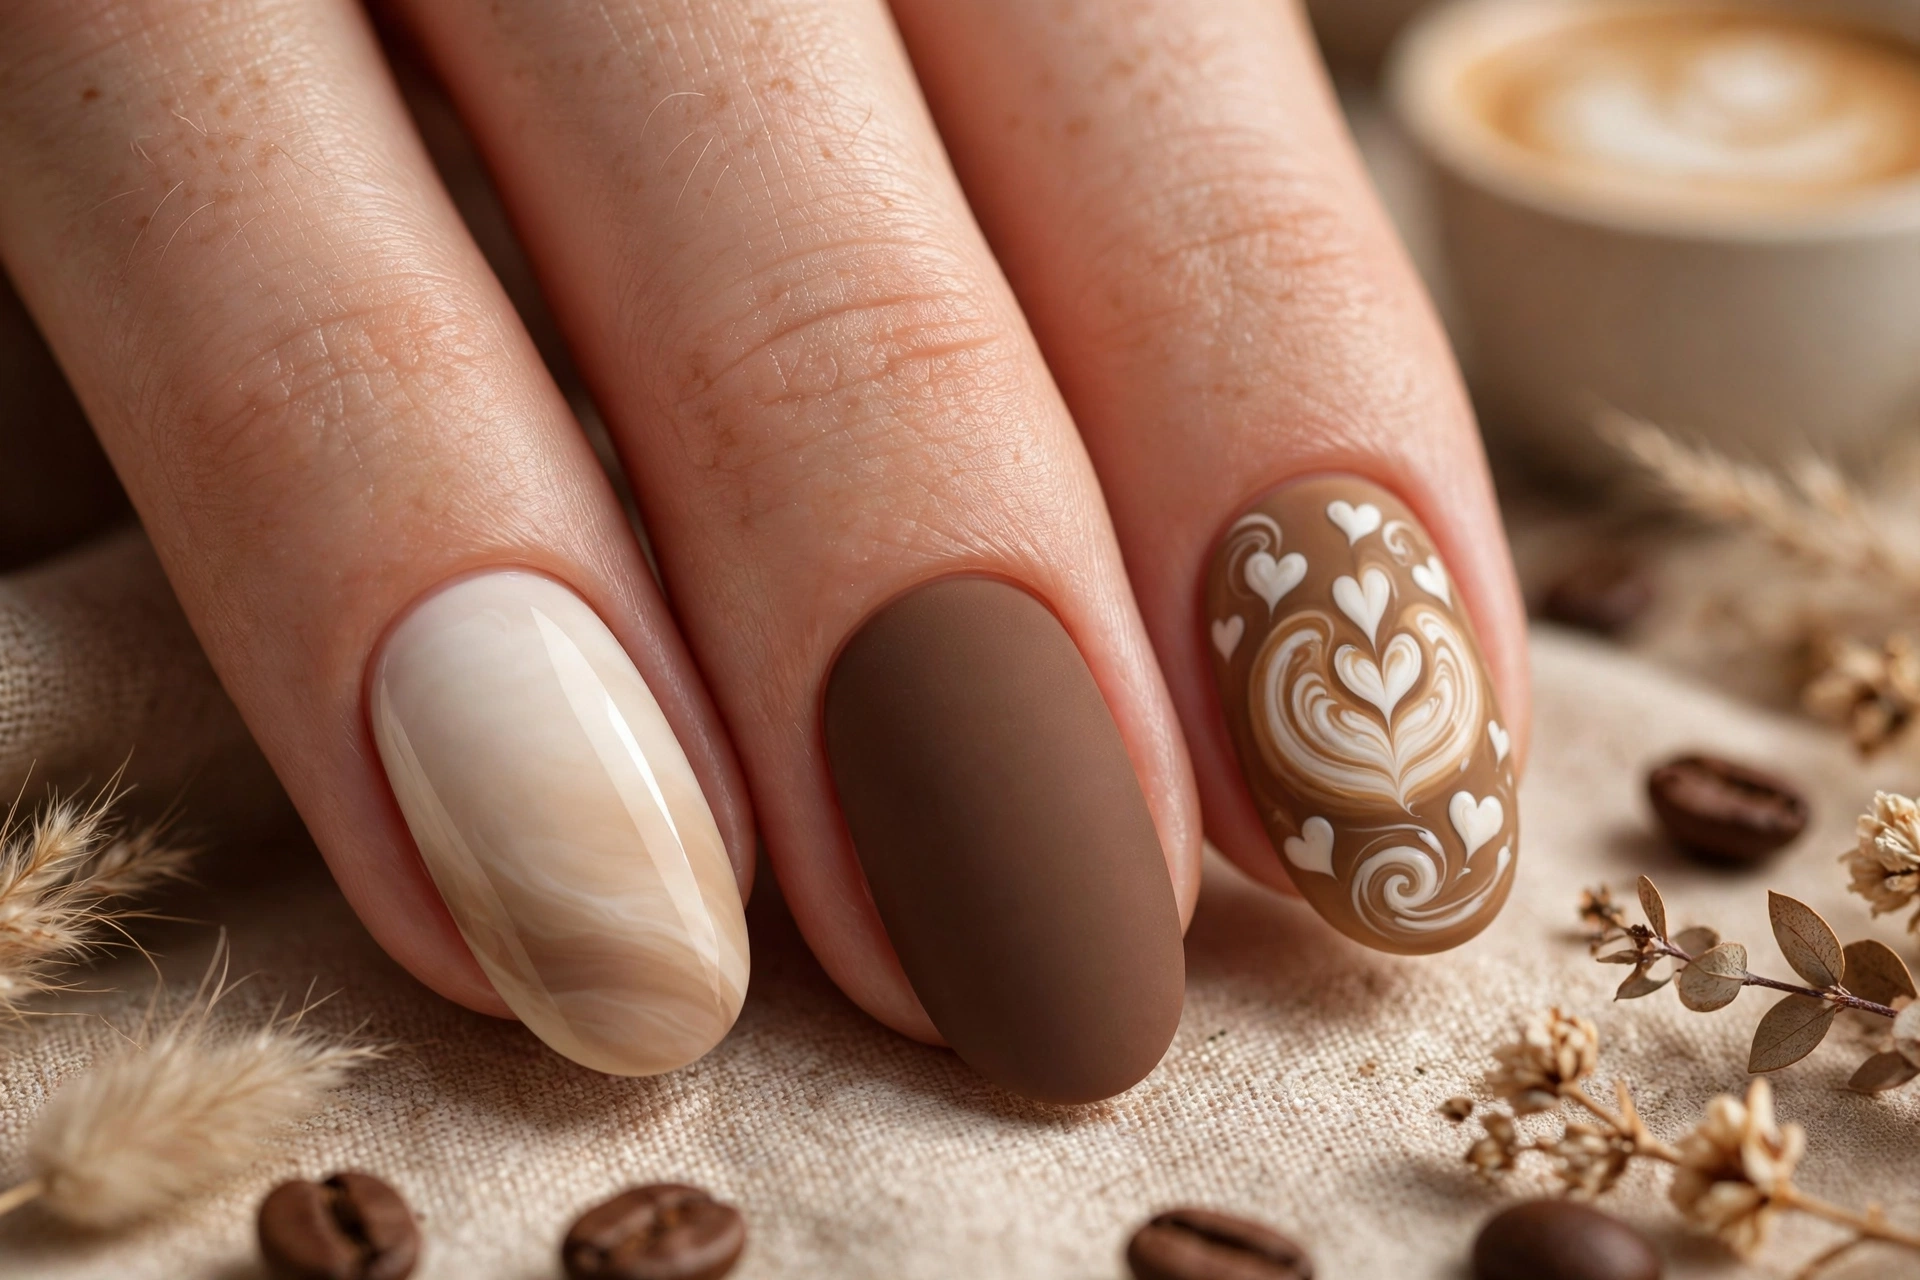
10. Latte Art Accents. Milky coffee base with tiny latte-art details – hearts, leaves, or dots – painted in cream on two accent nails with a dotting tool. A playful nod to actual latte art. Difficulty: intermediate. Time: 40 minutes.
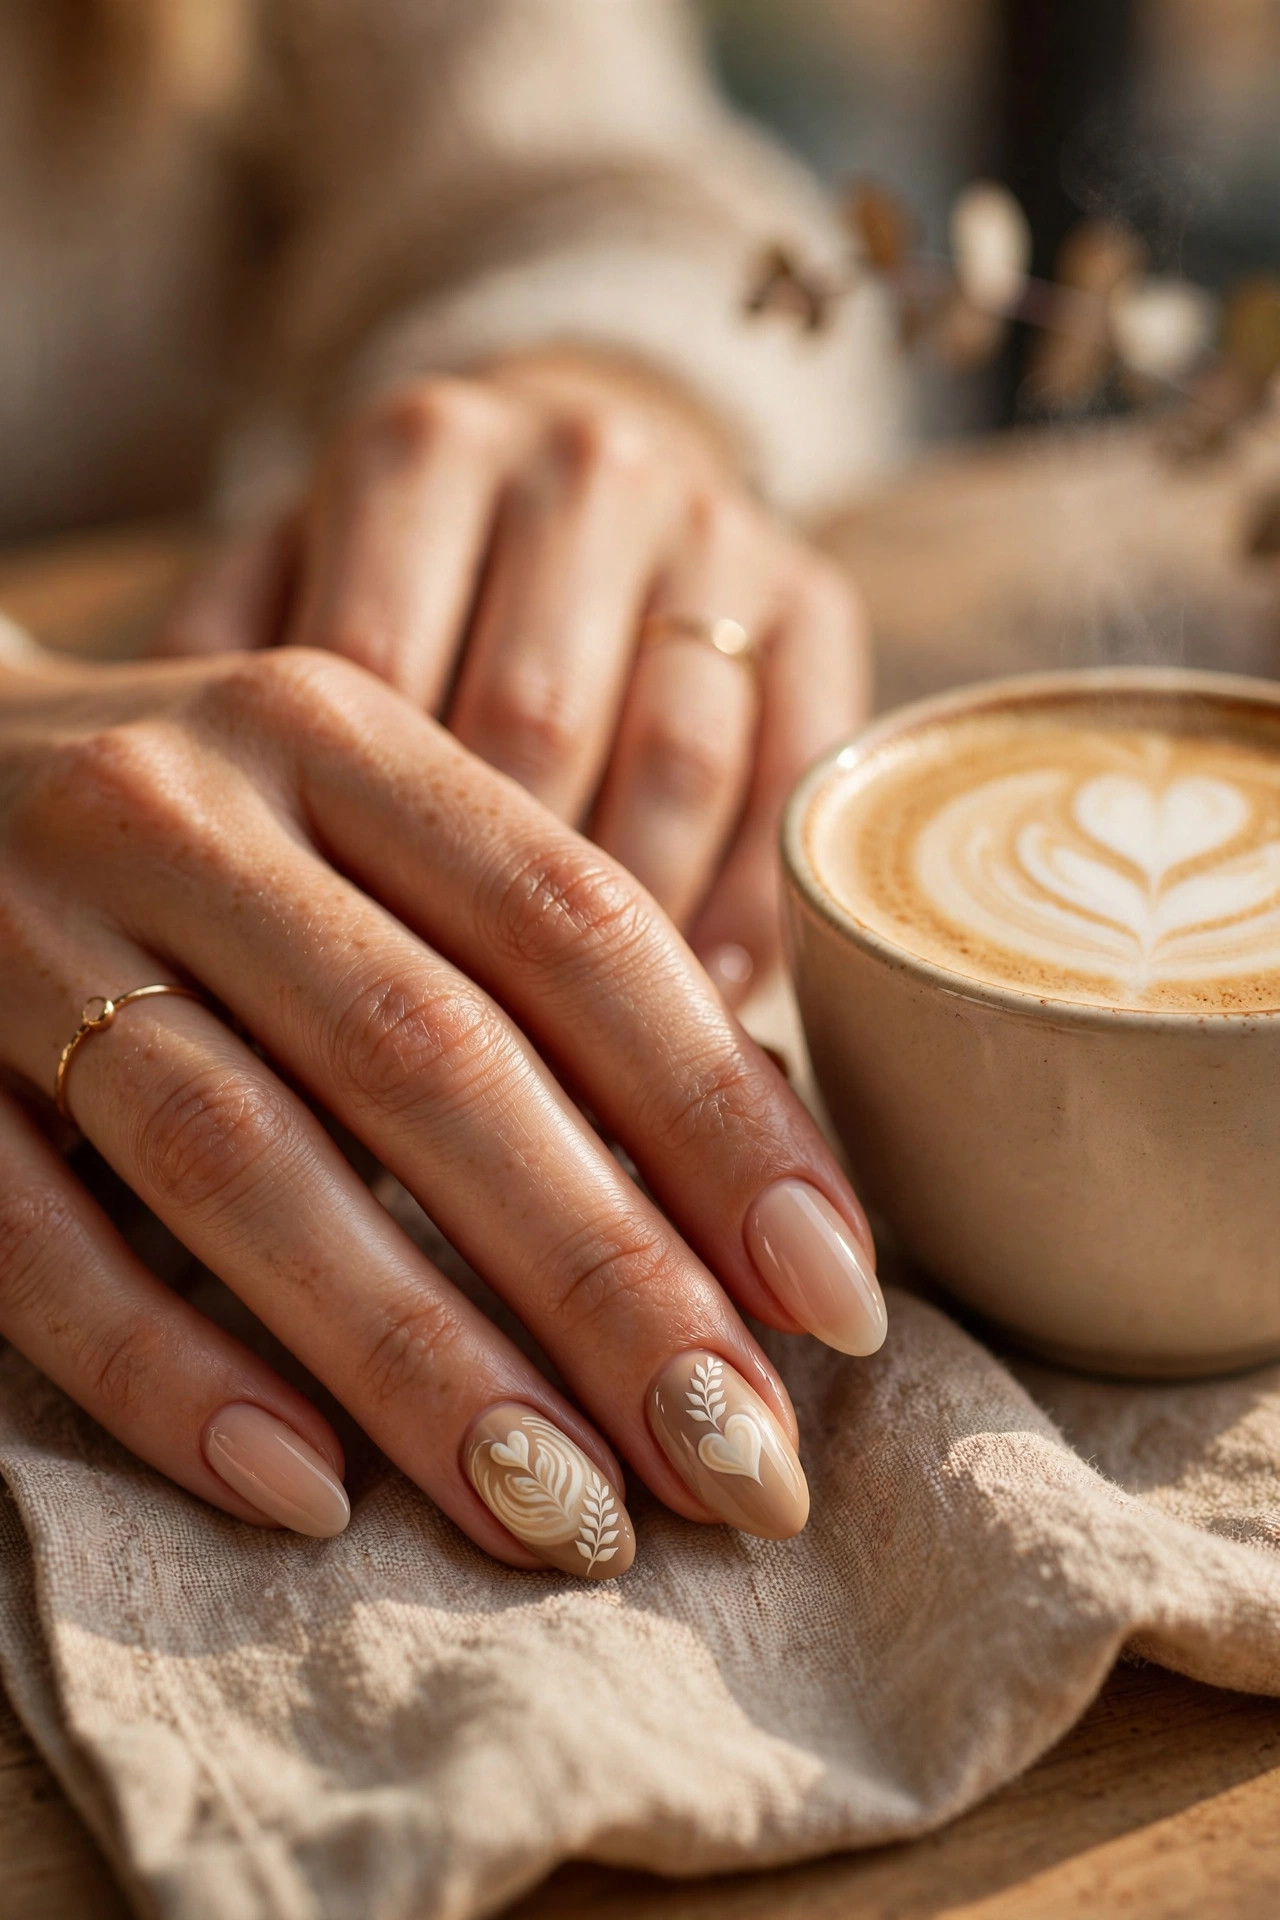
11. Mocha Marble. White, cream, and coffee polish marbled together with a toothpick on each nail for a stone-like effect, sealed with glossy top coat. No two nails match, which is the charm. Difficulty: intermediate. Time: 40 minutes.
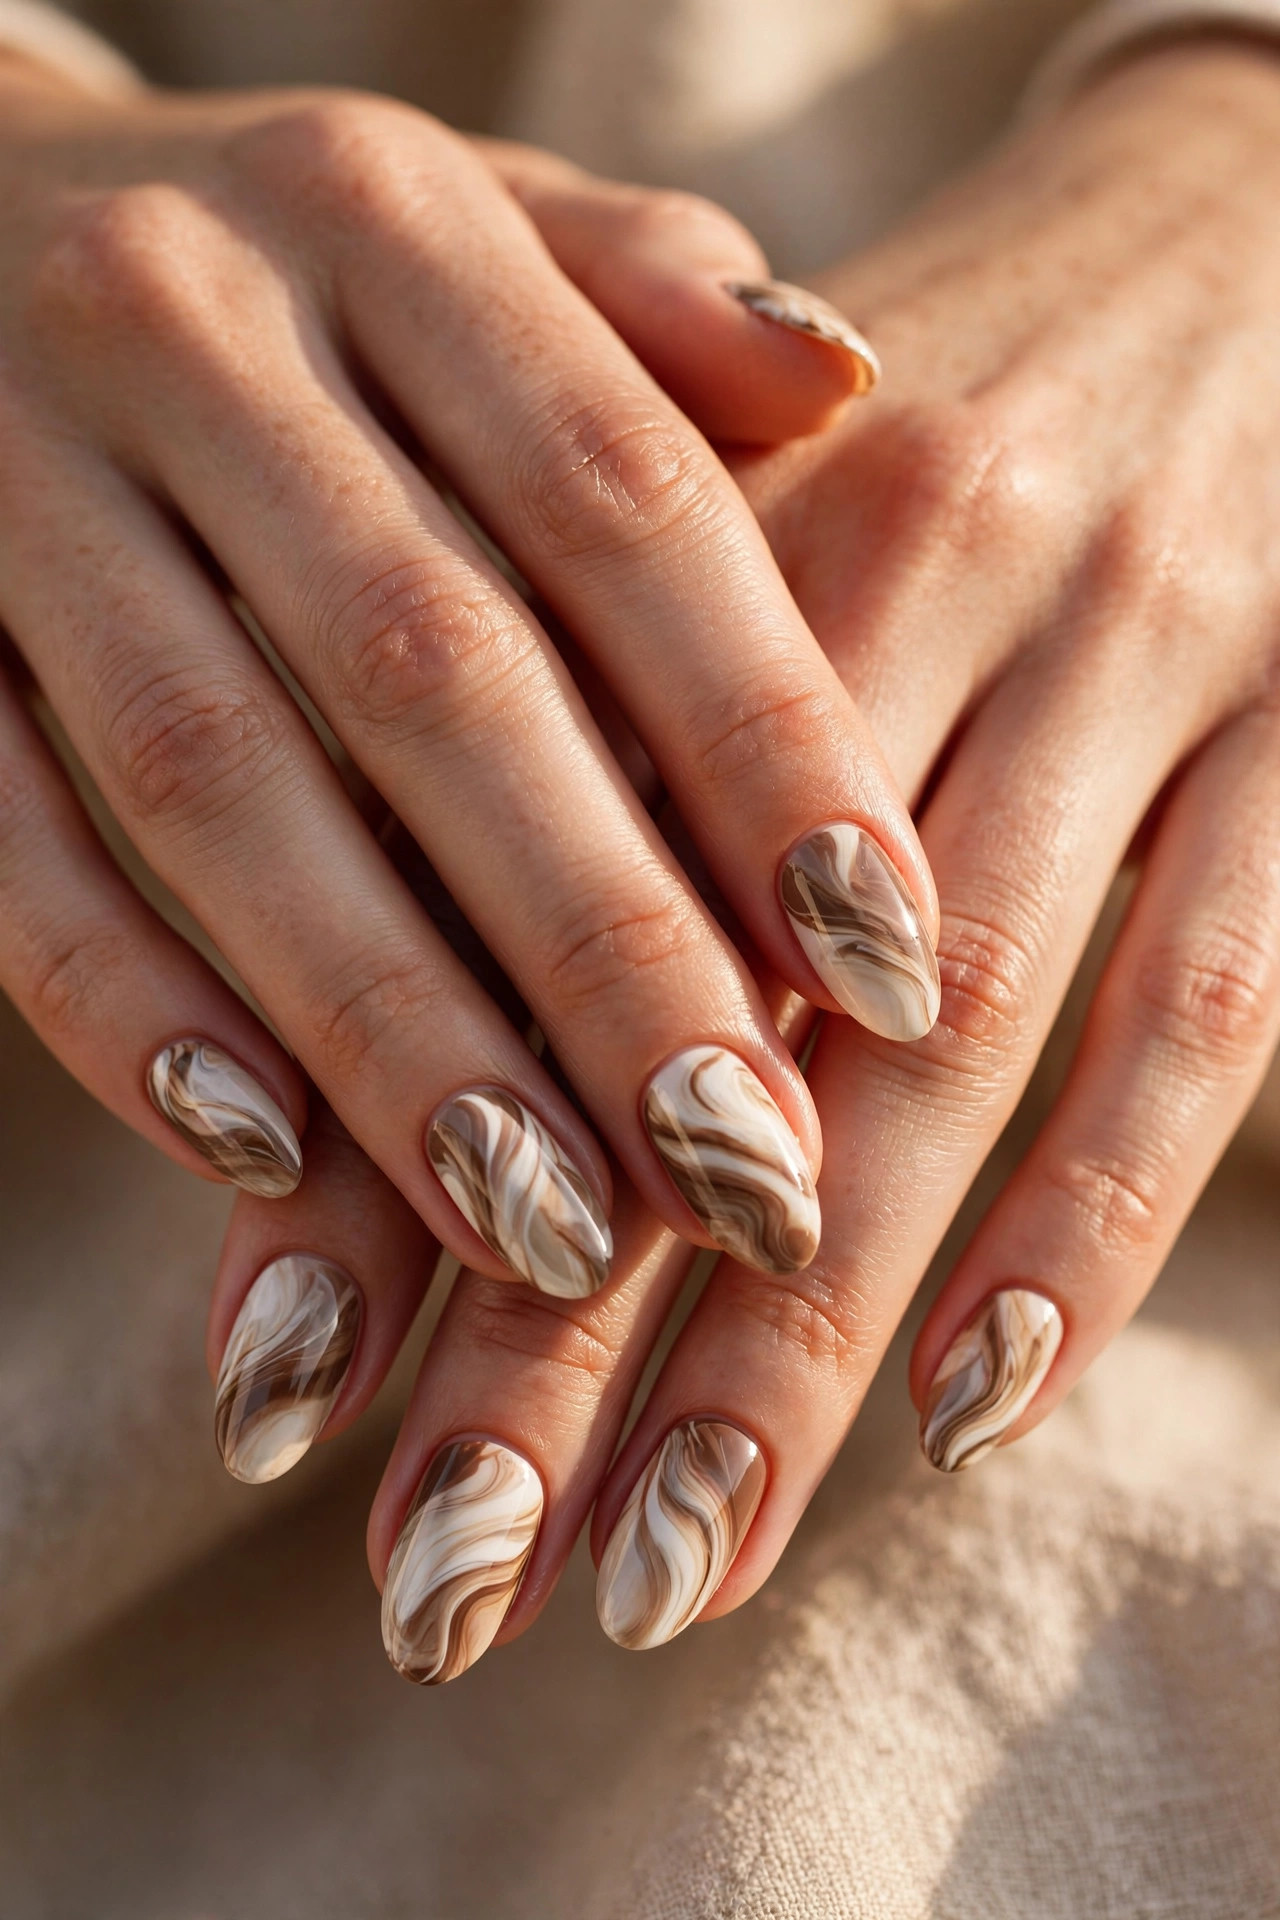
12. Cappuccino Foam Texture. Coffee base with a textured “foam” accent nail – apply a matte textured or sugar-effect top coat over cream polish on one nail per hand. The texture contrast is subtle and tactile. Difficulty: beginner. Time: 20 minutes.
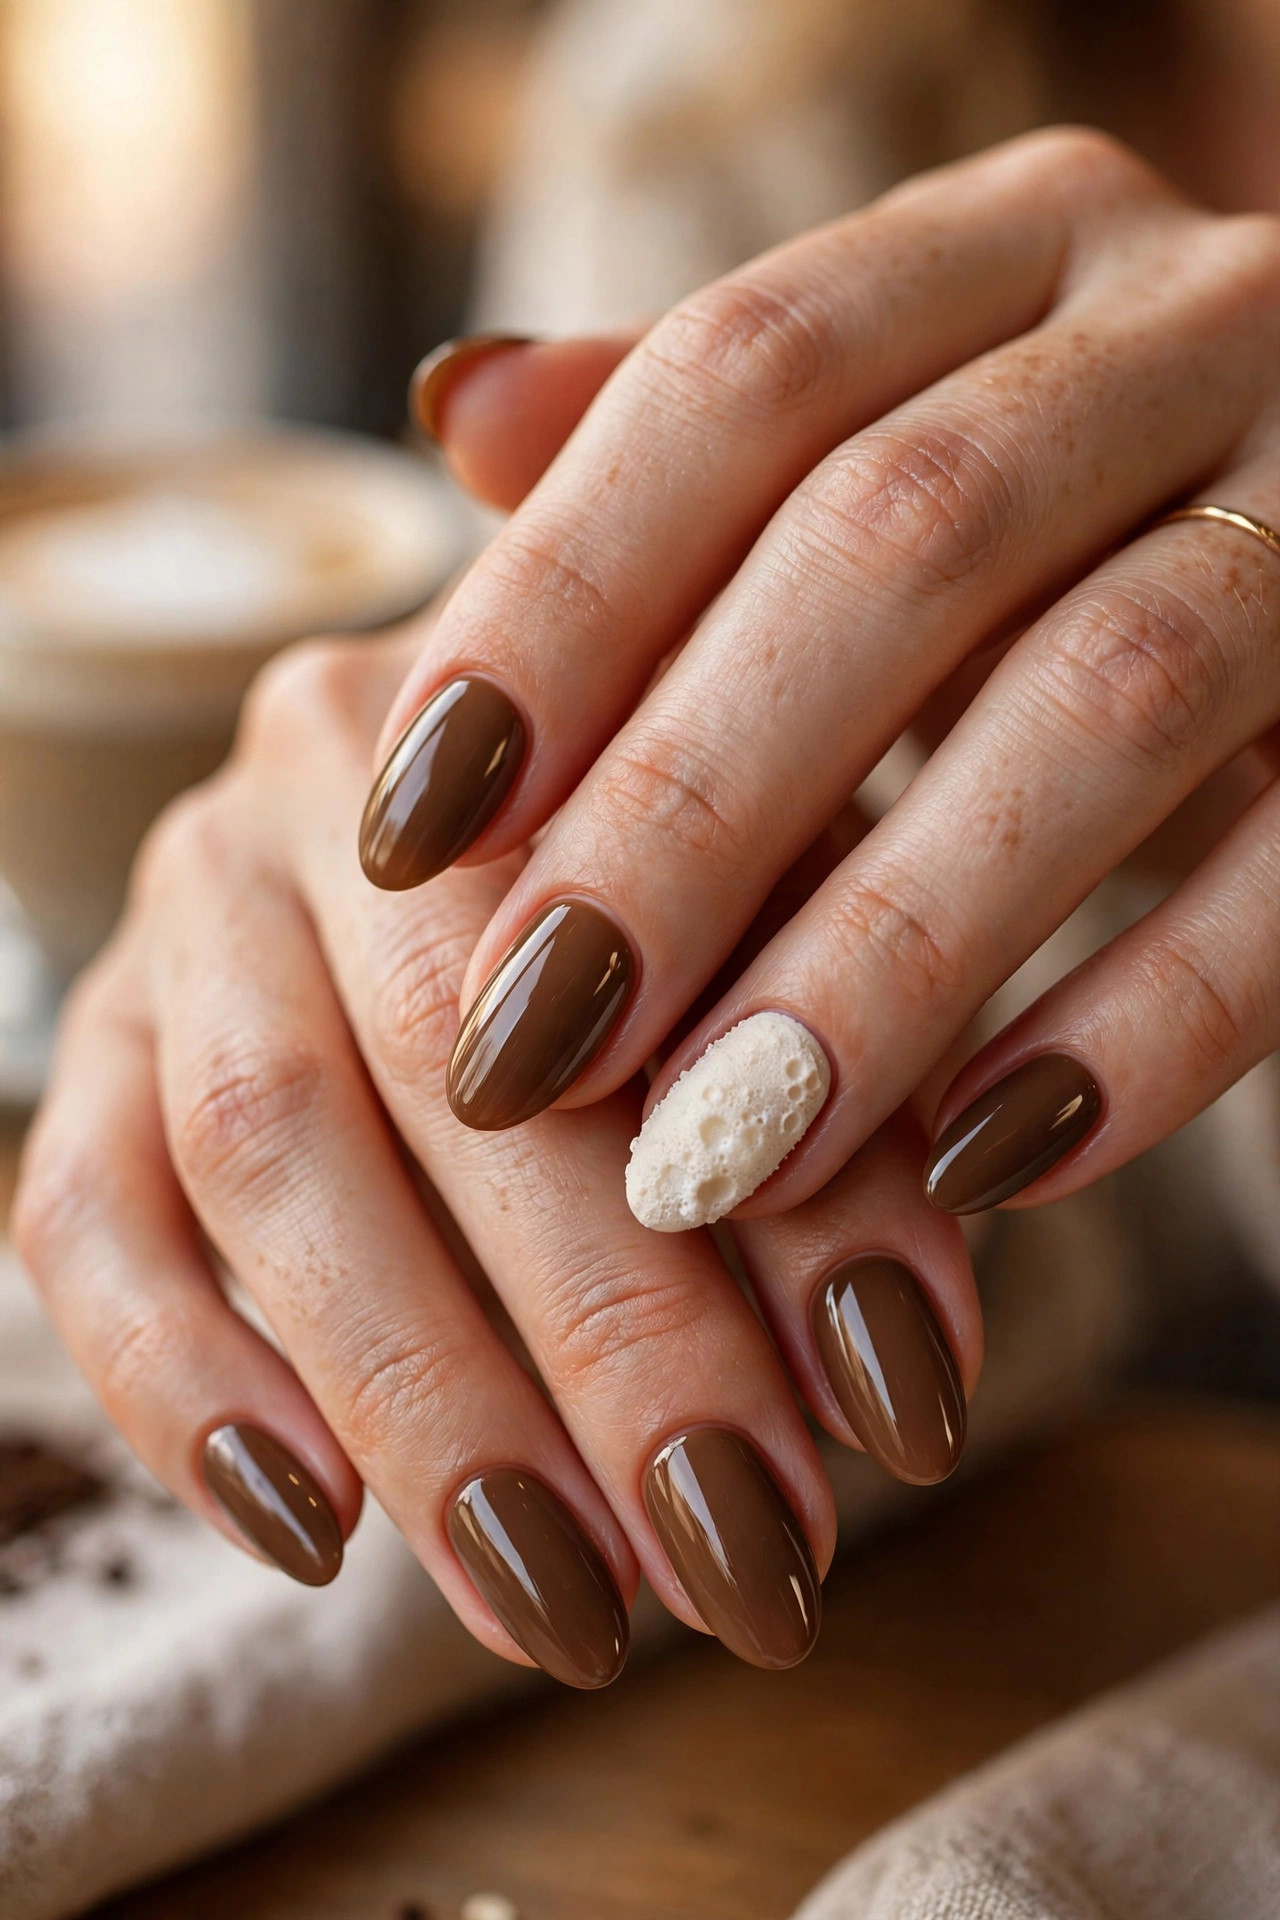
Chocolate Designs (13-18)
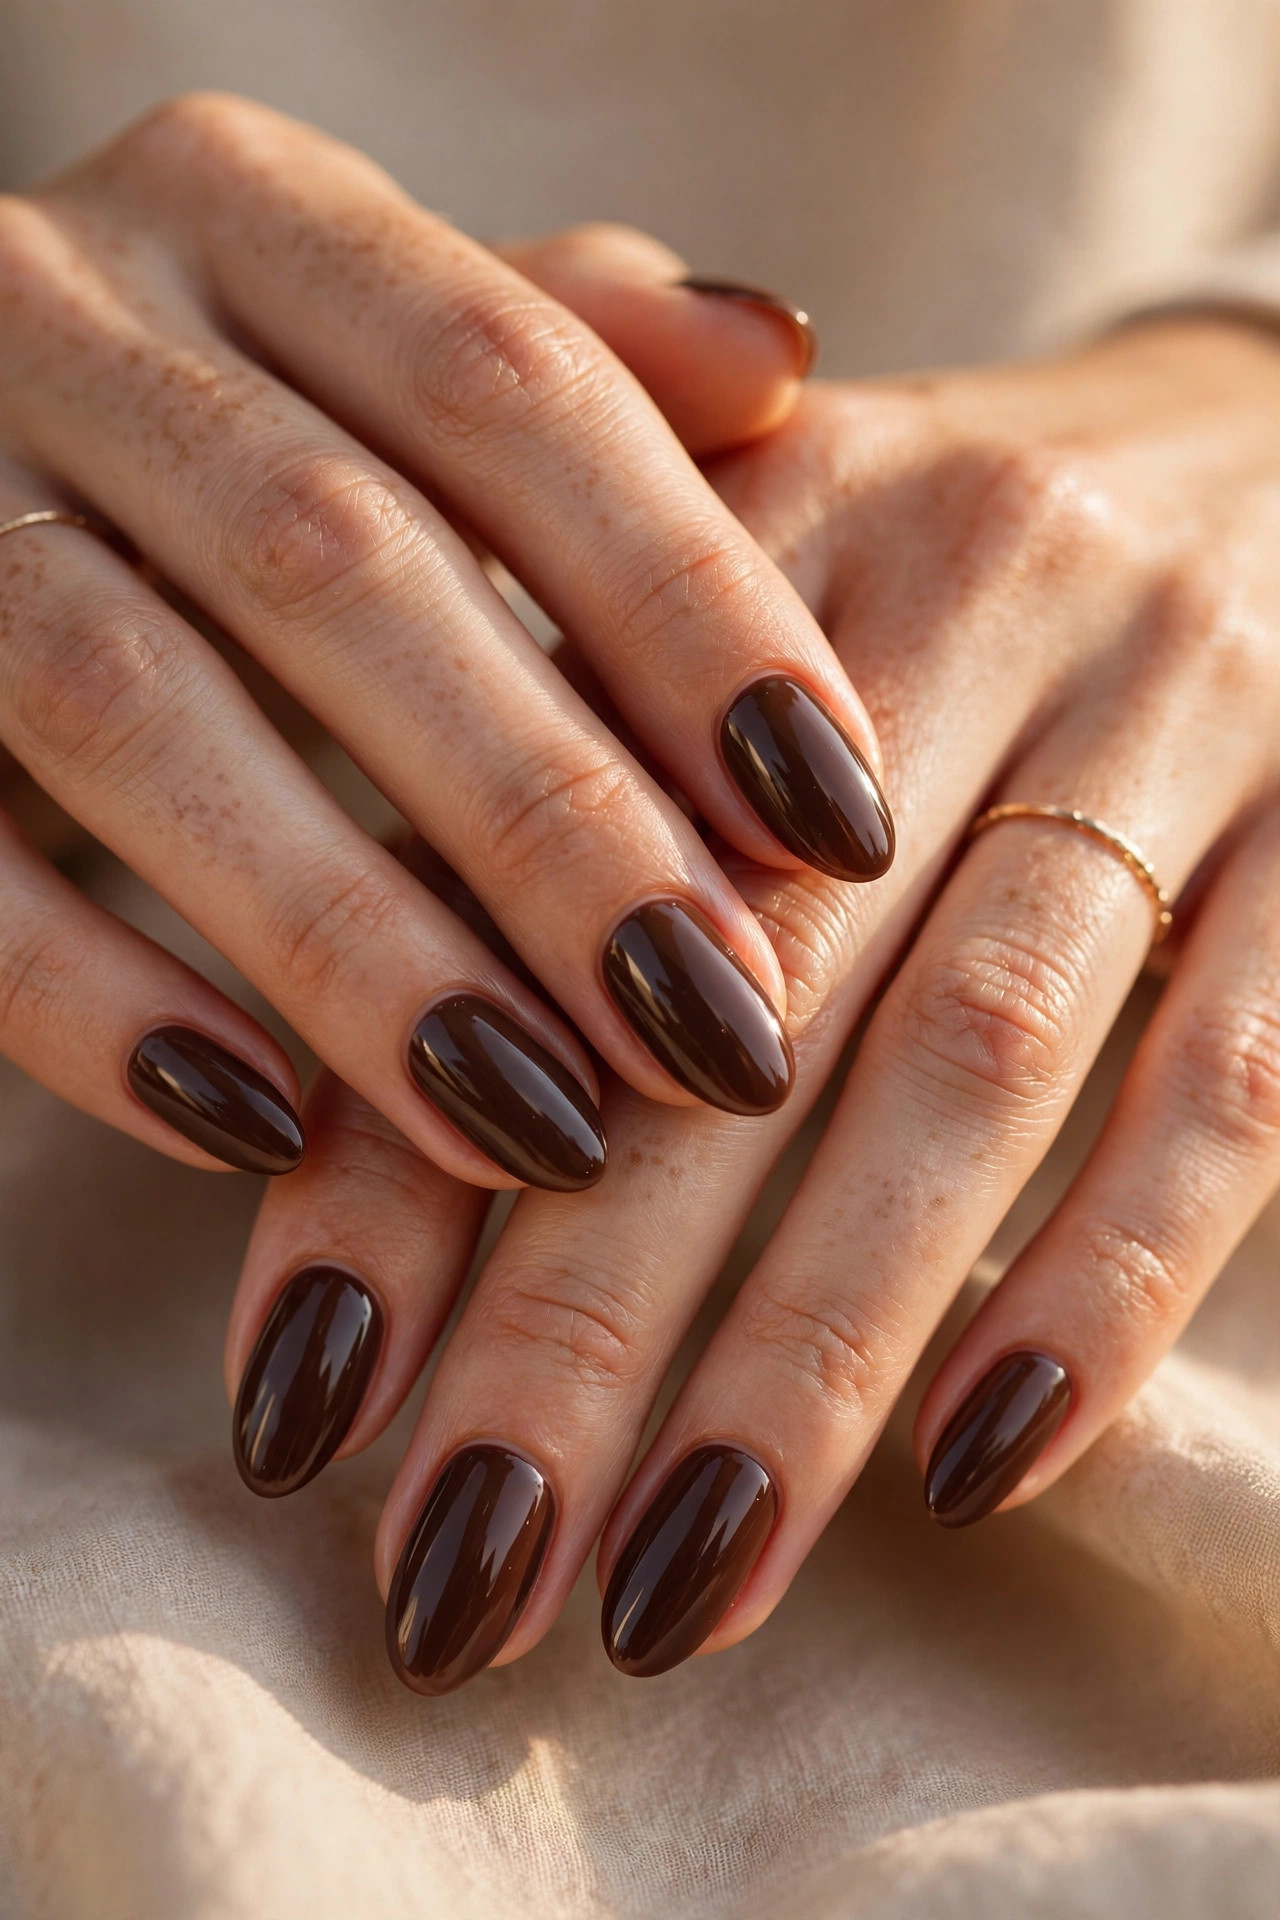
13. Chocolate Glaze. Two coats of rich chocolate brown with an extra-glossy top coat for the wet glaze effect. The shine makes chocolate look edible and expensive. Two layers of top coat give the wettest glaze – let the first dry fully before the second. Difficulty: beginner. Time: 15 minutes.
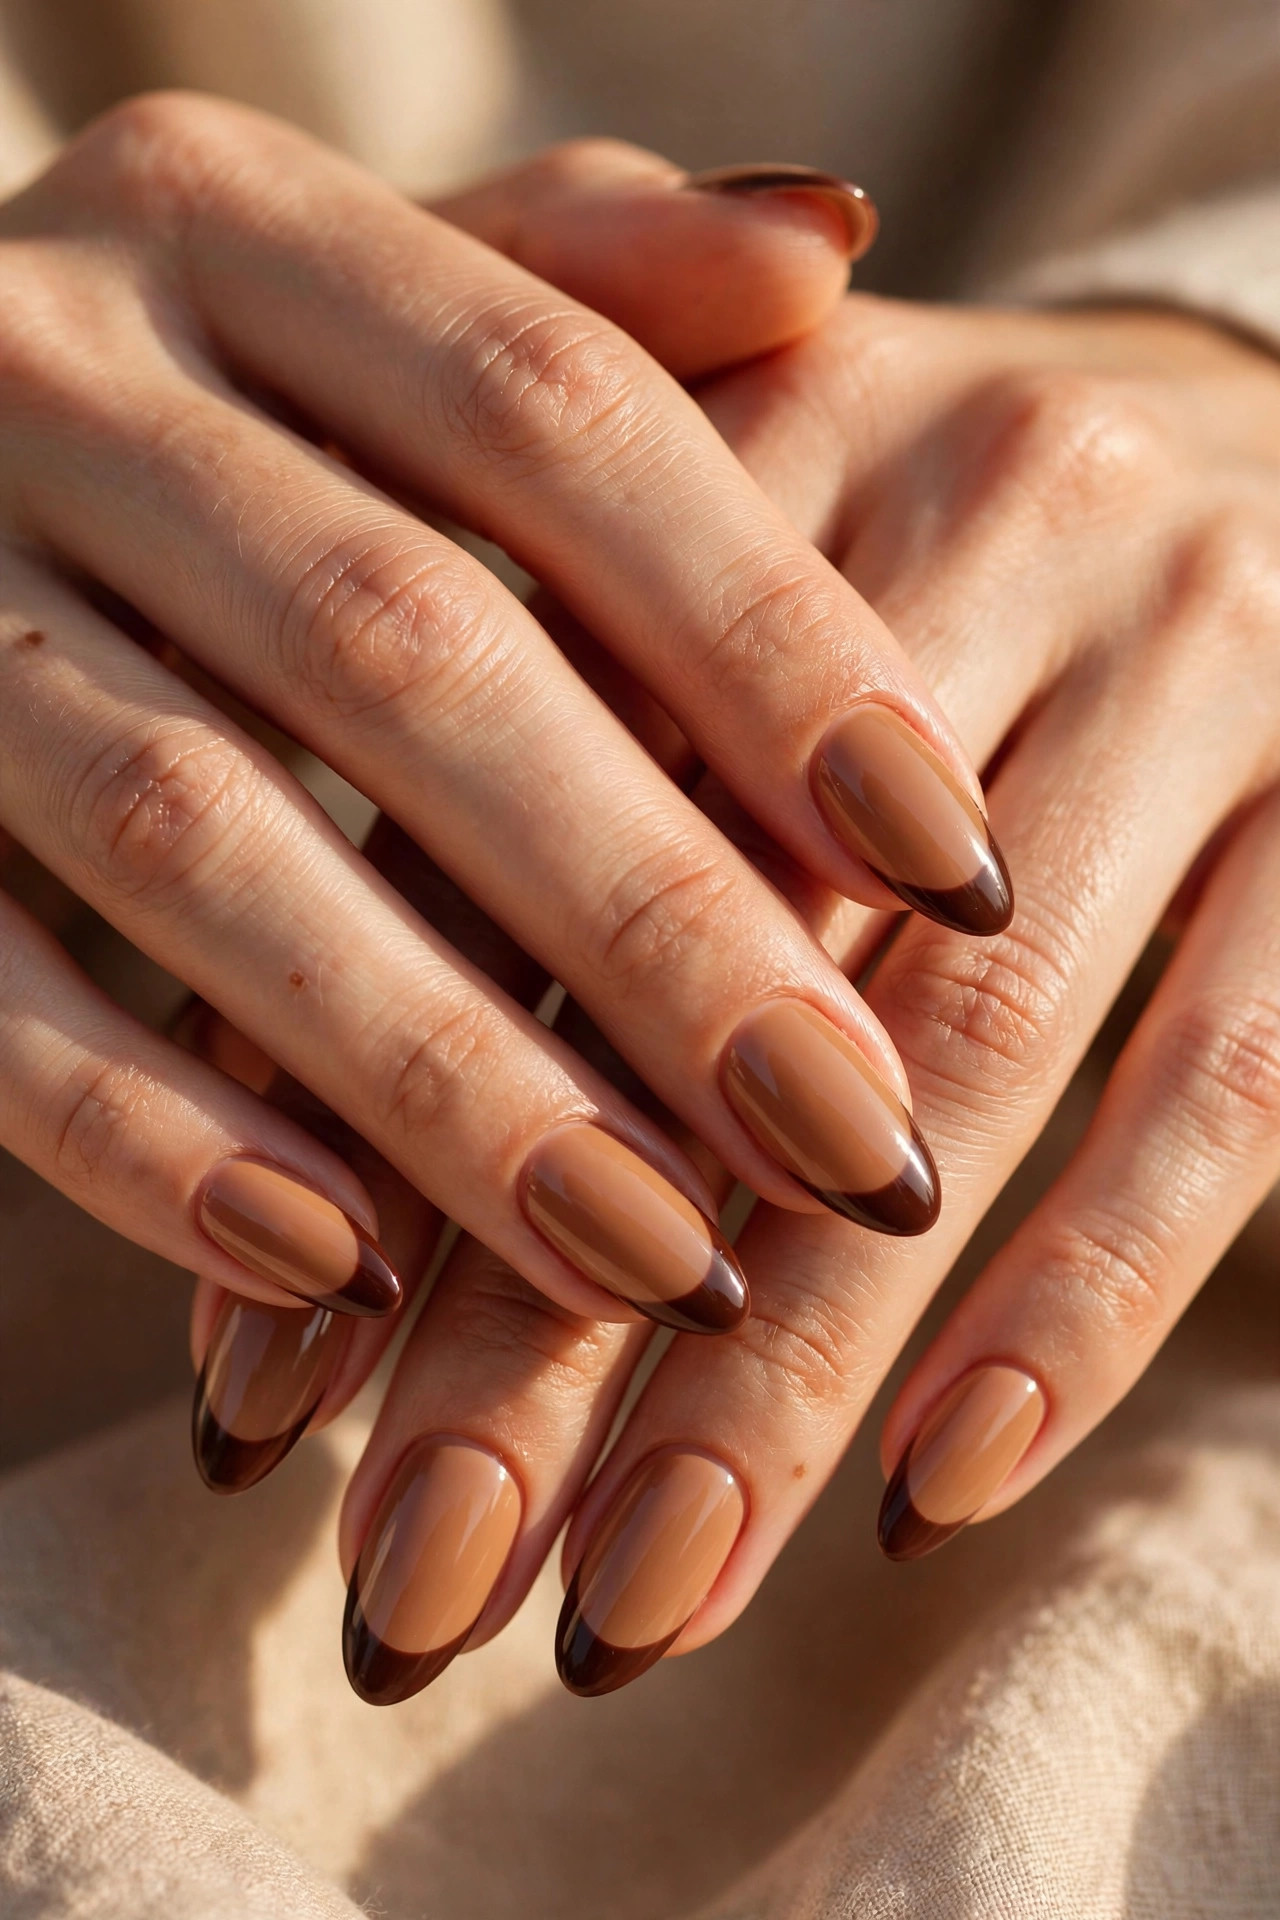
14. Chocolate French on Caramel Base. Caramel base with deep chocolate tips – a tonal French that is softer than black tips but more interesting than nude. The two-tone brown combination is very current. Difficulty: easy-intermediate. Time: 25 minutes.
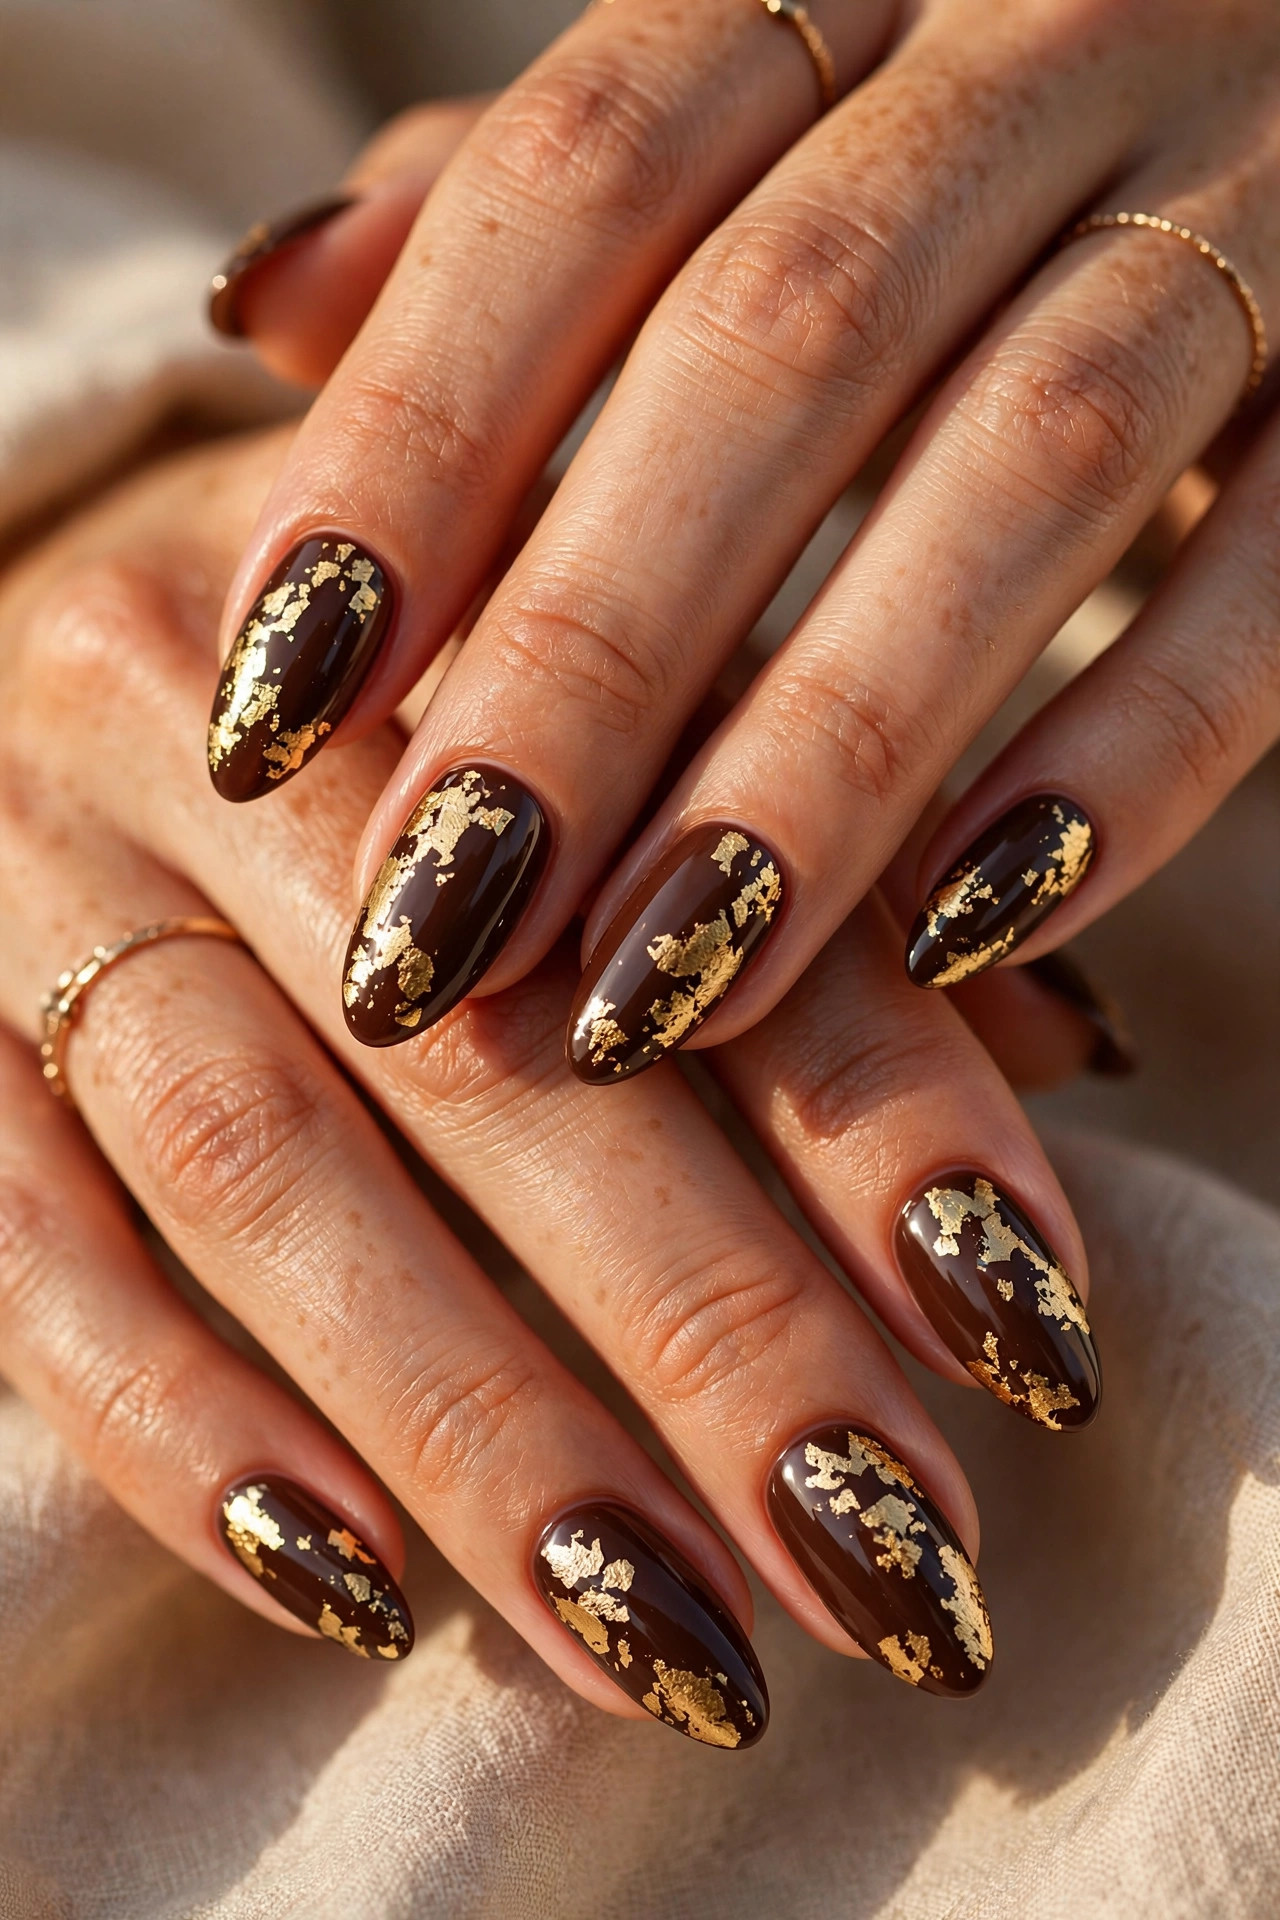
15. Gold Leaf on Chocolate. Chocolate base with gold leaf flakes pressed onto the tacky polish and sealed with two coats of top coat. Gold on chocolate is the most luxurious combination on this list. Place larger flakes near the cuticle and smaller ones toward the tip for a balanced composition. Difficulty: easy-intermediate. Time: 30 minutes.
16. Chocolate Tortoise. The deeper version of design 5: chocolate, amber, and near-black dabs layered and melted together. Richer and moodier than caramel tortoise, perfect for evening. Difficulty: intermediate. Time: 35 minutes.
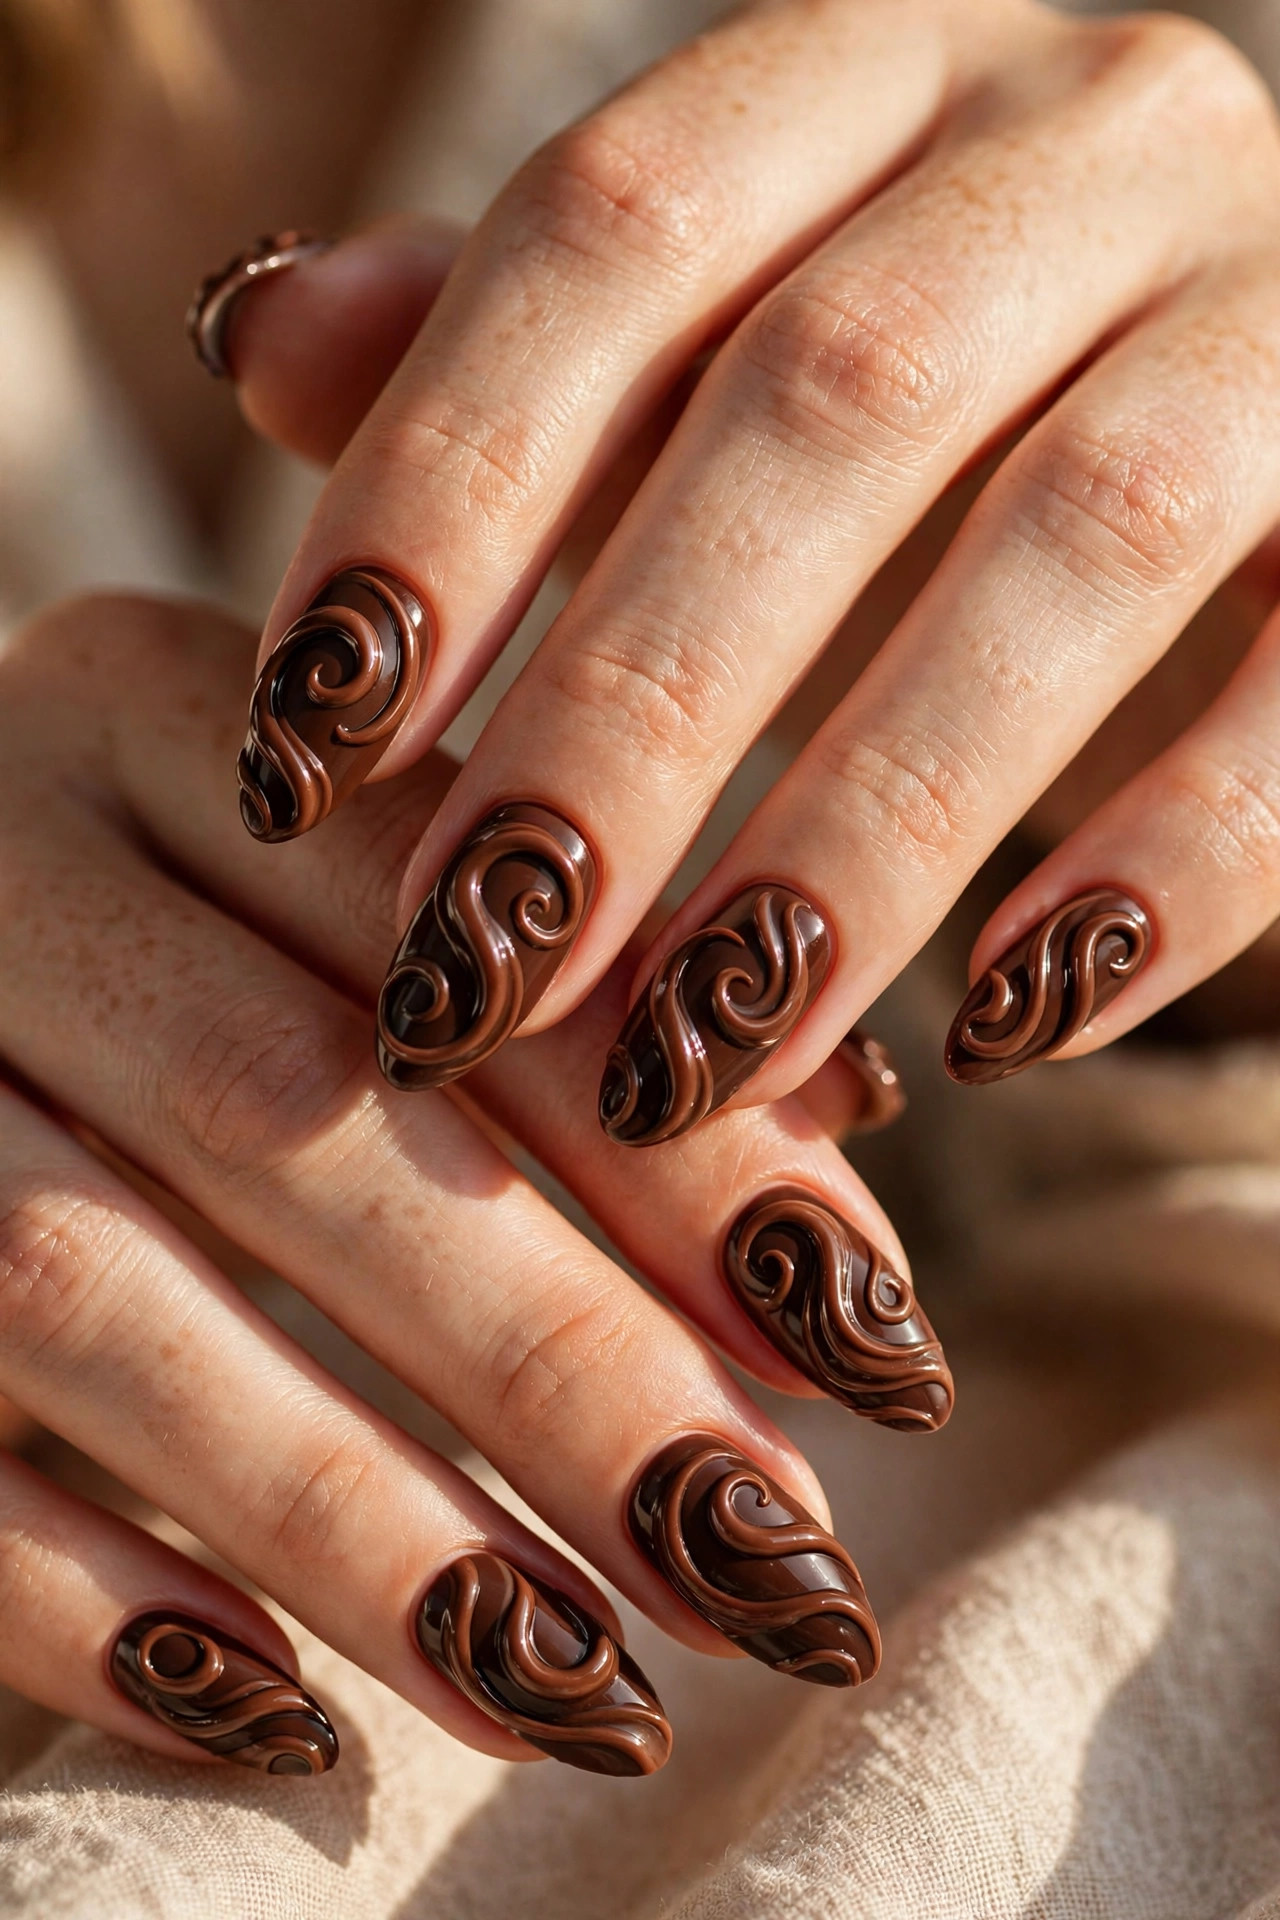
17. Cocoa Swirl 3D. Chocolate base with raised 3D swirls – apply thick builder gel or 3D gel in swirl patterns and cure, then top coat. The dimensional texture catches light beautifully. Needs a gel lamp. Difficulty: advanced. Time: 60 minutes.
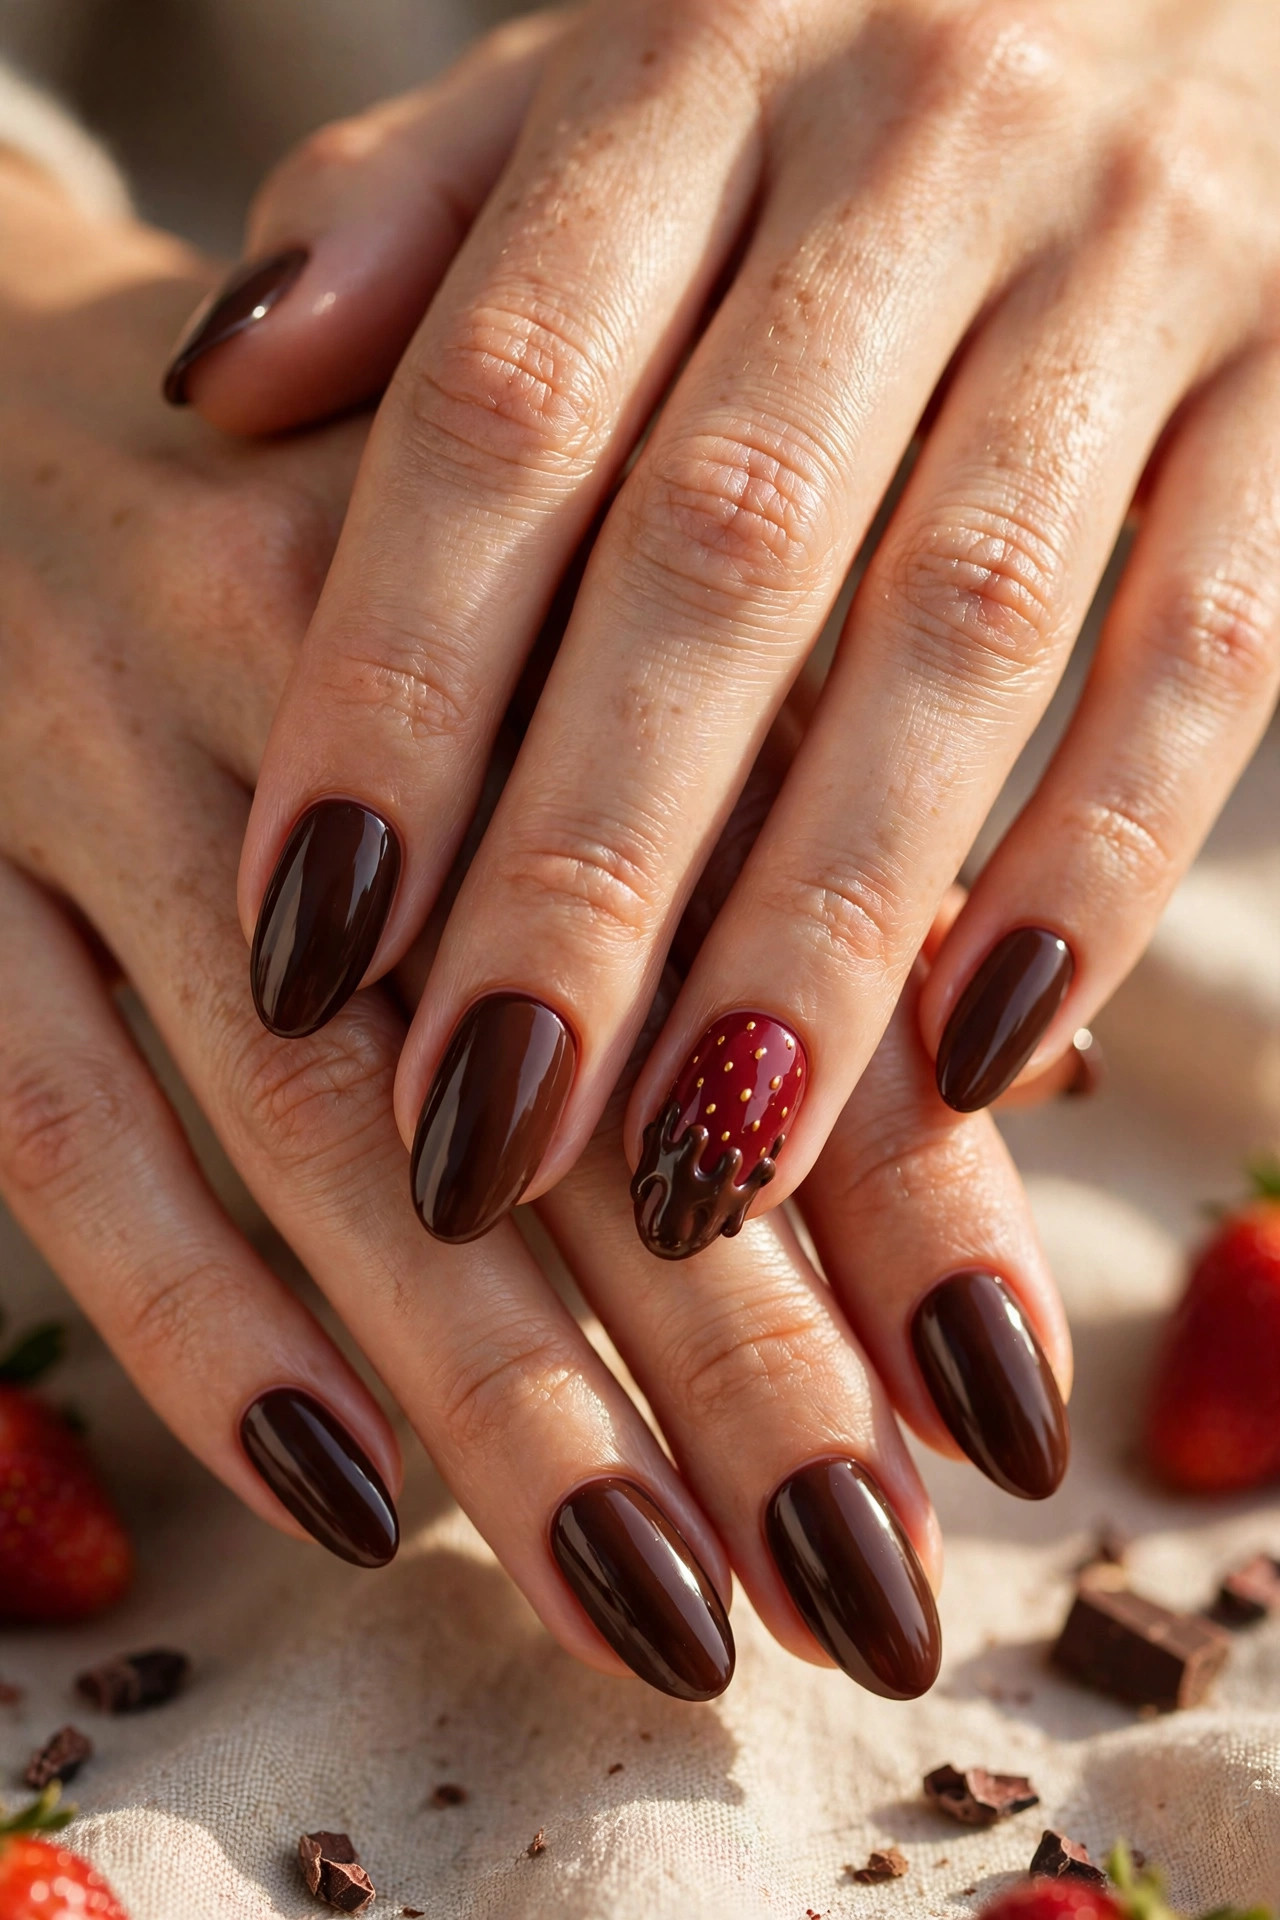
18. Chocolate-Covered Strawberry Accent. Chocolate base on most nails with one accent nail in deep berry red with chocolate tips – a playful nod to the treat. Cute for Valentine’s season or date nights. Difficulty: easy-intermediate. Time: 30 minutes.
Espresso Designs (19-25)
19. Espresso Gloss. Two coats of deep espresso with glossy top coat. Reads as soft black – dramatic but warmer and more wearable than true black. On fair skin this creates striking contrast; on deep skin it looks rich and tonal. Difficulty: beginner. Time: 15 minutes.
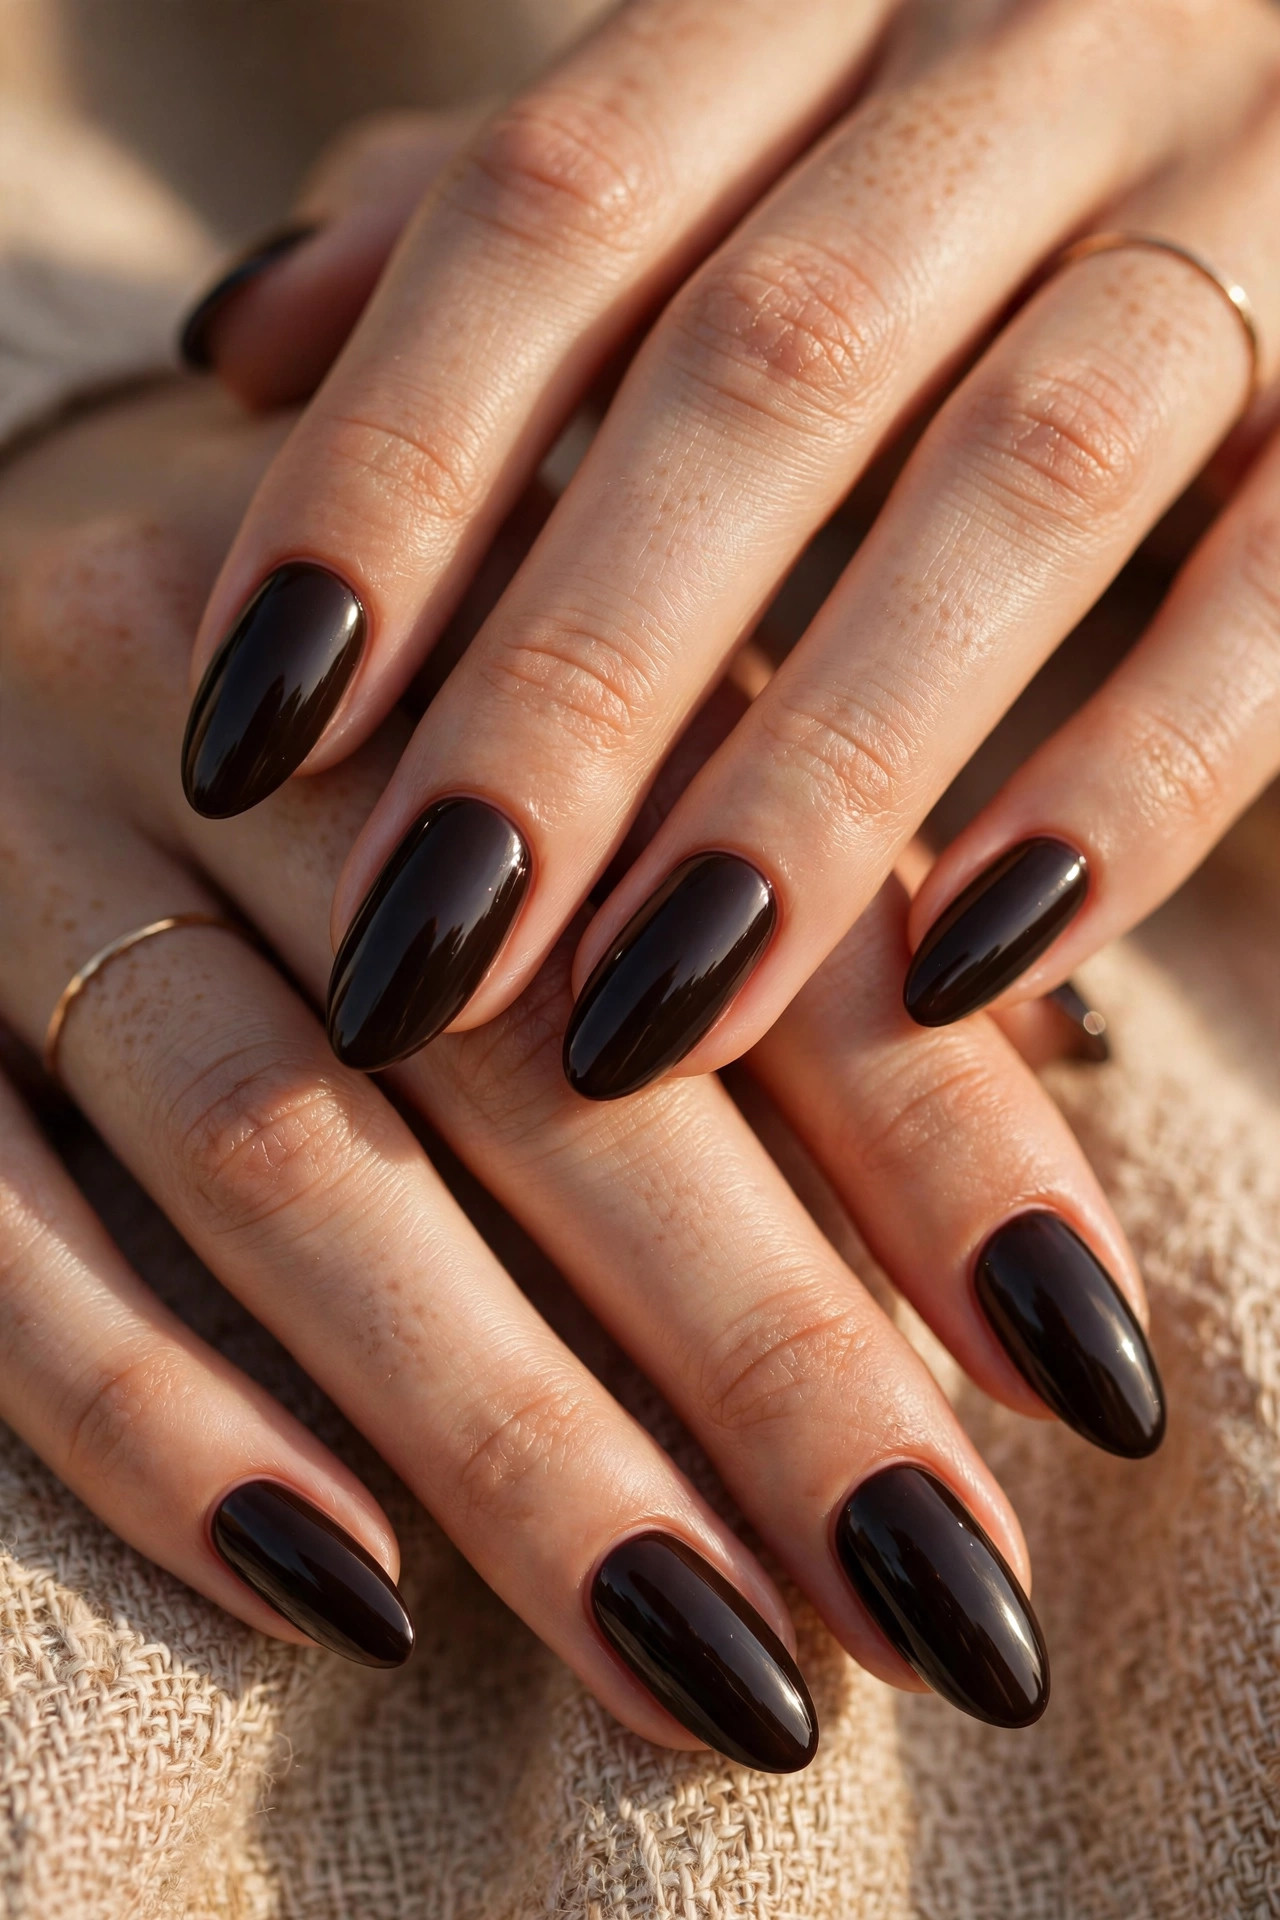
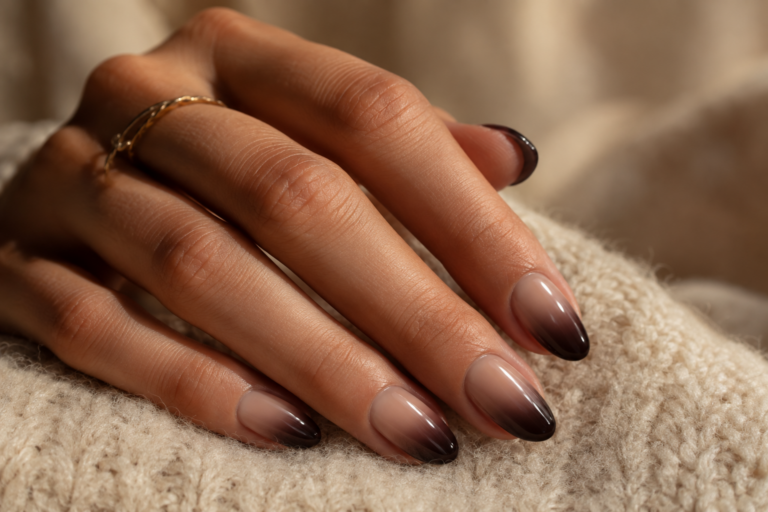
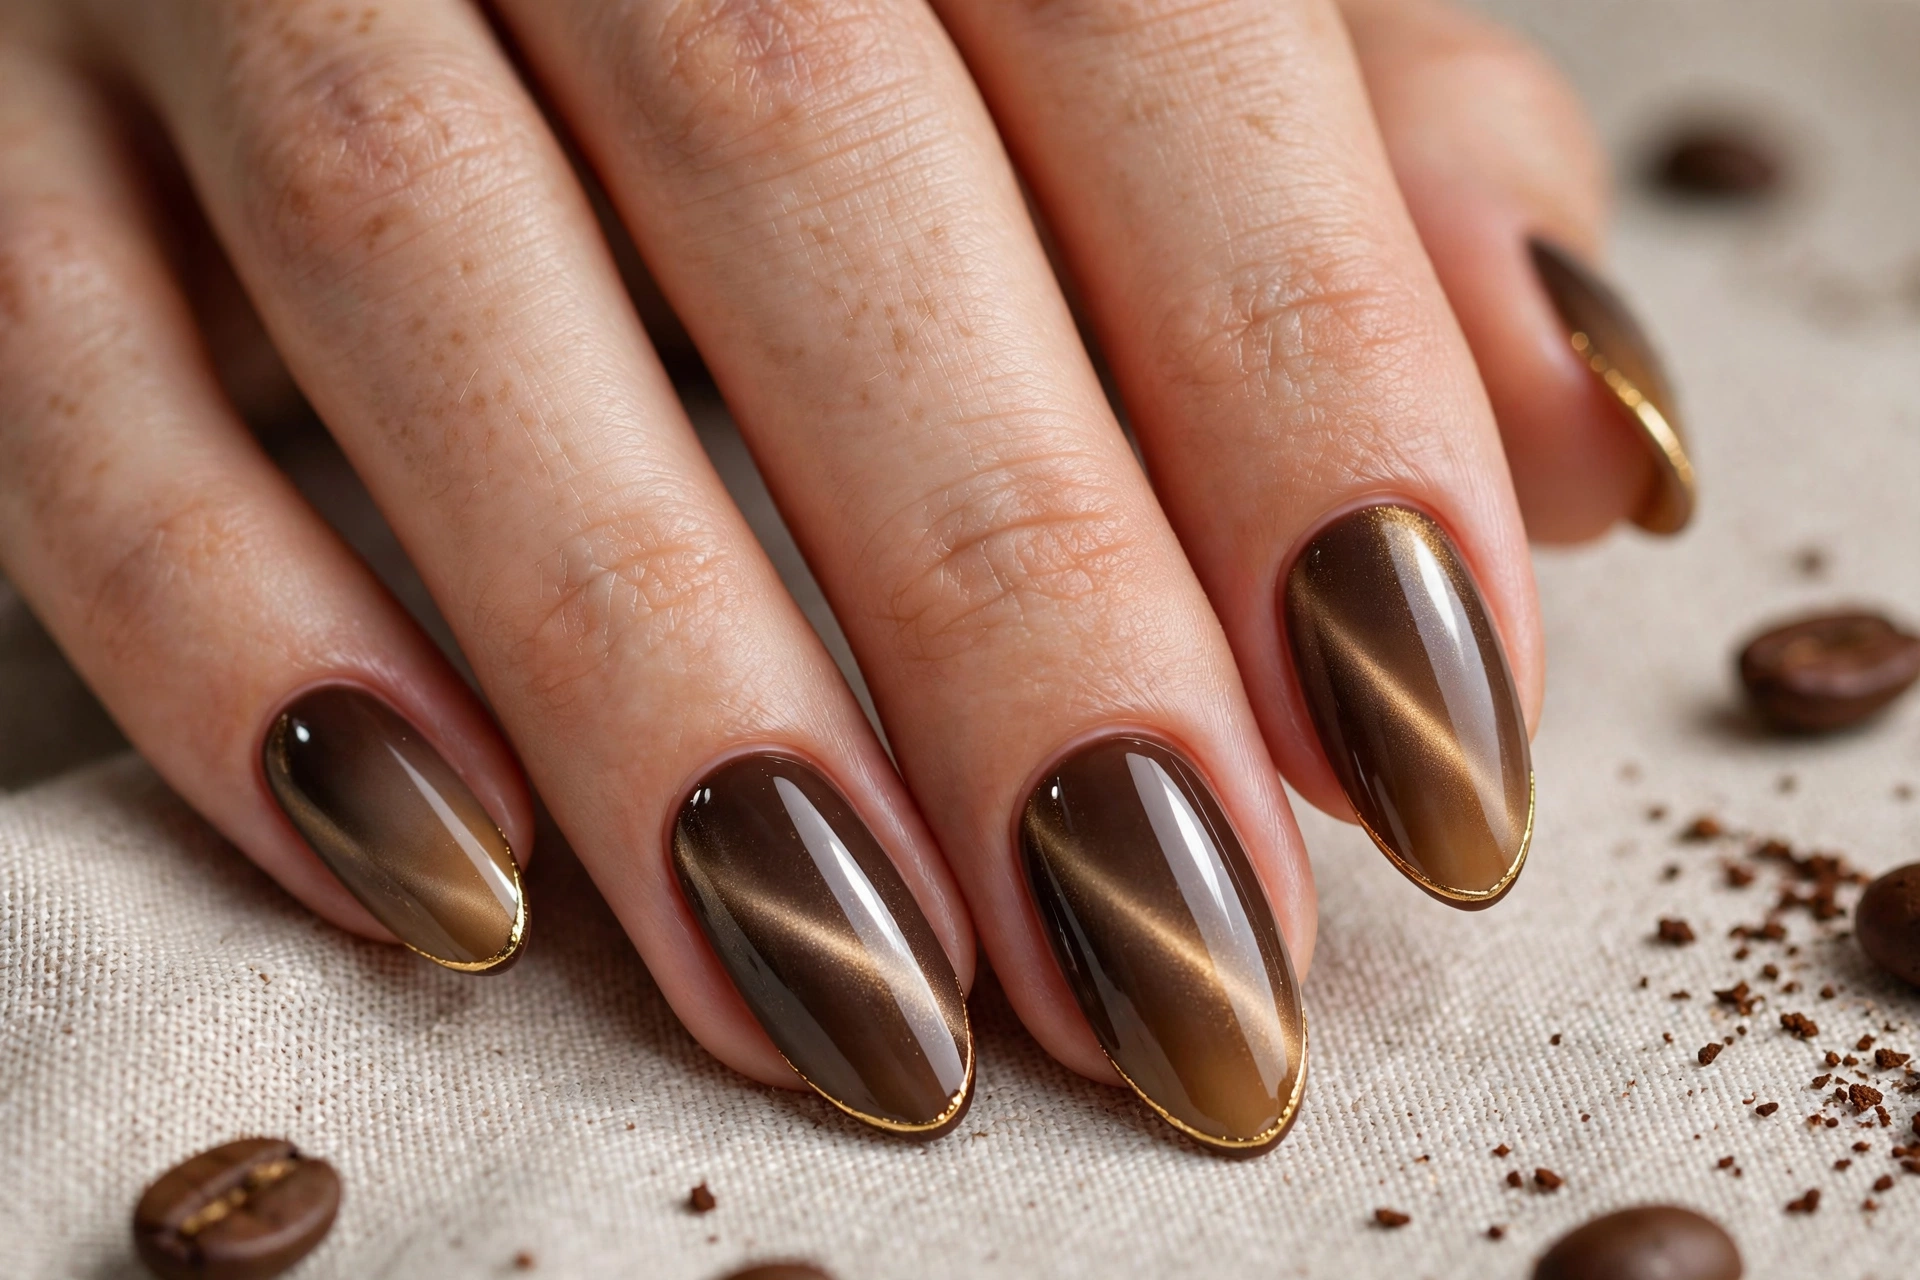
20. Espresso to Caramel Ombre. The full latte gradient on each nail: espresso at the tips melting to caramel at the cuticle (or reverse). Sponge-blend three tones – espresso, coffee, caramel – for the smoothest transition. Difficulty: intermediate. Time: 40 minutes.
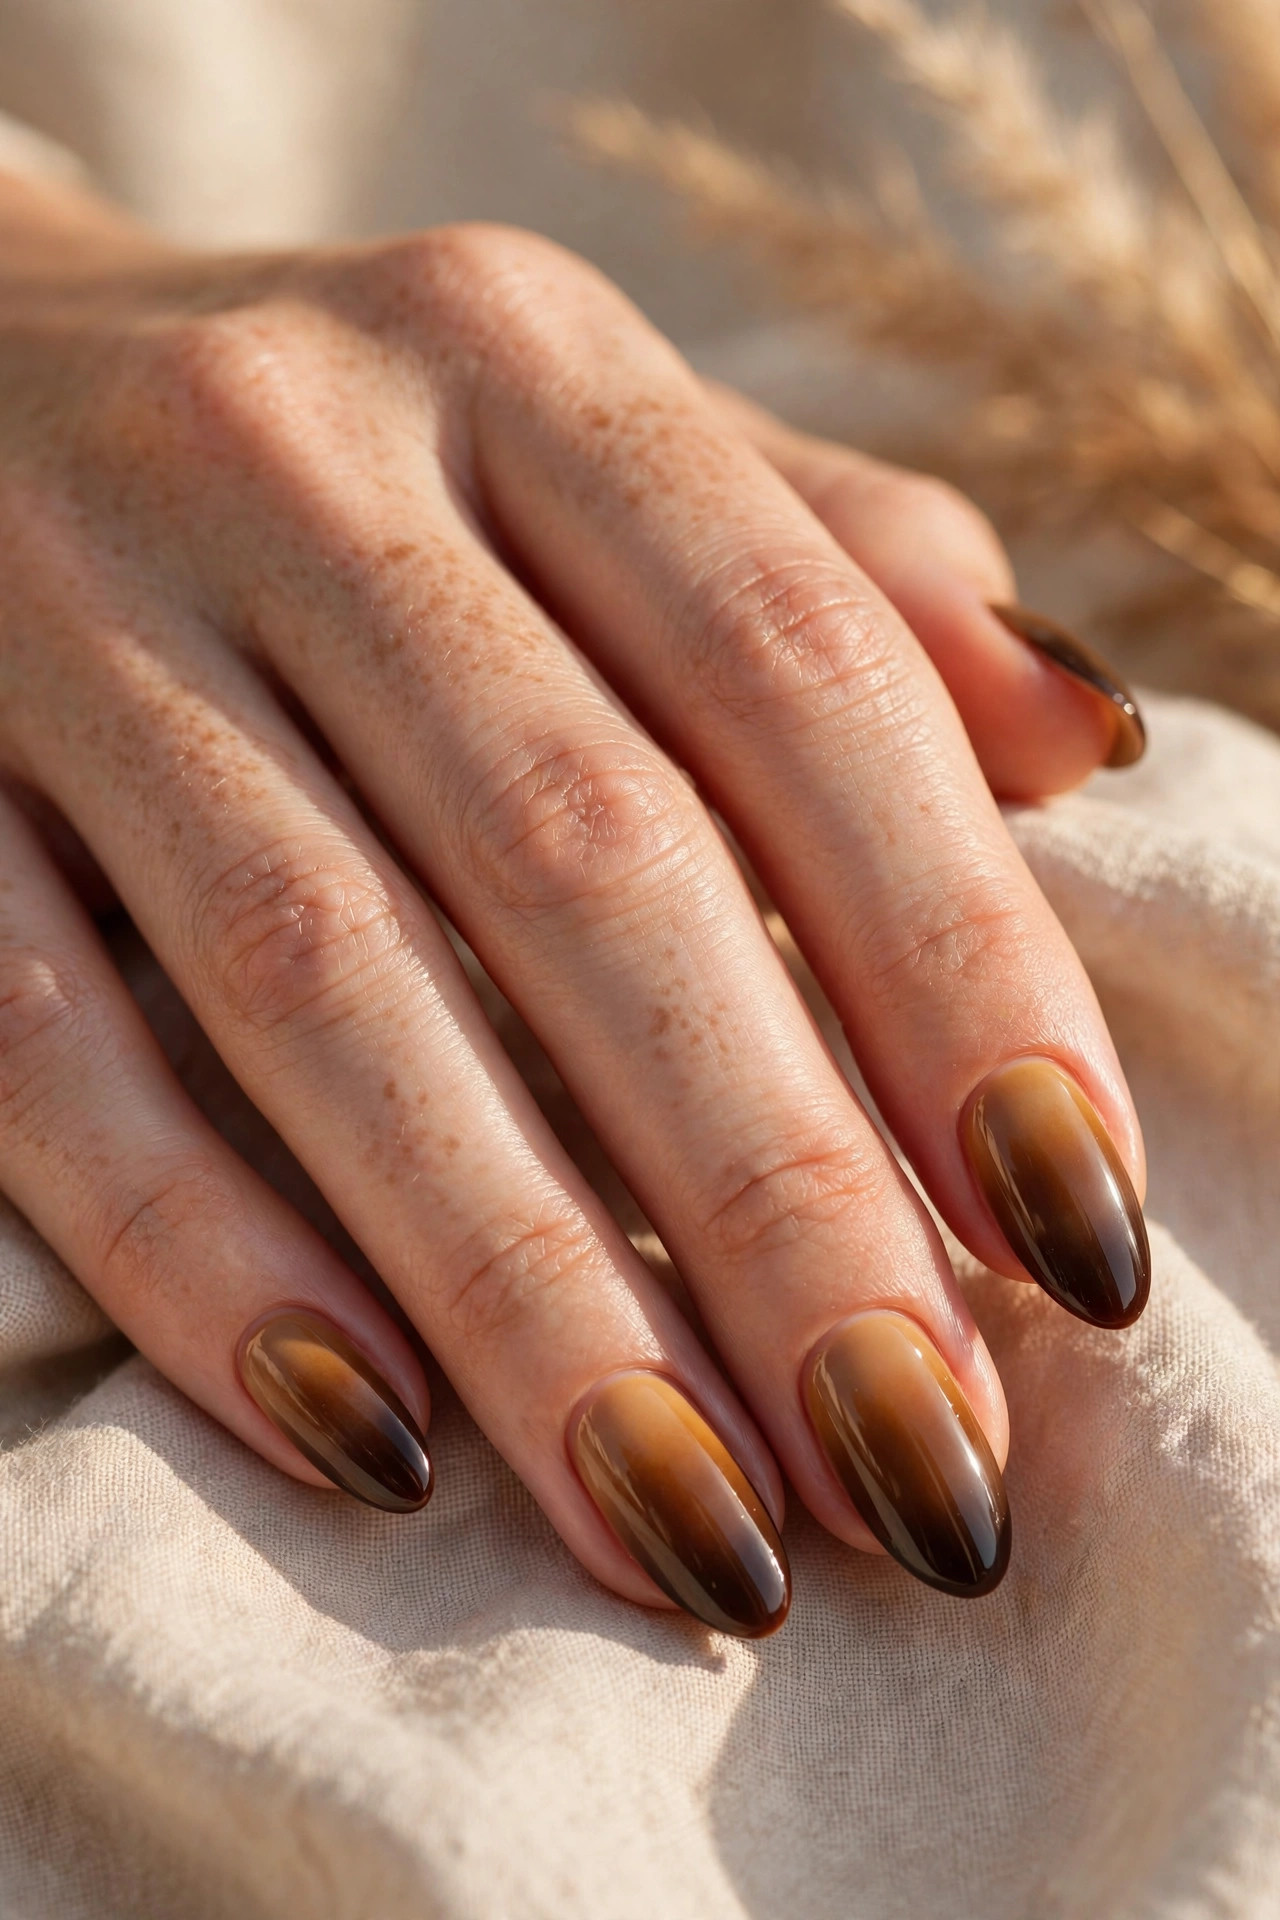
21. Espresso with Gold Micro-French. Espresso base with ultra-thin gold tips – just a millimeter of metallic at the free edge. Understated luxury that works in conservative offices. Difficulty: intermediate. Time: 35 minutes.
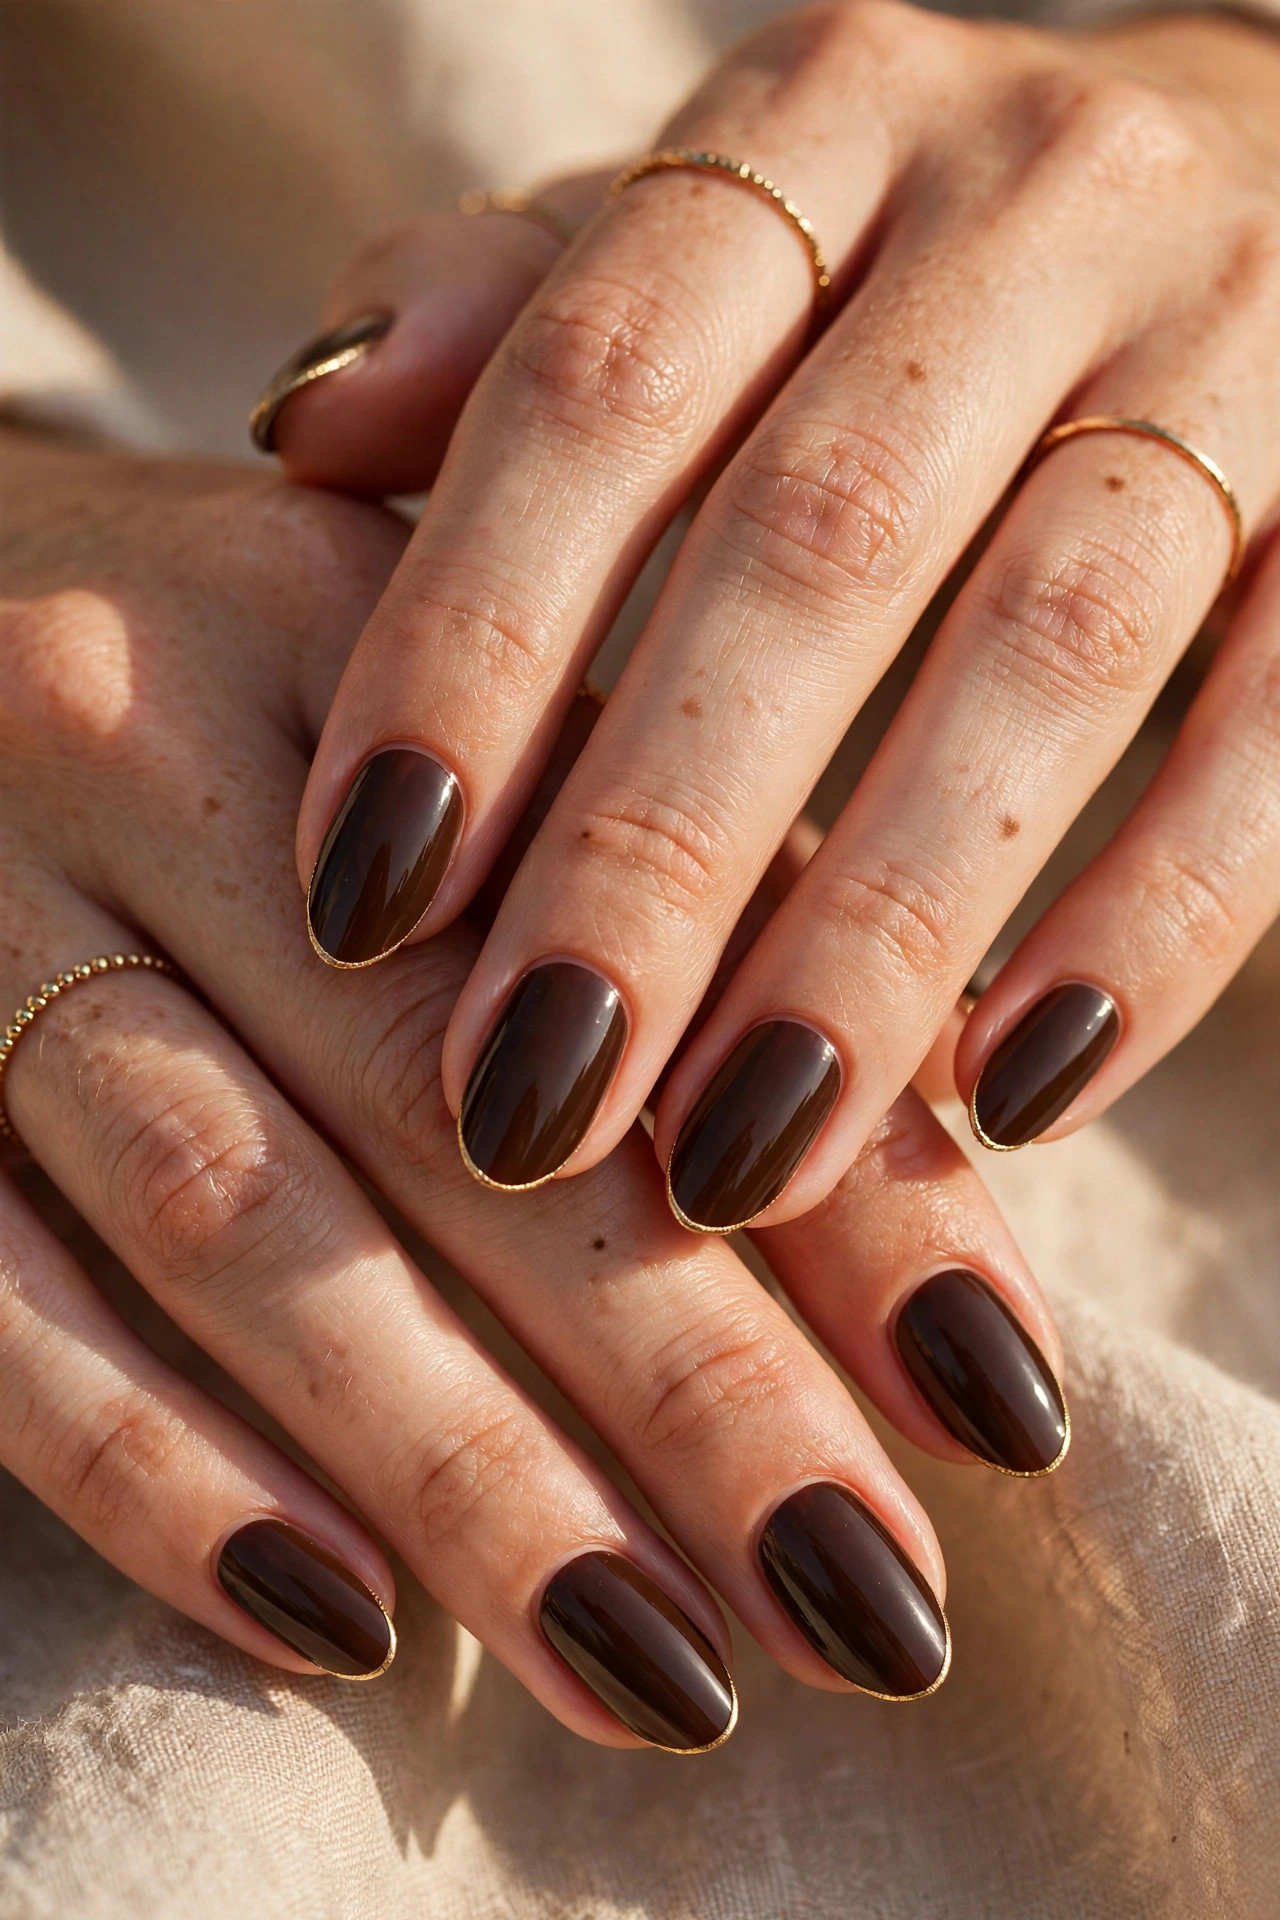
22. Velvet Espresso. Espresso with matte top coat for a soft, velvety finish that looks like dark chocolate suede. Pair with glossy gold jewelry for contrast. Difficulty: beginner. Time: 15 minutes.
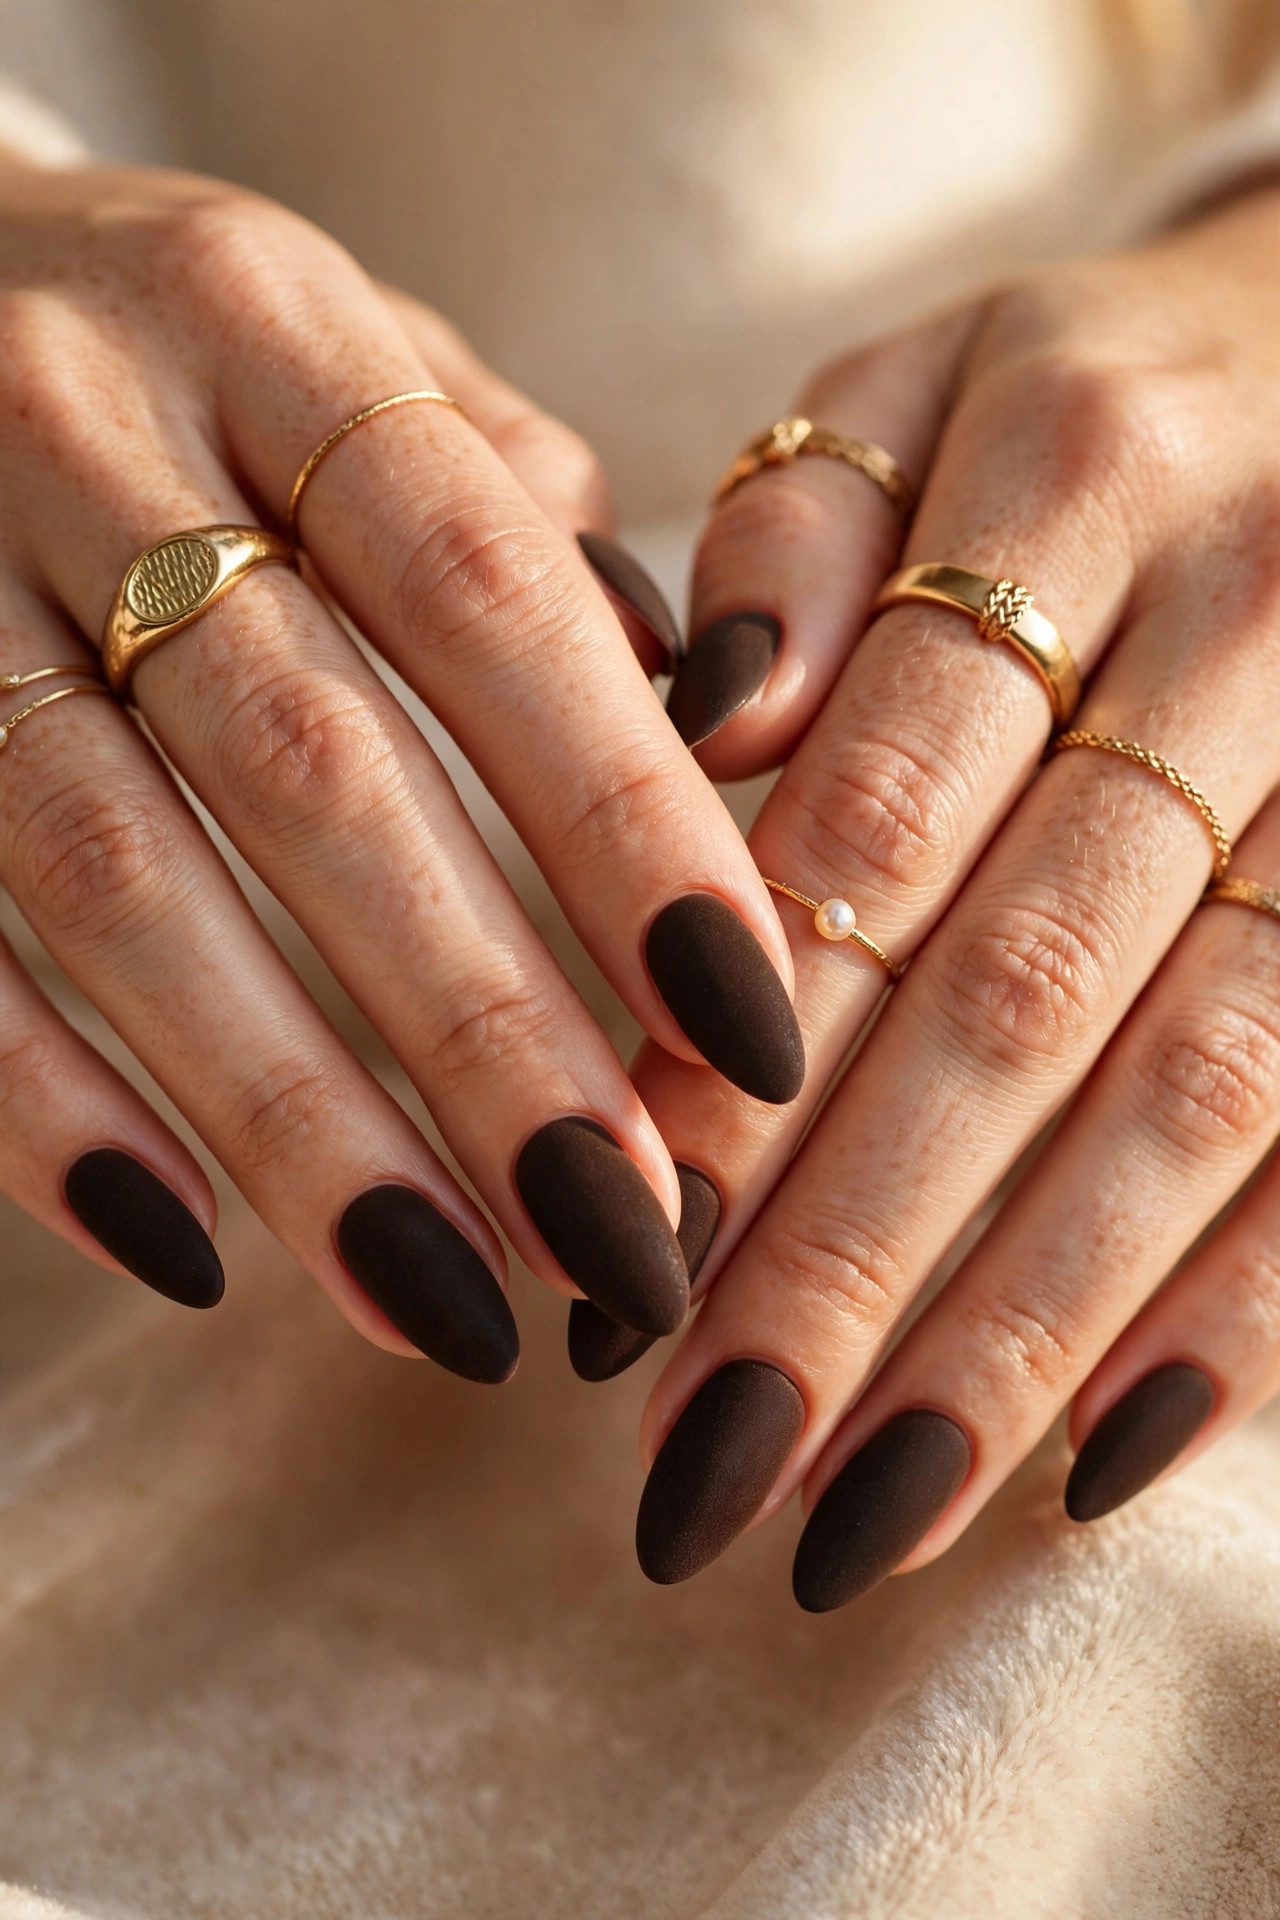
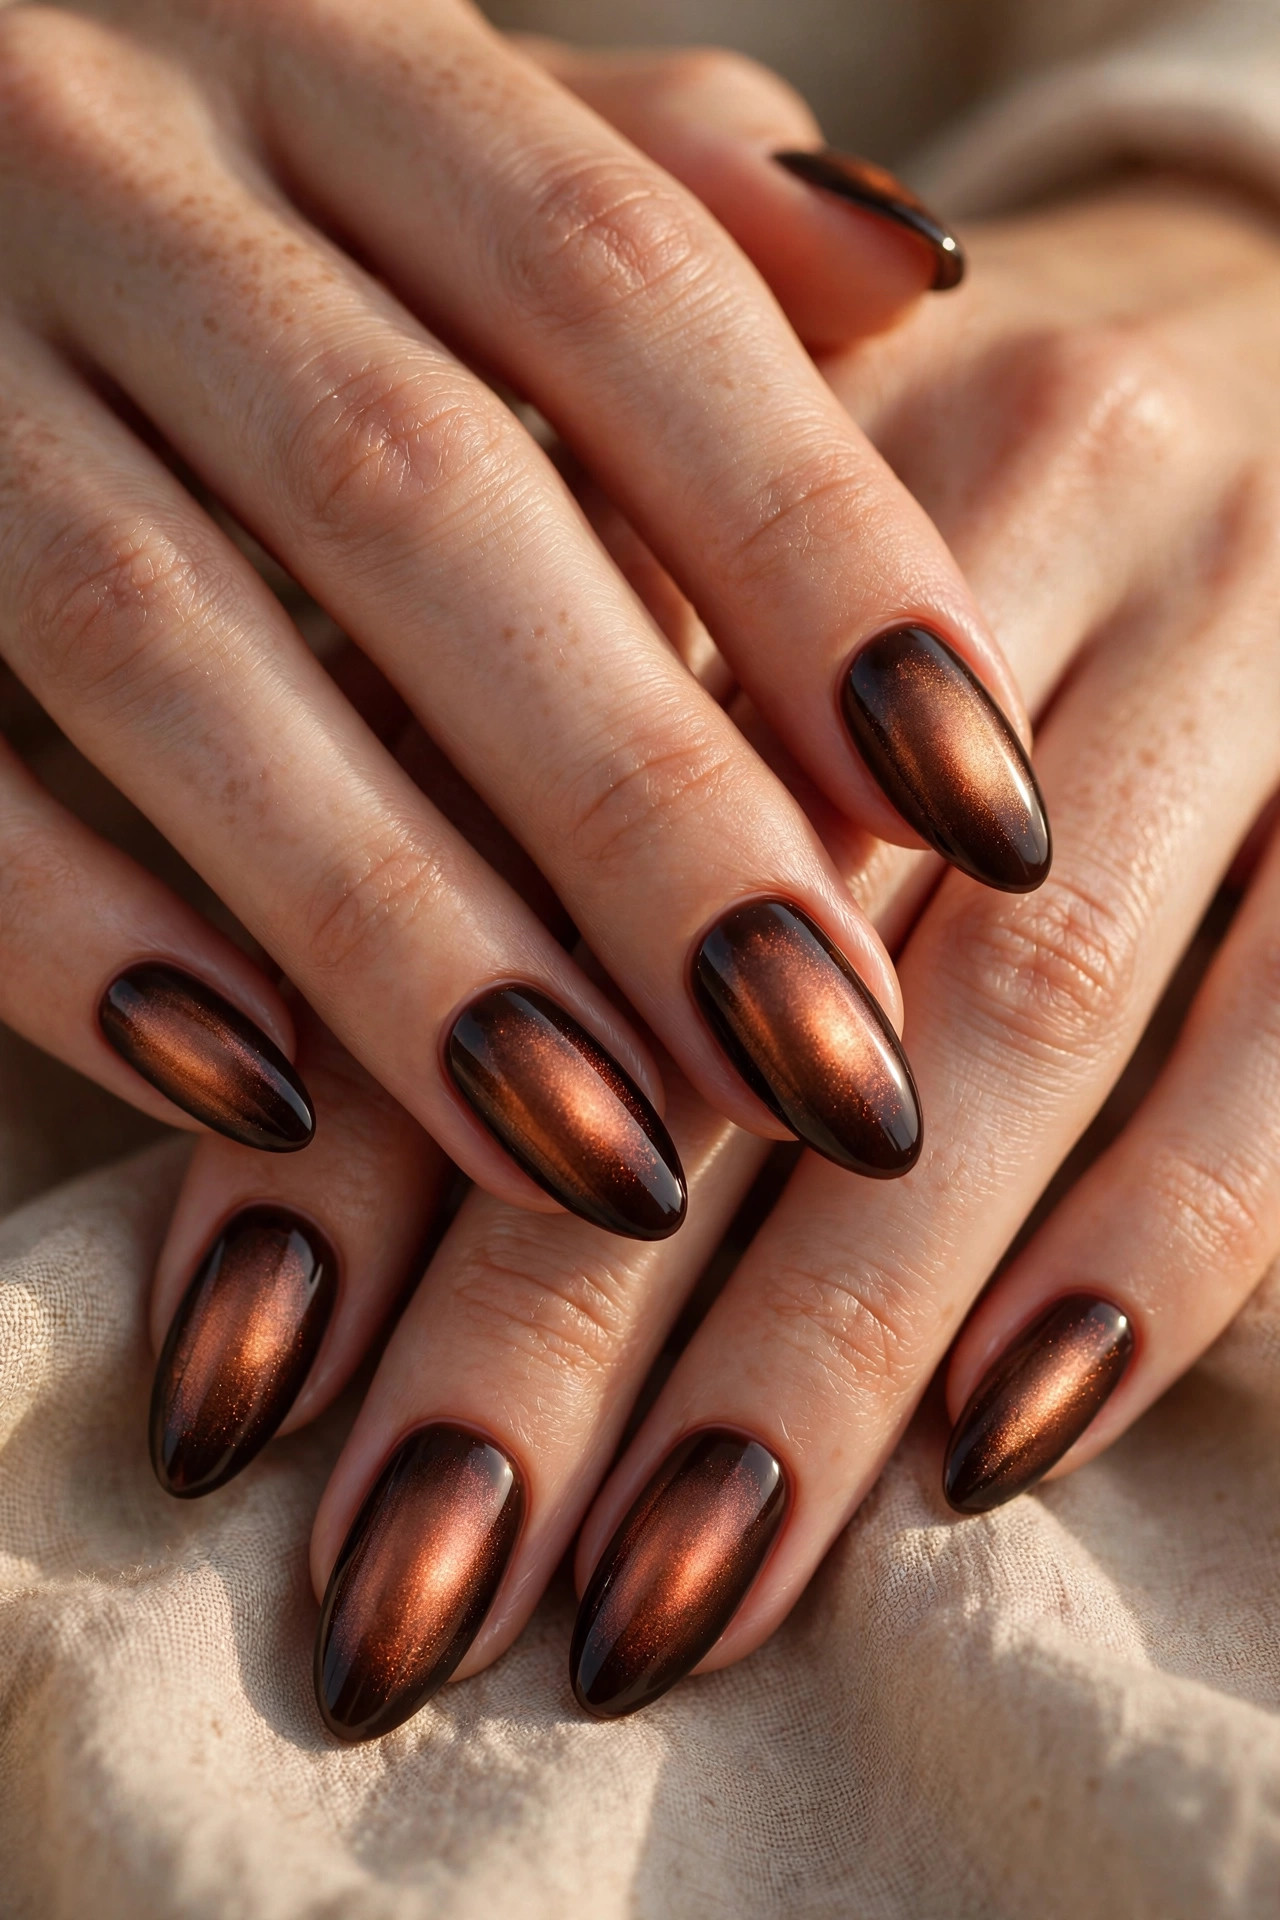
23. Espresso Aura with Copper Center. Espresso base with copper shimmer sponged into the center aura-style. The warm metallic heart inside the dark base is mesmerizing in motion. Difficulty: intermediate. Time: 40 minutes.
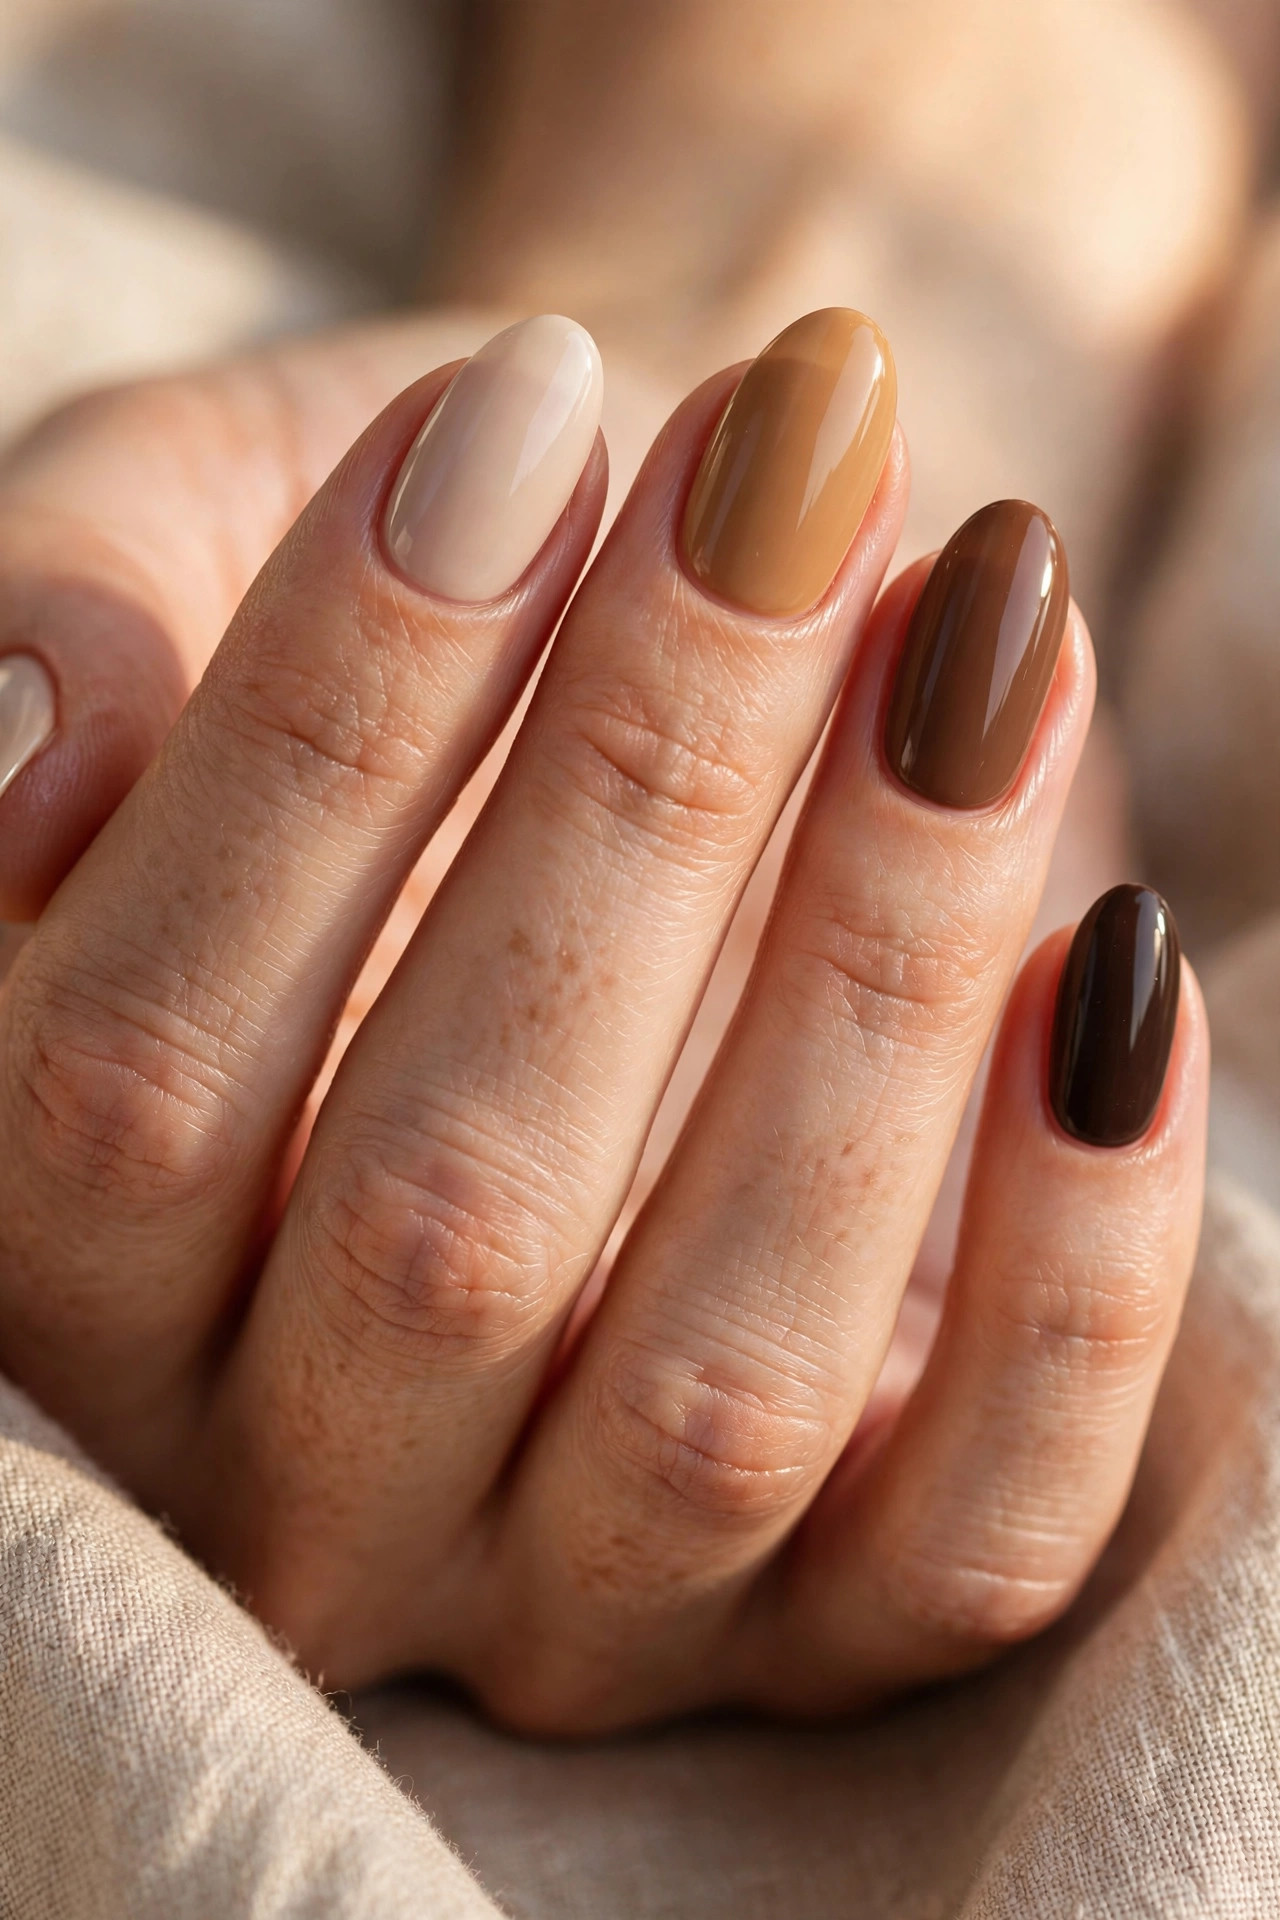
24. Mixed Latte Skittle. Each nail a different latte tone in gradient order across the hand: milky, caramel, coffee, chocolate, espresso. The skittle manicure shows the whole palette at once and needs no art skills. Order the tones from lightest (thumb) to darkest (pinky) for the most intentional gradient effect. Difficulty: beginner. Time: 20 minutes.
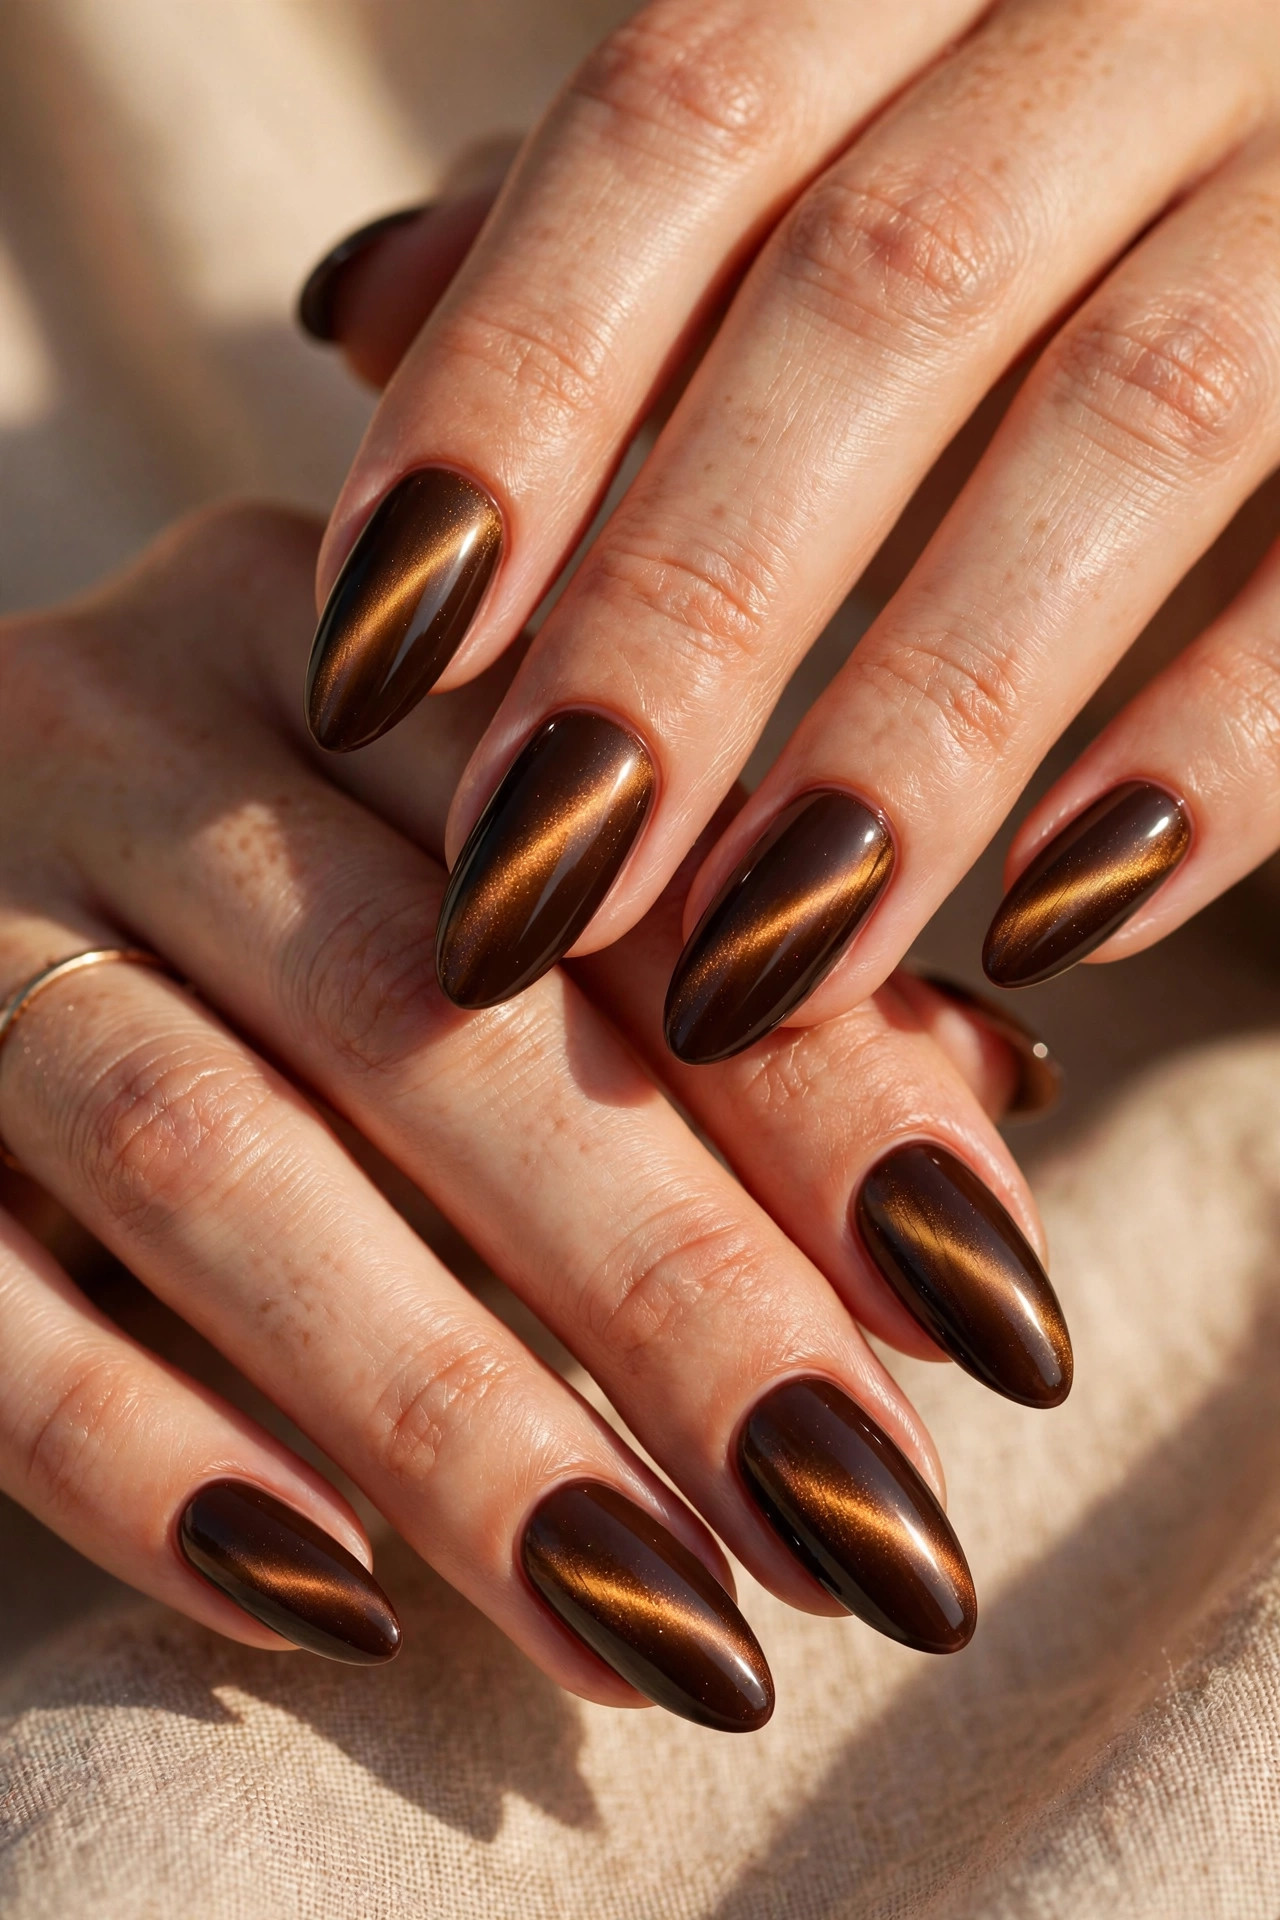
25. Espresso Cat-Eye. Deep brown magnetic cat-eye gel polish with the light band positioned diagonally for drama. Looks like tiger’s eye gemstone. Needs a UV lamp. Difficulty: intermediate. Time: 45 minutes.
What Nail Shapes Suit Latte Tones Best?
Shape changes how latte browns read. Almond is the ideal latte shape – the tapered silhouette elongates fingers and the smooth curve shows off gradient and swirl designs beautifully. Most of the Pinterest inspiration for this trend is on almond nails, and the shape’s elegance matches the creamy palette. Oval is the softer cousin, equally flattering and slightly more practical for daily life.
Coffin/ballerina gives latte nails a bolder, more fashion-forward edge – chocolate and espresso on long coffins look dramatic and expensive. This is the shape for designs 16, 17, and 25, where length shows off the art. Square (especially short square) makes latte tones look modern and graphic; short chocolate square nails are a favorite among minimalists because the blunt shape contrasts nicely with the soft color. Round short nails in caramel or coffee are the most natural-looking option – the “my nails but better” of the latte world, perfect if you want the trend whisper-quiet.
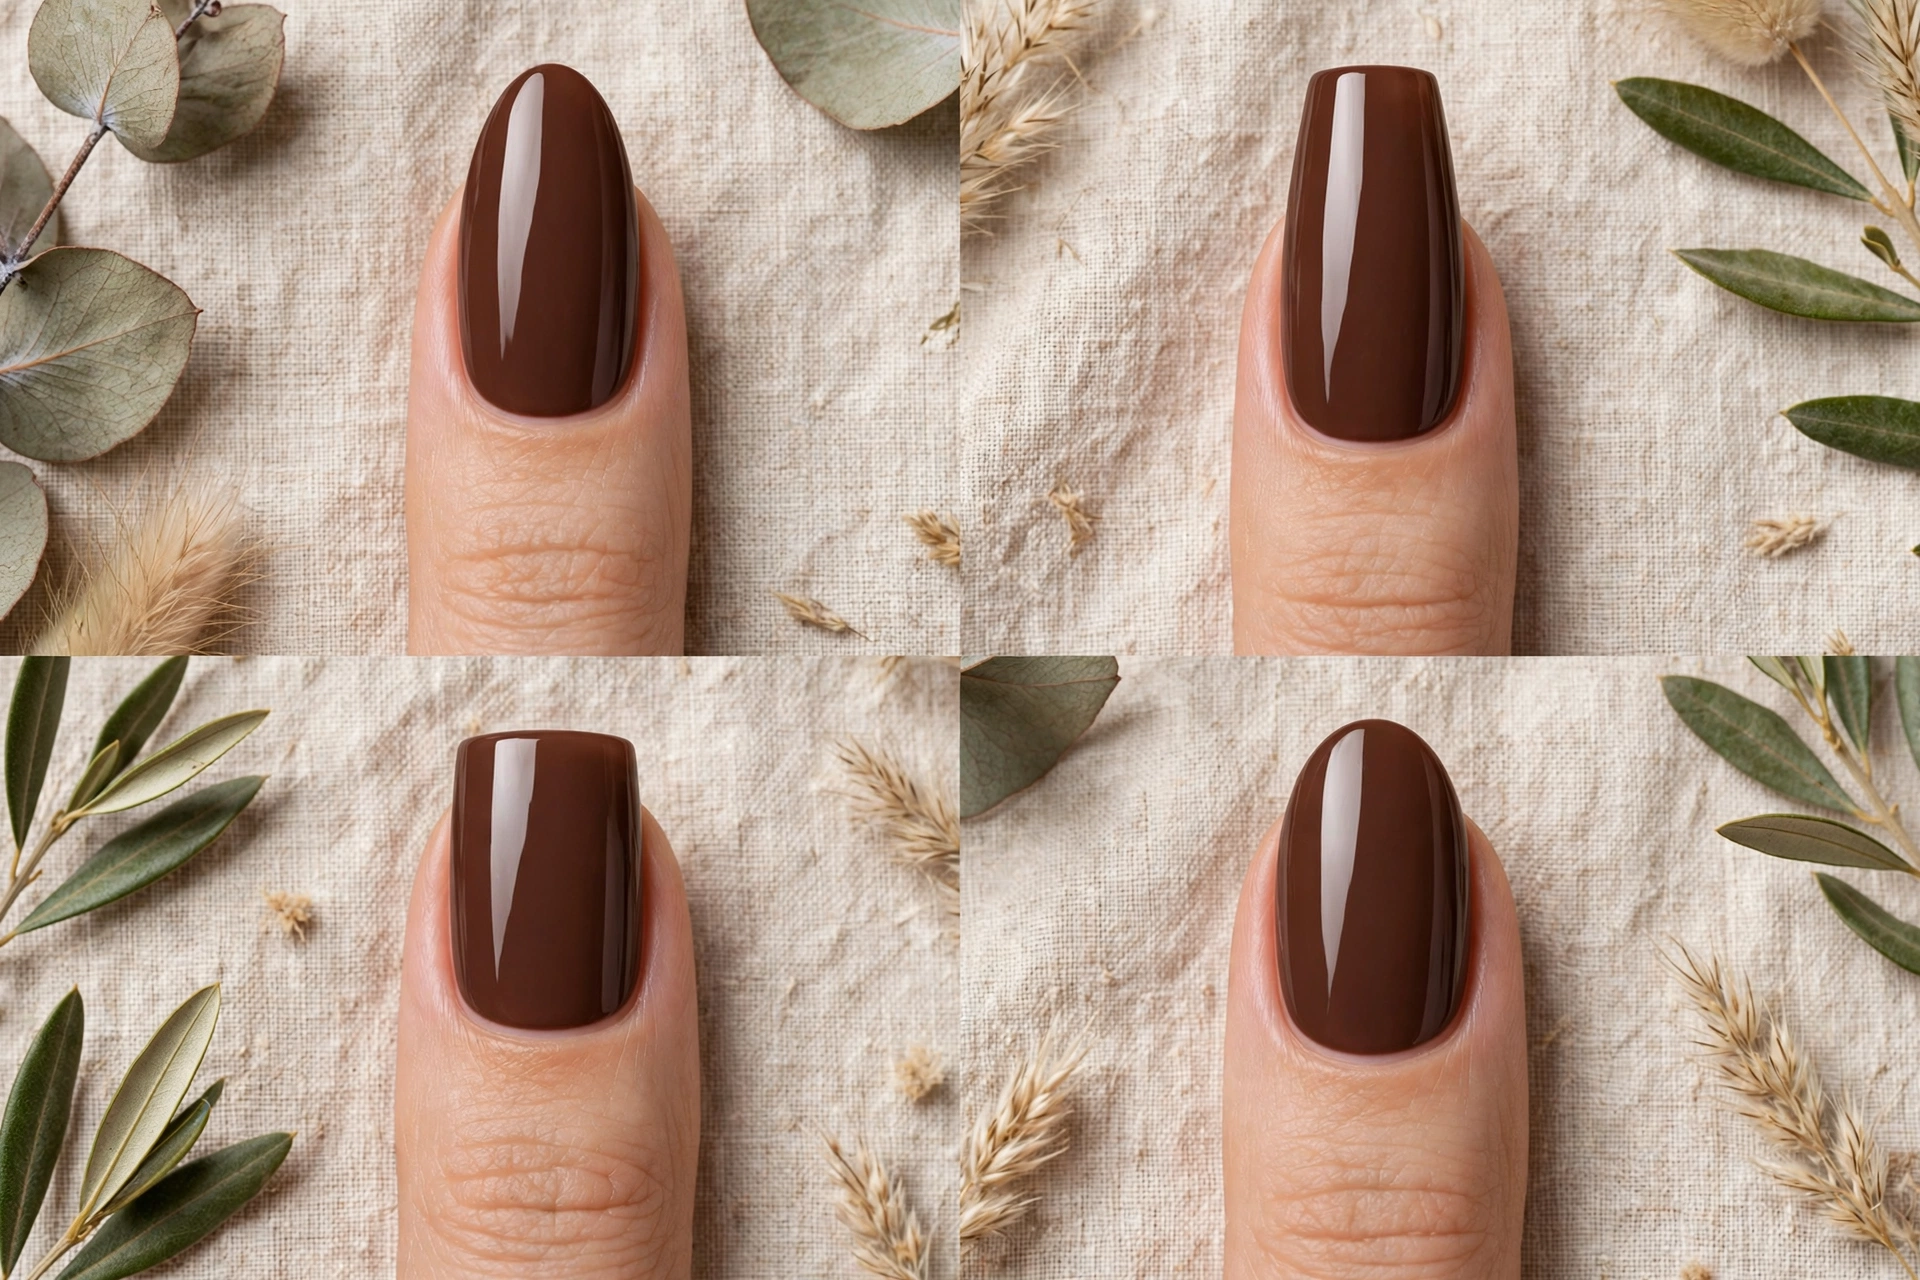
Length guidance: the gradient, ombre, and aura designs (6, 7, 20, 23) need medium to long nails to show the full color transition – on very short nails the gradient compresses and the effect is lost. Solid colors, French tips, and alternating sets (1, 2, 9, 13, 19, 24) look great at any length, including very short. If your nails are short, lean into designs 9 and 24 – the multi-tone sets turn short nails into a deliberate palette display rather than a limitation.
How Do You Style Latte Nails for the Season?
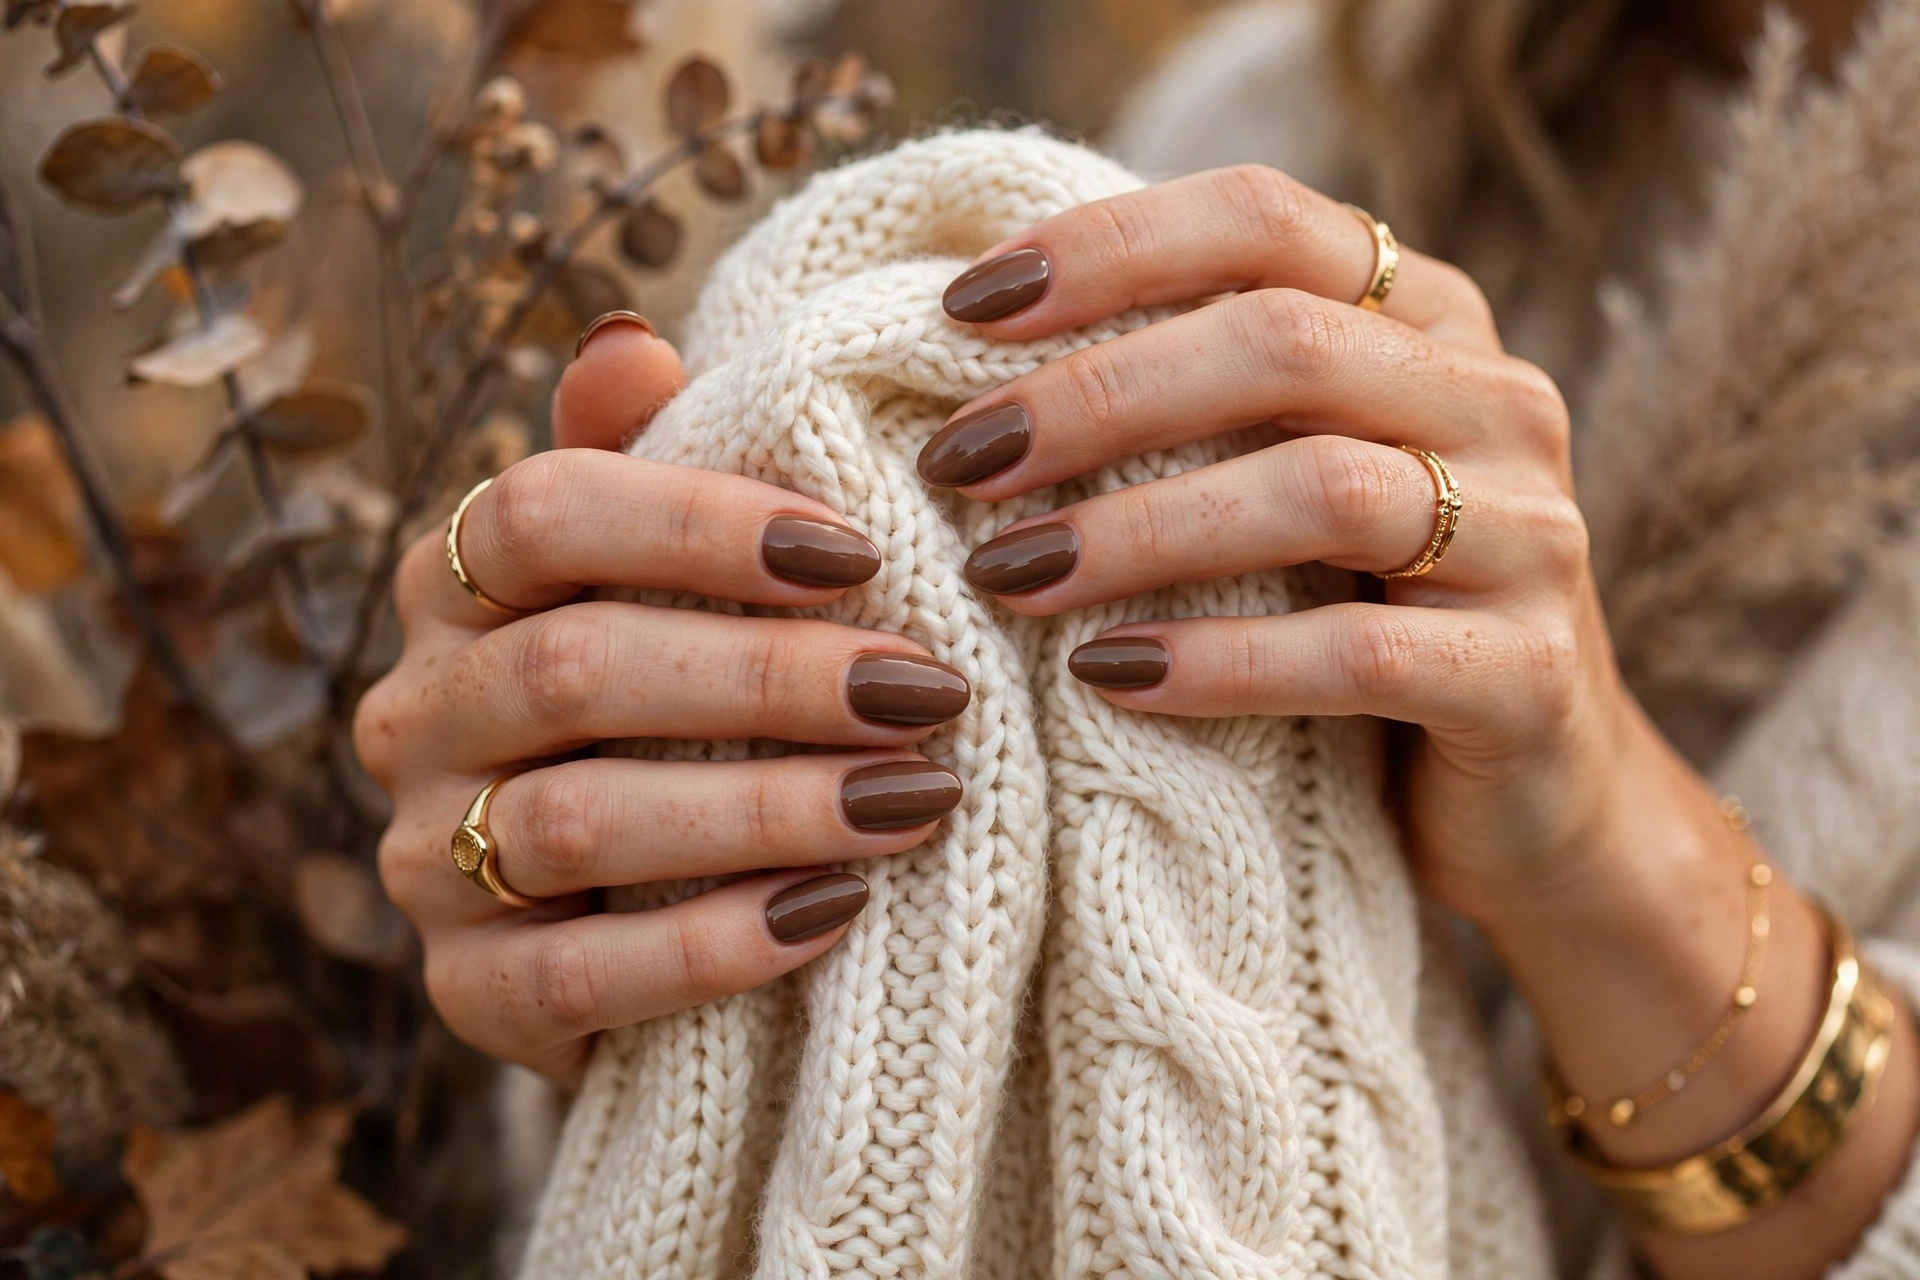
Latte nails peak in fall and winter, when the warm browns harmonize with seasonal wardrobes – camel coats, cream knits, burgundy scarves, chocolate leather boots. The tonal dressing effect (nails echoing outfit colors) is effortless with this palette: caramel nails with a camel coat, chocolate nails with brown boots, espresso nails with black. For holiday parties, add the gold accents from designs 15 and 21 – metallic gold on brown reads festive without being kitschy.
In spring and summer, latte nails still work if you shift lighter: caramel, milky coffee, and the lighter designs (1-12) suit warm weather, while deep chocolate and espresso can feel heavy against summer brights. A caramel French or the mixed skittle in lighter tones is the year-round version. For weddings (as a guest), the coffee-and-cream alternating set or a soft caramel gloss is elegant without competing – brown nails photograph as a neutral, which is exactly what you want when you are not the bride.
Coordinate with your other beauty choices. Latte nails pair naturally with warm makeup: bronze eyeshadow, terracotta blush, warm nude or brown lipstick. They clash slightly with cool-toned looks – icy blue eyeshadow or blue-red lipstick next to caramel nails can look disconnected, so warm up at least one other element. Gold jewelry is the natural partner; silver works too but gold echoes the warmth. And if your hair is cherry cola, copper, or chocolate brown, latte nails create a gorgeous head-to-toe warm tonal story.
Should You Do Latte Nails in Gel, Dip, or Regular Polish?
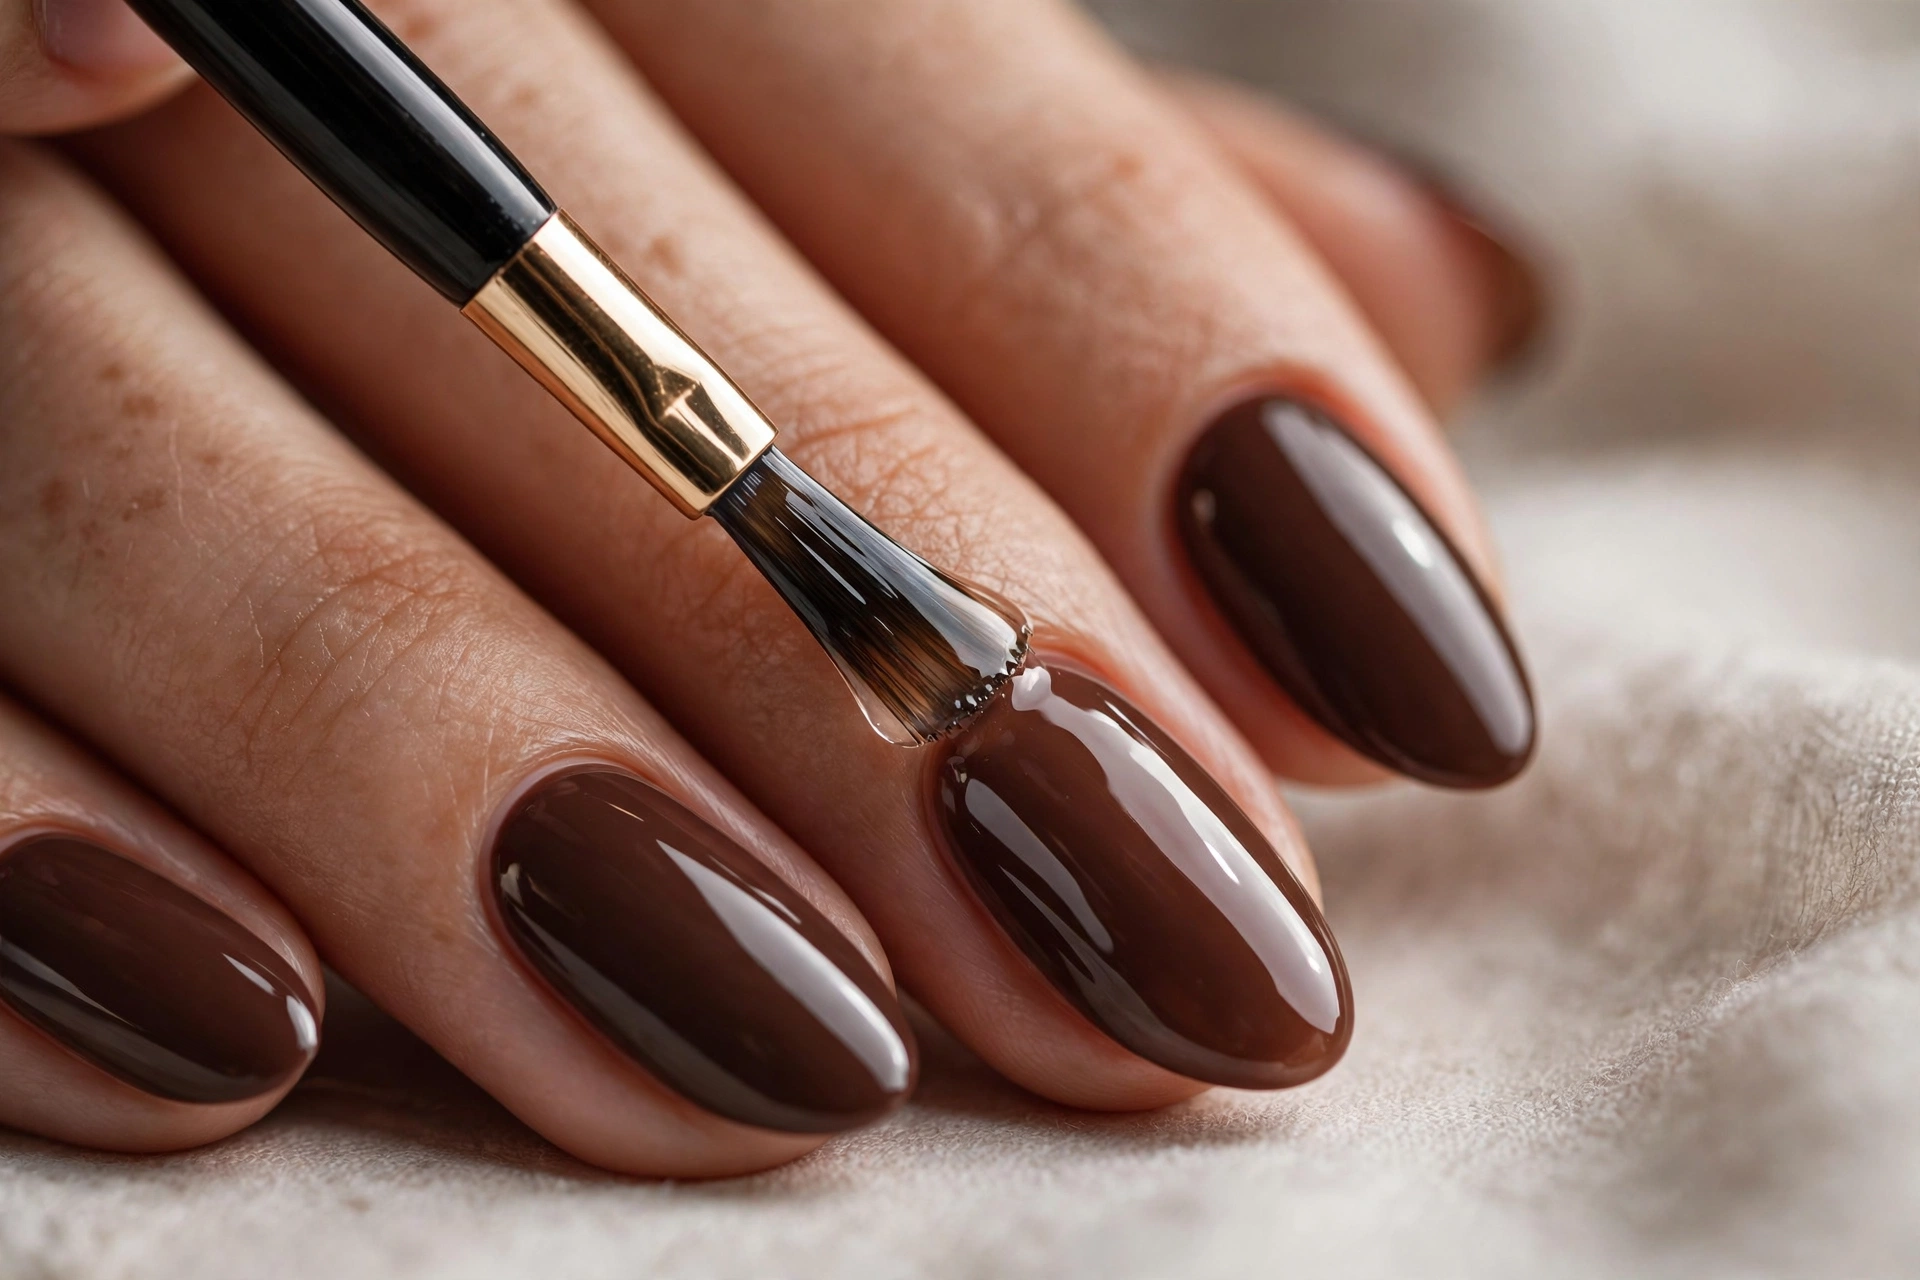
The design matters less than the formula for how your latte nails wear. Gel polish is the best match for this trend: 2-3 weeks of chip-free wear and the highest-gloss finish, which is exactly what creamy browns need to look rich. The trade-off is UV lamp curing and more involved removal. Our gel nails at-home guide covers the full application and safe removal process, and what gel nails are explains the formula differences if you are choosing for the first time.
Dip powder gives 3-4 weeks of wear and excellent opacity in one or two dips – great for the deeper chocolate and espresso tones that need full coverage. Dip is less glossy than gel unless topped with gel top coat, so finish dip latte sets with a gel top coat layer for the shine this trend demands. See our dip nails at-home guide for the technique. Regular polish is fine for trying the trend – 5-7 days of wear, easiest removal, lowest commitment – and honestly the right choice for designs 1, 8, 19, and 22, which are simple enough to redo weekly.
One safety note for gel users: UV lamps emit ultraviolet light, and dermatologists recommend protecting your hands during curing – apply sunscreen to hands before your manicure or wear fingerless UV-protective gloves, as advised in reporting on gel polish UV exposure risks. It is a small step that matters over years of regular gel manicures. Whichever formula you choose, always use a base coat (browns stain), cap the free edge with every coat, and reapply top coat every 2-3 days to extend wear.
How Do You Make Latte Nails Last?
Browns are forgiving – chips and regrowth show less than on dark gothic shades – but the glossy finish this trend needs is fragile. Reapply top coat every 2-3 days without fail; this single habit doubles the glossy life of any manicure. Keep the top coat bottle visible so you actually do it – a 60-second refresh is the highest-return habit in nail care. Wear gloves for dishes and cleaning, since hot water and detergents are the top killers of polish adhesion. Apply cuticle oil daily – hydrated cuticles lift less, and lifting is what starts peeling.
For gel latte sets, the usual 2-3 week fill cycle applies; for dip, 3-4 weeks. Do not peel off gel or dip when it starts lifting – peeling removes layers of your natural nail and causes the thin, weak regrowth people blame on the products. Soak off properly with acetone and foil wraps (10-15 minutes for gel, 15-20 for dip), then moisturize immediately. Between enhancement sets, give nails a bare week with a strengthening treatment to recover. Your natural nails will thank you, and the next set will adhere better on a healthy plate.
Color-specific tip: the lighter latte tones (caramel, milky coffee) show staining from dark foods, turmeric, and self-tanner – wear gloves when cooking with staining ingredients and wipe nails promptly. The deeper tones (chocolate, espresso) can stain the natural nail plate yellow-brown if worn for weeks without a base coat, so never skip it. If staining happens, a gentle buff with a fine-grit buffer and a brightening treatment restores the nail before your next set.
Frequently Asked Questions
1. What are latte nails?
Latte nails are manicures built on a coffee-inspired palette of warm browns – caramel, coffee, chocolate, and espresso tones ranging from milky nude to deep near-black brown. They are worn as solids, gradients, French tips, swirls, and textured art, unified by creamy warmth and glossy finishes. The trend is part of the broader food-inspired beauty movement and suits nearly every skin tone, making it one of the most accessible nail trends of the season.
2. What nail polish colors are considered latte shades?
The four families: caramel (golden medium brown), coffee (true medium brown), chocolate (rich deep brown), and espresso (very deep near-black brown). If you are building a starter latte collection, buy one polish from each family – four bottles cover all 25 designs in this guide. Polish names to look for include caramel, toffee, honey, latte, mocha, cappuccino, cocoa, truffle, chocolate, and espresso. All should have warm, golden, or neutral undertones – ashy or gray browns do not read as latte.
3. Do latte nails suit all skin tones?
Nearly. Fair skin glows with caramel and medium coffee tones; medium skin wears the whole palette; deep skin looks stunning with chocolate and espresso, and can wear caramel as an accent. The key is contrast: choose a brown clearly lighter or darker than your skin rather than an exact match, which can look washed out. When in doubt, medium coffee brown suits everyone. Also consider your undertones – golden caramel flatters warm undertones most, while neutral coffee browns are the safest pick for cool undertones.
4. Are latte nails still trendy in 2026?
Yes – Pinterest’s autumn 2026 beauty report showed “caramel nude nails” searches up 943 percent and “coffee nails ideas” up 922 percent, making latte tones one of the season’s biggest nail movements. Food-inspired browns have shown staying power beyond a single season because they are neutral enough for daily wear, unlike more extreme trends. They are a safe trend bet for the full fall-winter season, and the underlying palette of warm browns never truly goes out of style – only the specific finishes cycle.
5. Gel, dip, or regular polish for latte nails?
Gel is the best match: 2-3 weeks wear and the highest gloss, which creamy browns need to look rich. Dip gives 3-4 weeks and great opacity for deep tones, finished with a gel top coat for shine. Regular polish works for simple designs and trend-trying, lasting 5-7 days. Choose based on how long you want the set to last and how much removal effort you accept. Cost-wise, regular polish is cheapest per manicure, gel costs more upfront (lamp plus polishes) but less per wear-day, and salon dip or gel runs $40-70 per set.
6. How do you do the latte gradient (ombre) at home?
Paint the lightest shade as a base, then use a makeup sponge to dab the medium tone over the middle third and the darkest tone at the tips (or reverse), blending with light pouncing motions while the polish is wet. Work one nail at a time, use liquid latex around nails for easy cleanup, and seal with glossy top coat to melt the transitions together. Two thin sponge layers beat one thick one. Let each sponge layer dry two minutes before adding the next – rushing causes the colors to drag and muddy instead of blending softly.
7. Why do my brown nails look muddy instead of creamy?
Muddiness comes from ashy or gray undertones in the polish, applying over a stained or discolored nail plate, or skipping base coat. Choose browns with golden, red, or warm neutral undertones; always use a base coat; and apply over healthy, unstained nails. A glossy top coat also fights muddiness – matte finishes on the wrong brown can look flat and dull instead of rich. If a polish looks muddy in the bottle, it will look muddier on the nail – trust your eyes and pick a warmer shade.
8. How long do latte nails last?
Regular polish: 5-7 days. Gel: 2-3 weeks. Dip: 3-4 weeks. Browns hide chips and regrowth better than dark shades, so latte sets look presentable longer within each window. The lighter caramel tones show tip wear first, so cap the free edge carefully on those, while deep espresso hides wear the longest of any shade in this guide. Reapplying top coat every 2-3 days, wearing gloves for wet work, and daily cuticle oil extend every formula’s life noticeably.
9. Do brown nail polishes stain your nails?
They can, especially chocolate and espresso worn for weeks – brown pigments leave a yellow-brown tint on the natural plate. Always use a base coat, which blocks nearly all staining. If staining occurs, gently buff with a fine-grit buffer and apply a brightening treatment or soak in lemon water before your next manicure. Lighter caramel tones stain far less than deep browns. As a preventive habit, do not wear any single dark set longer than three weeks without a naked-nail check.
10. What should you wear with latte nails?
Almost everything – that is the point of a neutral. Latte nails harmonize with camel, cream, beige, and brown outfits for a tonal look; pop against black, navy, and white; and warm up gray and olive. Gold jewelry echoes the warmth beautifully, and a gold-accented design like number 15 or 21 ties the whole look together. For a coordinated beauty look, pair chocolate nails with bronze eyeshadow or caramel nails with a warm nude lip. The only pairing to watch is head-to-toe beige – break it up with a darker espresso nail or a bold lip so the look has dimension.