How to Do Ombre Nails: A Complete Step-by-Step Guide
Ombre nails have that soft, blended quality that looks like it took real artistic skill to pull off, one color melting seamlessly into another without any harsh line marking where they meet. The good news is that the technique behind it is a lot more forgiving than it looks, and it comes down to one simple tool most people already have around the house: a makeup sponge.
This guide covers exactly how the gradient effect is created, what supplies actually make a difference, a full step-by-step walkthrough of the sponge technique, some of the most popular ombre variations worth trying, and how to fix that streaky, uneven look when a blend doesn’t come out quite right the first time.
How to Do Ombre Nails: The Basic Method
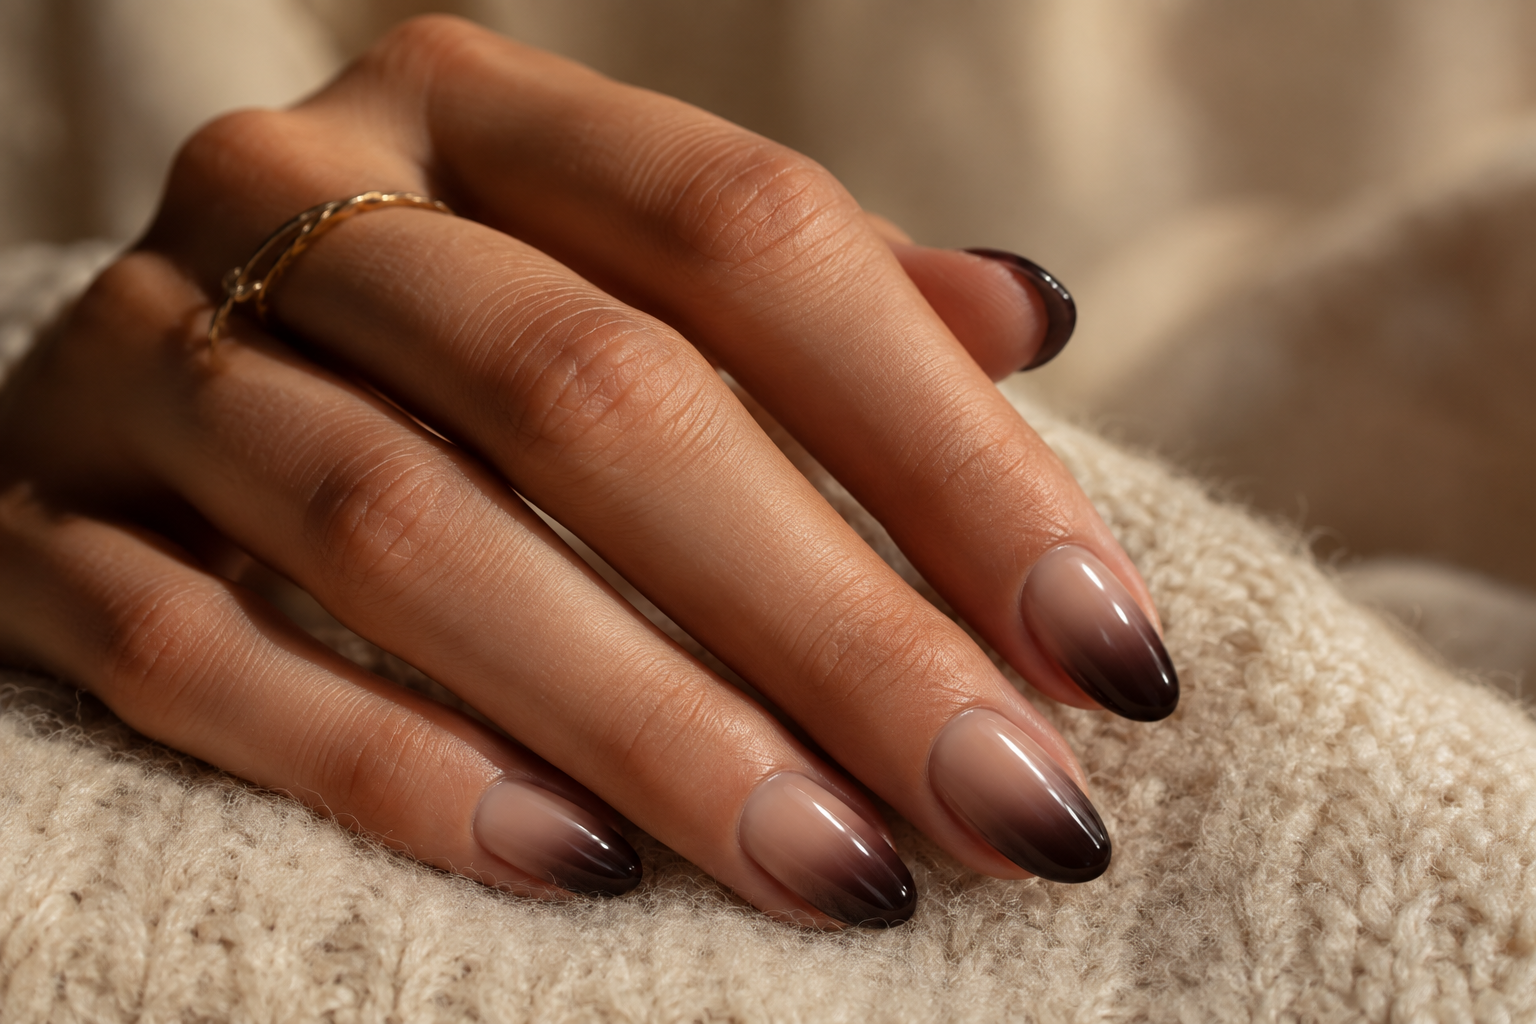
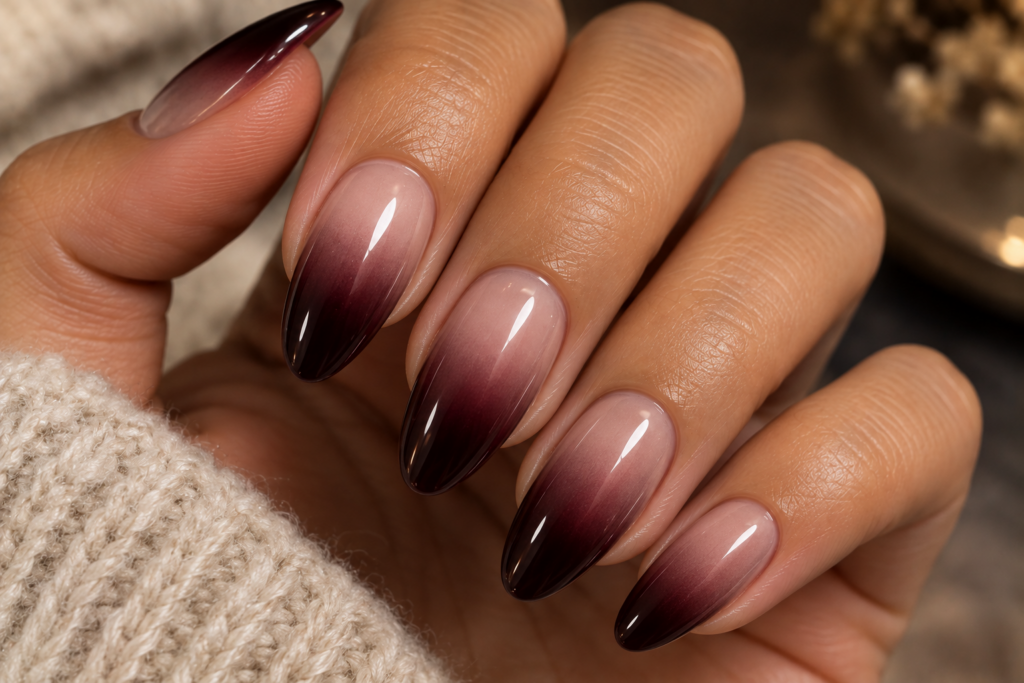
Ombre nails are created by applying two or more polish colors in overlapping stripes onto a makeup sponge, then repeatedly pressing that sponge onto the nail to transfer and blend the colors together into a soft gradient. The technique relies on the sponge’s texture to diffuse the polish just enough that the colors merge into each other rather than sitting as distinct, separate blocks.
Most ombre nails blend a darker shade at the tip into a lighter shade or bare nail near the cuticle, though the gradient can run in either direction, blend between two entirely different colors rather than shades of one color, or even move horizontally across the nail rather than the more common vertical fade.
What You’ll Need Before You Start
The supply list for ombre nails is refreshingly short, and most of it doubles as general manicure basics you’d want on hand anyway.
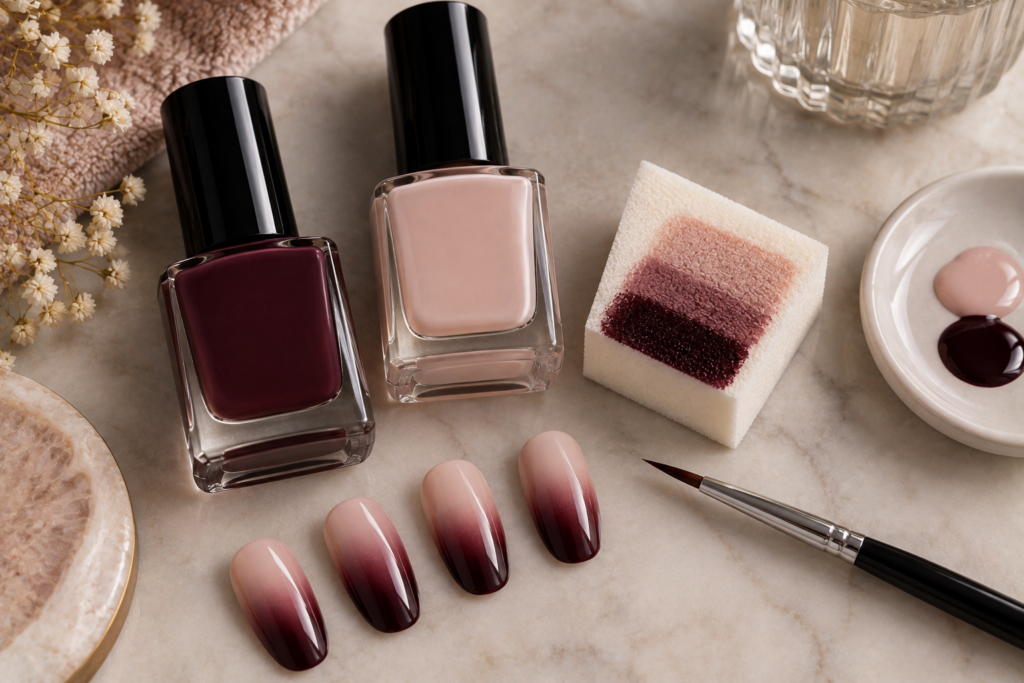
A makeup sponge, either a wedge-shaped cosmetic sponge or a small piece cut from a larger one, is the essential tool that makes the whole technique work. You’ll need at least two polish colors that blend well together, a base coat, and a top coat to seal the finished gradient. A thin, angled detail brush dipped in acetone or polish remover is genuinely useful for cleaning up any polish that lands on the surrounding skin during the sponging process.
Petroleum jelly or specialized liquid latex, applied around the cuticles and skin edges before you start sponging, can make cleanup significantly easier by creating a barrier that peels away any stray polish along with it once you’re done.
Step-by-Step: The Sponge Technique for Ombre Nails
Start with clean, shaped nails and a base coat, allowed to dry completely before moving forward. If you’re using petroleum jelly or liquid latex as a skin barrier, apply it carefully around the nail edges now.
Paint two or more stripes of your chosen colors directly onto the sponge, positioned side by side with a small amount of overlap where they meet. This overlap is what allows the colors to blend into each other rather than transferring as two separate, distinct sections.
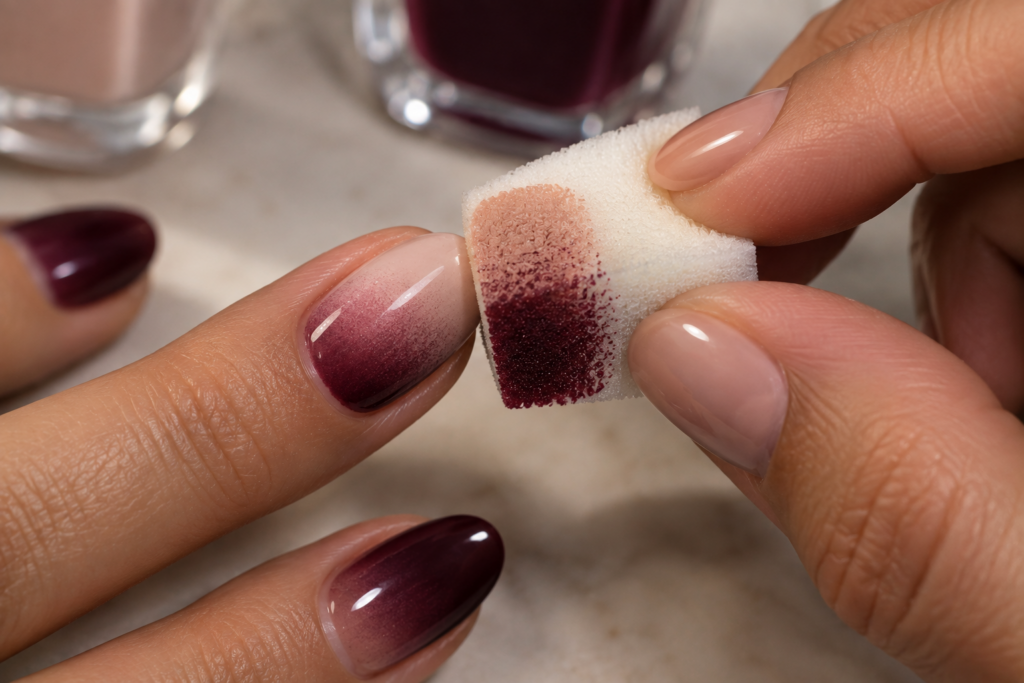
Press the sponge firmly onto the nail, holding it in place for a second or two before lifting straight up rather than dragging it sideways. Repeat this pressing motion several times, slightly shifting the sponge’s position with each press, which helps soften the transition and builds up more even color coverage across the whole nail.
Let the first application dry slightly, then repeat the sponging process for a second, sometimes third, layer if the color looks patchy or the gradient transition still looks too abrupt. Building up thin layers generally produces a smoother, more professional-looking result than trying to achieve full coverage in a single heavy application.
Once you’re happy with the blend, use your detail brush dipped in acetone to clean up any polish that landed on the surrounding skin, or simply peel away the petroleum jelly or liquid latex barrier if you used one. Finish with a top coat to seal and add shine to the finished gradient.
What’s the Easiest Way to Do Ombre Nails With a Sponge?
The most beginner-friendly approach uses a makeup sponge, applying overlapping stripes of two polish colors directly onto it before pressing repeatedly onto the nail to transfer and blend them together. Working with thin layers, letting each application dry slightly before adding another, and using a fresh section of sponge periodically to avoid transferring old, mismatched color all make this method noticeably easier to control for first-time attempts.
Popular Ombre Variations Worth Trying
The classic dark-to-light gradient is just the starting point. A few well-known variations put a distinctive spin on the same core technique.
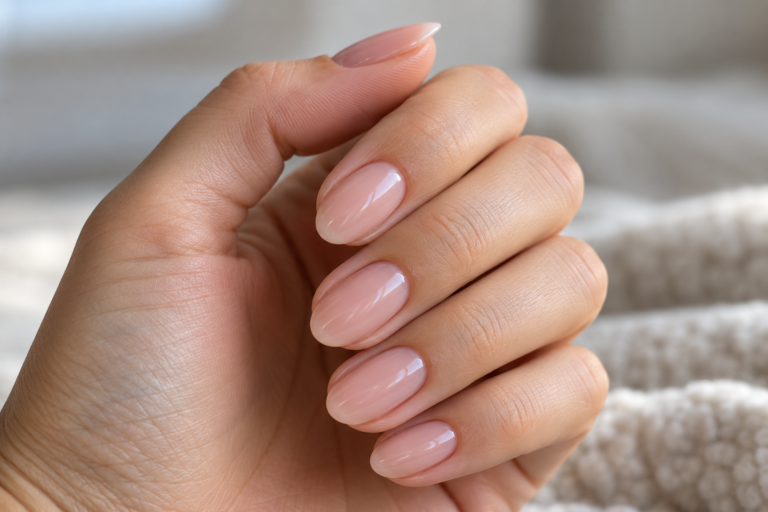
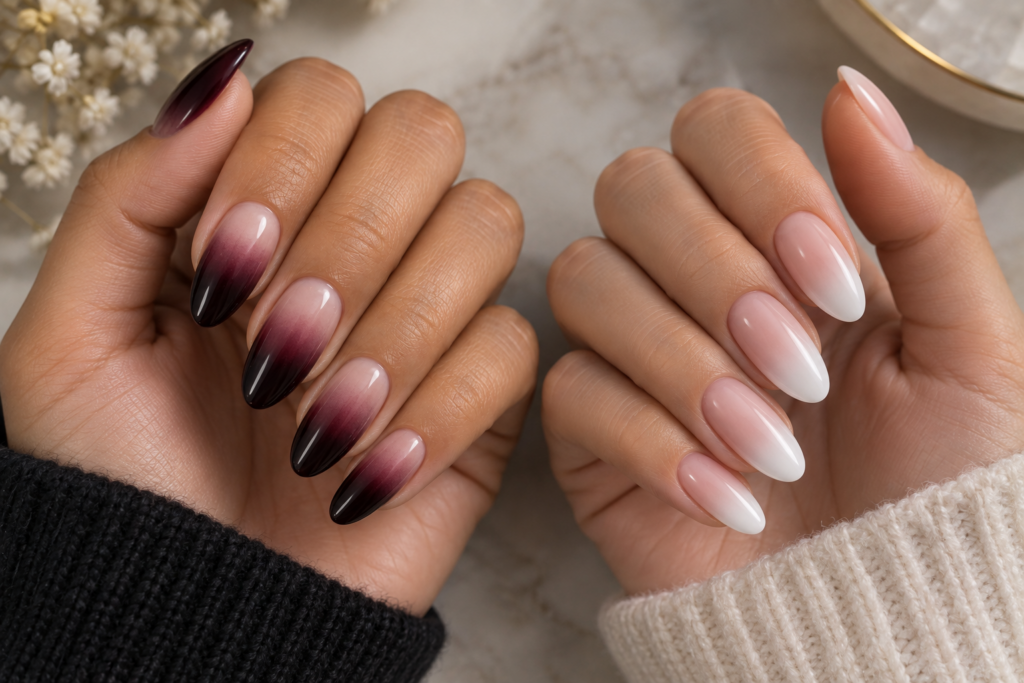
Baby boomer nails, a particularly popular French-manicure-inspired variation, blend a soft white color at the tip into a sheer pink or nude base near the cuticle, creating a gentler, more natural-looking take on the traditional French manicure. Reverse ombre flips the classic direction, placing the lighter or clear shade at the tip and the darker, more saturated color near the cuticle, offering a less common but still striking alternative. Vertical ombre runs the gradient from side to side across the nail rather than from tip to cuticle, a slightly more advanced variation that still uses the same basic sponging technique with a different application direction.
Multi-color ombre extends the concept further, blending three or more colors across a single nail for a more dramatic, rainbow-like gradient effect, generally requiring a bit more precision in stripe placement on the sponge to keep the transitions looking intentional rather than muddy.
What’s the Difference Between Ombre Nails and Baby Boomer Nails?
Baby boomer nails are a specific type of ombre that blends a soft white tip color into a sheer pink or nude base, designed to look like a softened, more natural version of a classic French manicure. Standard ombre nails, by contrast, can use any combination of colors and aren’t tied to that particular pink-and-white color pairing, making baby boomer nails essentially one popular variation within the broader ombre category rather than a separate technique entirely.
Can You Do Ombre Nails With Just Two Colors?
Yes, two colors are all you genuinely need to create a classic ombre gradient, and it’s actually the most common and beginner-friendly approach. Using just two shades keeps the blending process simpler to control, since you’re only managing one transition point rather than coordinating multiple color boundaries across the nail.
Common Mistakes and How to Fix a Streaky Blend
A handful of recurring issues explain most disappointing ombre results, and nearly all of them come down to sponge technique and polish consistency rather than any fundamental skill gap.
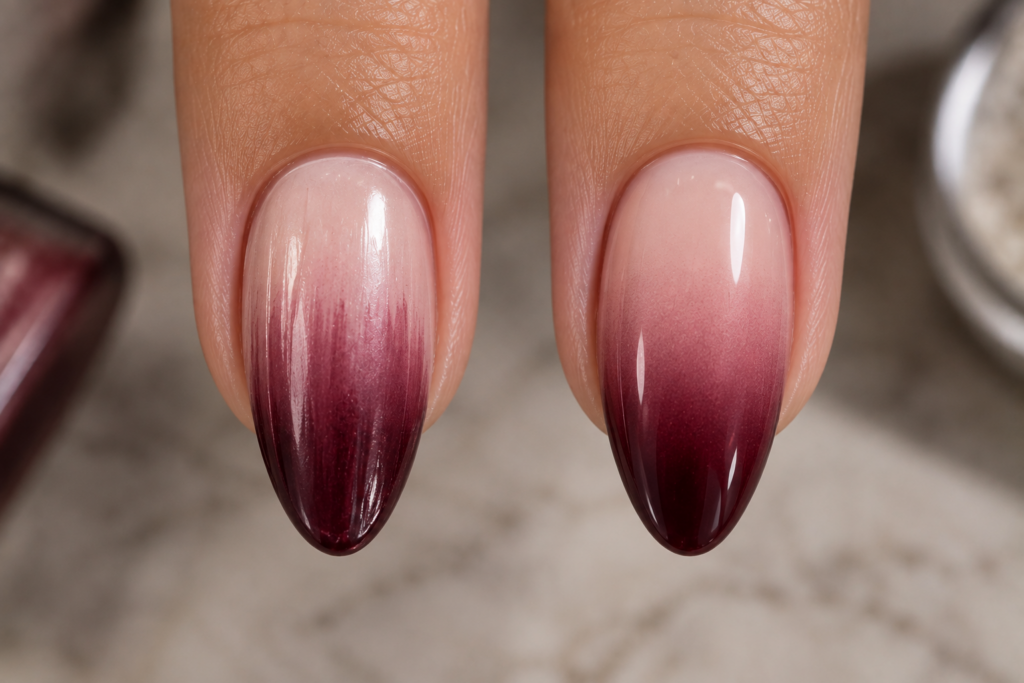
Using a sponge that’s too saturated with polish tends to transfer color unevenly, creating blotchy, streaky patches rather than a smooth gradient. Dabbing the sponge lightly on a paper towel before the first press, removing just enough excess polish, generally improves transfer consistency significantly.
Not overlapping the colors enough on the sponge before applying is another common culprit, since minimal overlap creates a harsher, more visible line between colors rather than a genuine gradient blend. Increasing the overlap zone when painting the stripes onto the sponge, and pressing the sponge onto the nail multiple times with slight position shifts, both help soften that transition considerably.
Applying too many thick layers in an attempt to fix patchiness can backfire, sometimes creating a bumpy, uneven texture or a finish prone to cracking once fully dry. Thin, patient layers, built up gradually with drying time between applications, consistently outperform trying to fix everything in one heavy pass.
Why Do My Ombre Nails Look Streaky Instead of Blended?
Streaky ombre results are most often caused by an oversaturated sponge transferring polish unevenly, insufficient color overlap when the stripes were originally painted onto the sponge, or moving the sponge sideways instead of lifting it straight up after each press. Dabbing excess polish off the sponge before application, increasing overlap between colors, and using a clean, consistent pressing motion typically resolve streaking within a couple of attempts.
Frequently Asked Questions
1. Can you do ombre nails with gel polish instead of regular polish?
Yes, gel polish can be used for ombre nails using the same basic sponging technique, though each layer generally needs to be cured under a UV or LED lamp before adding the next, which changes the workflow slightly compared to air-dry polish but still produces the same blended gradient effect.
2. How long does an ombre manicure typically last?
An ombre manicure done with regular polish lasts about as long as any standard polish application, often five to seven days, while a gel-based ombre can last considerably longer, generally two to three weeks, since gel is more resistant to chipping.
3. Do the two colors need to be from the same color family for ombre nails to look good?
Not necessarily, though colors from the same family or with similar undertones tend to blend more smoothly and predictably, while very contrasting colors, like a bright orange fading into a deep blue, can still work but sometimes require extra sponge passes to avoid a muddy transition zone in the middle.
4. Can ombre nails be done on short nails, or do they work better on longer nails?
Ombre nails work well on both short and long nails, though longer nails do offer more surface area for the gradient transition to unfold gradually, while shorter nails sometimes benefit from a slightly more compressed gradient to still show a visible transition within the smaller space.
5. Is it necessary to use a specific brand of sponge for ombre nails?
No specific brand is required, since any basic makeup sponge or a small cut piece from a larger cosmetic sponge works for this technique, with the sponge’s texture mattering more than any particular product, as a slightly textured surface generally transfers polish more effectively than an extremely smooth one.
6. Can you fix just one nail if the ombre blend on it looks off, without redoing the whole set?
Yes, if one nail’s gradient doesn’t look right, you can remove the polish from just that nail and redo the sponging process on it alone, without needing to strip and restart the entire manicure, as long as you can reasonably match the color placement and blend to the rest of your set.
7. Does nail shape affect how well an ombre gradient shows up?
Nail shape doesn’t significantly affect whether the gradient technique works, though longer, more elongated shapes like almond or coffin nails do give the color transition a bit more visual room to unfold gradually compared to very short, rounded shapes.
8. Can glitter or shimmer polish be used for an ombre effect?
Yes, glitter or shimmer polish can be incorporated into an ombre gradient, often blended at one end while a solid color fades in from the other, creating a sparkly-to-solid transition that adds extra dimension beyond a standard two-solid-color blend.
9. Why does my ombre nail color look different once it fully dries compared to right after application?
Polish color can shift slightly in appearance as it dries and cures, sometimes appearing more saturated or slightly different in undertone once fully set compared to how it looked wet, which is a normal part of how most nail polish formulas behave rather than a sign anything went wrong.
10. Is it easier to do ombre nails on yourself or does it require someone else’s help?
Ombre nails are genuinely doable solo with practice, particularly on your non-dominant hand, though many people find their dominant hand’s nails come out slightly more precise since sponging technique benefits from steady, controlled hand movement that’s naturally easier with your more coordinated hand.