How to Remove Polygel Nails Safely at Home
Polygel sits in an interesting spot between acrylic and gel, borrowing the sculpting flexibility of one and the light-cured hardening of the other. That hybrid nature makes it a genuinely popular choice for at-home extensions, but it also means removal doesn’t quite follow the same timeline people expect if they’re used to a quick gel polish soak-off. Polygel is thicker and denser than standard gel, and treating it like a fifteen-minute gel removal usually just leads to frustration and forcing.
This guide covers the proper removal method from start to finish, why polygel genuinely takes longer to dissolve than regular gel polish, whether filing it off is ever a reasonable shortcut, and how to take care of your nails once the polygel is finally off.
How to Remove Polygel Nails: The Basic Method
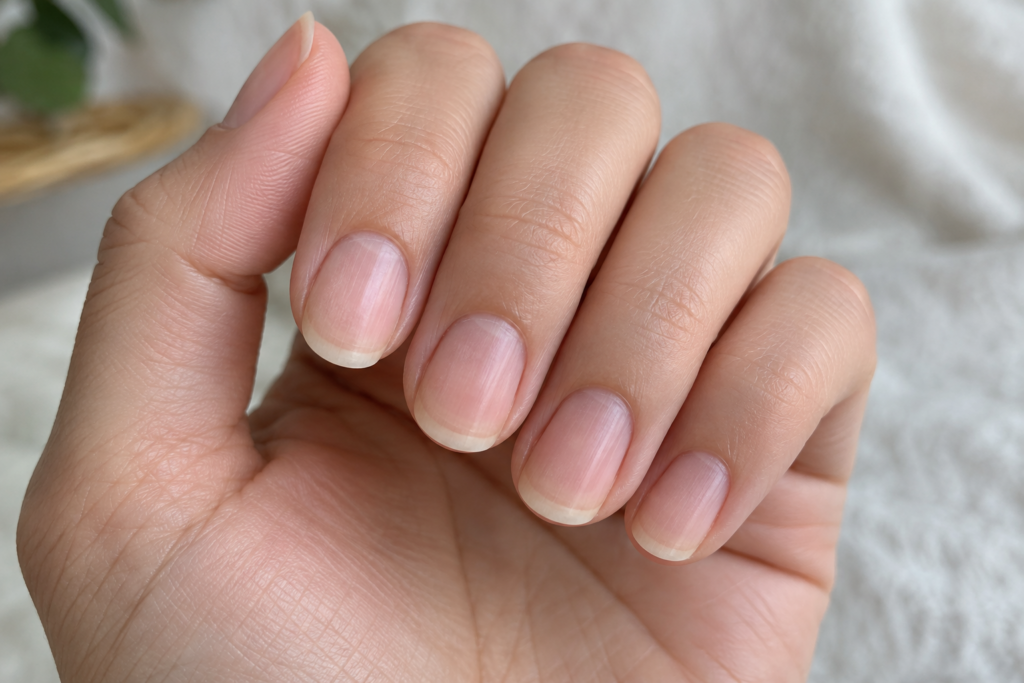
Polygel nails should be removed with an extended acetone soak, allowing the material to fully soften before gently lifting or scraping it away, rather than filing it off entirely or forcing it before it’s ready. Because polygel is a thicker, more built-up material than standard gel polish, this soak typically takes noticeably longer, often comparable to or exceeding the time needed for acrylic removal.
Patience genuinely matters more here than with almost any other at-home nail enhancement, since polygel’s density means rushing the process is both more tempting and more damaging than it would be with a lighter gel polish application.
What Makes Polygel Different From Regular Gel Polish
Polygel is a hybrid product, combining a thick, moldable gel-like consistency with the light-cured hardening process typical of standard gel systems. Unlike thin gel polish, which is brushed on in relatively light layers, polygel is applied more like a sculpting material, similar to acrylic, using a slip solution and a brush to shape and smooth it over a nail form or tip before curing under a UV or LED lamp.
This added thickness and density is exactly why removal takes longer. There’s simply more material for acetone to penetrate and soften compared to the thin, evenly applied layers of a standard gel manicure.
Is Polygel Harder to Remove Than Regular Gel Polish?
Yes, polygel generally takes longer and requires more patience to remove than standard gel polish, mainly because it’s applied in a thicker, more built-up layer similar to acrylic rather than the thin coats typical of gel polish. This means the same fifteen-minute soak that works fine for gel polish usually isn’t enough time to fully soften polygel, and treating it the same way often leads to attempting removal before the material is actually ready.
Step-by-Step: Soaking Off Polygel Nails
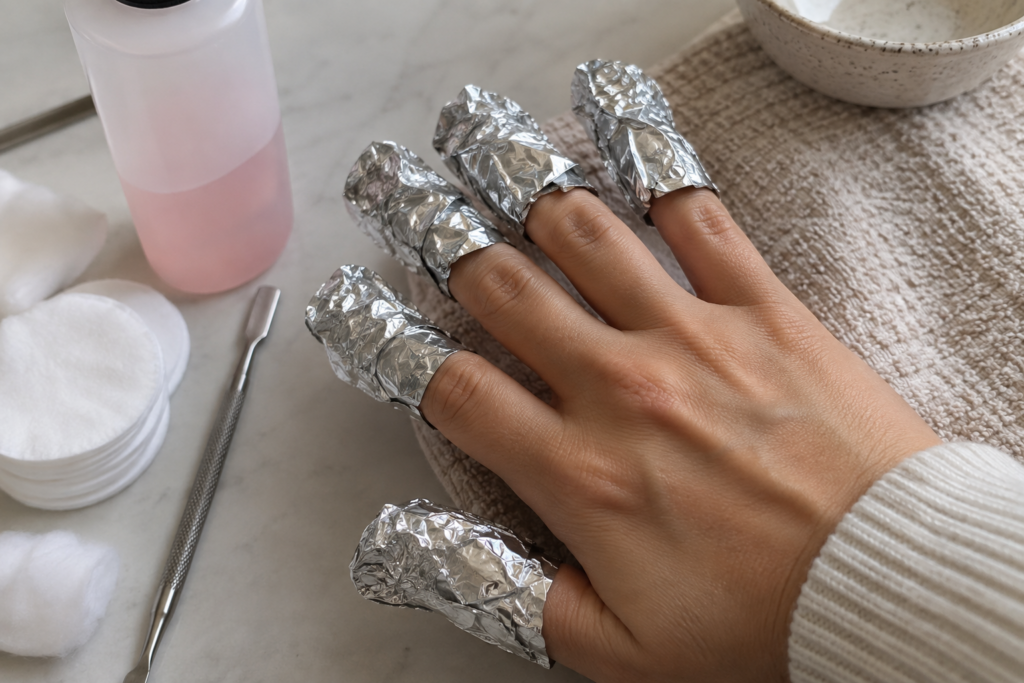
Start by filing down the shiny top surface of the polygel to break the sealed layer, which helps acetone penetrate more effectively and cuts down on overall soak time. Apply petroleum jelly around the surrounding skin to protect it from prolonged acetone exposure.
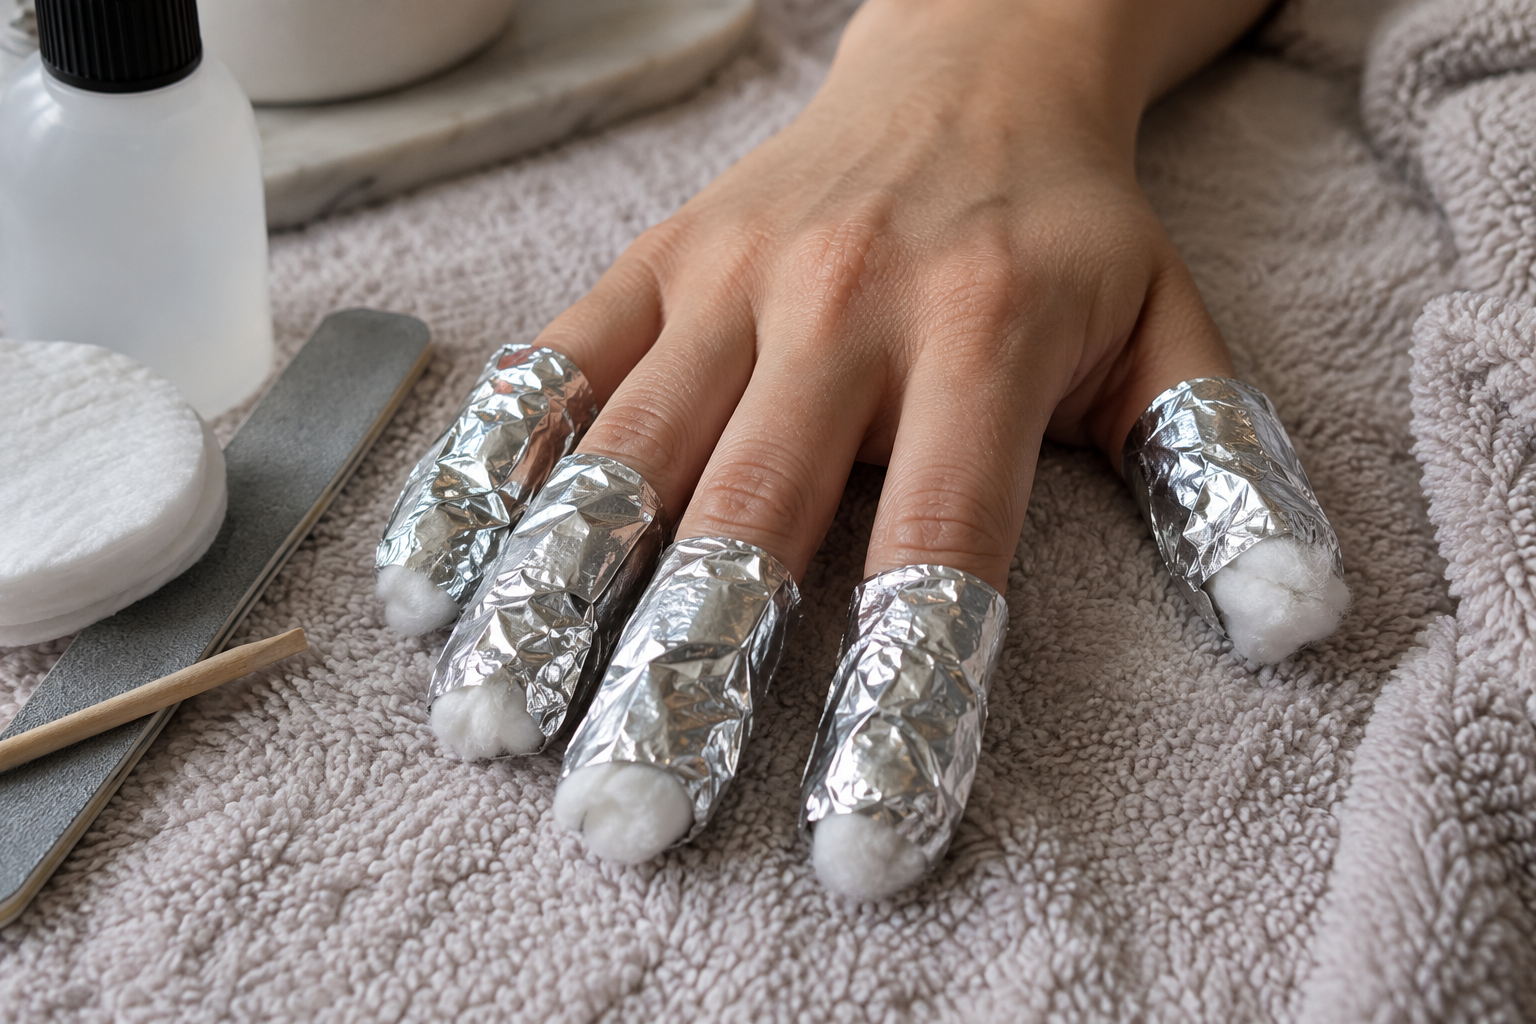
Soak a cotton pad in acetone, place it over the nail, and wrap the fingertip snugly in foil. Let nails soak for a longer stretch than you might expect from gel polish alone, generally somewhere between thirty and forty-five minutes, checking periodically after the first twenty minutes or so.
Once the polygel has softened enough to feel loose or start flaking at the edges, gently scrape it away with a cuticle pusher, working patiently and in small sections. If resistance remains anywhere, rewrap that specific nail and continue soaking rather than pushing harder or trying to speed things along with extra pressure.
Why Does Polygel Take So Long to Soak Off?
Polygel takes longer to soak off than standard gel polish because it’s applied in a much thicker, more built-up layer, giving acetone significantly more material to penetrate and soften before removal becomes safe and easy. This density is part of what gives polygel its sculpting strength and durability while worn, but it directly translates to a longer, more patience-requiring removal process.
Can You File Polygel Off Instead of Soaking It?

Filing polygel off entirely, without any acetone soak first, is not recommended, since it requires removing far more material through abrasion alone, significantly increasing the risk of thinning or damaging the natural nail underneath in the process. While some nail professionals do use a combination approach, lightly filing down bulk before a shorter soak, attempting to file off polygel completely without any acetone involved is considerably riskier and harder to control than the standard soak-off method.
A hybrid approach, filing down some of the thickness first and then soaking the remainder, can shorten total removal time somewhat, but it still requires a genuine soak rather than skipping acetone altogether.
Common Mistakes That Make Polygel Removal Harder
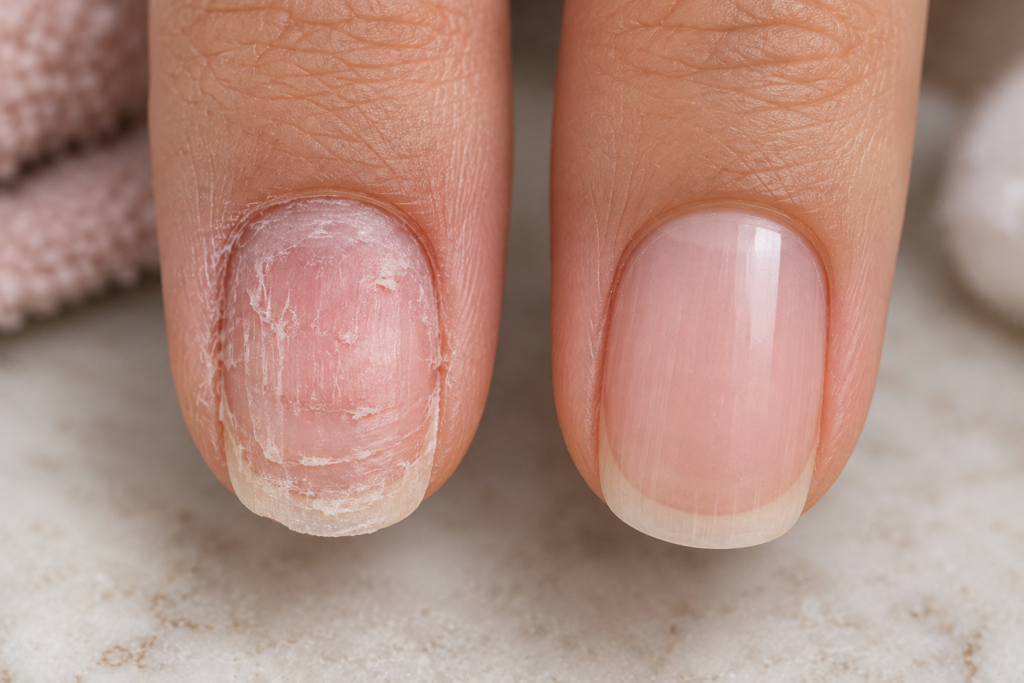
A handful of recurring habits turn what should be a manageable, if slightly longer, removal process into something considerably more damaging.
Underestimating how long polygel actually needs to soak, often based on experience with faster gel polish removal, leads a lot of people to attempt removal too early, then resort to forcing or picking when the material doesn’t come off easily. Skipping the initial filing step that breaks the sealed top layer also unnecessarily extends soak time, since acetone struggles to penetrate an intact, glossy surface.
Applying excessive pressure while scraping softened polygel, rather than working gently and patiently, can gouge or thin the natural nail even when the material has genuinely softened enough to remove.
What’s the Difference Between Polygel and Acrylic When It Comes to Removal?
Polygel and acrylic both generally require an extended acetone soak due to their thicker, built-up application, though polygel tends to soften slightly faster than fully hardened acrylic in some cases, given differences in their underlying chemistry. Both materials share the same core removal principle: patient soaking followed by gentle scraping, rather than filing everything off or forcing the material away before it’s properly softened.
Caring for Your Nails After Polygel Removal

Nails often feel notably thinner and more flexible immediately after a polygel removal session, largely due to the extended acetone exposure needed to soften such a dense material.
Apply cuticle oil or a rich moisturizer generously in the hours and days following removal, since prolonged acetone contact draws significant moisture out of both the nail plate and surrounding skin. Giving nails a short recovery period, even just a week or so, before applying a new set of extensions allows them to regain some of their natural strength and thickness before facing another round of enhancement and eventual removal.
Frequently Asked Questions
1. Does polygel smell as strong as traditional acrylic during application?
No, polygel generally has a much milder odor than traditional acrylic, since it doesn’t use the same liquid monomer system, making it a more comfortable option for people sensitive to strong chemical smells during application.
2. How long does a polygel manicure typically last before removal is needed?
A polygel manicure generally lasts about three to four weeks before regrowth or wear makes removal and reapplication worthwhile, similar to the typical timeline for a full acrylic set.
3. Can you speed up polygel removal by using warm acetone instead of room-temperature acetone?
Yes, slightly warming the acetone, using a designated warming bowl or a container placed in warm water, can help speed up the softening process somewhat, though it still typically takes longer than standard gel polish removal regardless of temperature.
4. Is it normal for nails to feel sensitive right after removing polygel?
Yes, mild sensitivity or a temporarily thinner feeling is common right after polygel removal, largely due to the extended acetone exposure required, and this typically resolves within a week or two with proper moisturizing and a short recovery period.
5. Can polygel be removed without wrapping fingers in foil?
Directly soaking fingertips in a bowl of acetone works as an alternative to the foil-wrap method, though foil wrapping generally holds acetone against the nail more consistently and helps retain warmth, often making it a more efficient option for polygel’s longer required soak time.
6. Does removing polygel at home save significant money compared to a salon removal service?
Yes, at-home removal genuinely saves the cost of a separate salon service, though it requires patience and the right supplies to do safely, given how much longer polygel typically takes to properly soften compared to gel polish.
7. Can you apply a new polygel set immediately after removing the old one?
It’s generally better to give nails a brief recovery period with moisturizing care before reapplying polygel, since nails are often more fragile and dehydrated immediately after an extended acetone soak.
8. Why does my polygel feel like it’s coming off unevenly during removal?
Uneven softening during removal often happens because different areas of the nail were applied with varying thickness, so thicker sections naturally take longer for acetone to fully penetrate than thinner ones, which is normal and just requires additional targeted soaking on the slower spots.
9. Is polygel more durable than regular gel nails while it’s being worn?
Yes, polygel is generally considered more durable and resistant to breakage than standard gel polish, largely due to its thicker, more structurally reinforced application, which is part of why it also takes longer to remove.
10. Can you use a cuticle pusher to remove polygel, or do you need a specific tool?
A standard cuticle pusher or orange stick works perfectly well for gently scraping away softened polygel, and no specialized tool is strictly necessary as long as the material has been properly softened through adequate acetone soaking first.


