How to Do and Remove Gel Nails at Home Safely
Gel manicures have become one of the most popular at-home nail options, and it’s easy to see why. The glossy, chip-resistant finish lasts noticeably longer than regular polish, and once you have the right supplies, the actual application process is genuinely manageable without professional training. The part that trips people up more often isn’t the application at all. It’s removal, and specifically the temptation to peel gel off once it starts lifting rather than taking the time to remove it properly.
This guide walks through the full process from start to finish: what you need for gel application, the correct step-by-step technique, how curing time actually works, the proper way to remove gel safely, and why picking or peeling at gel polish causes real, lasting damage to your natural nails.
How to Do Gel Nails at Home: The Basic Process
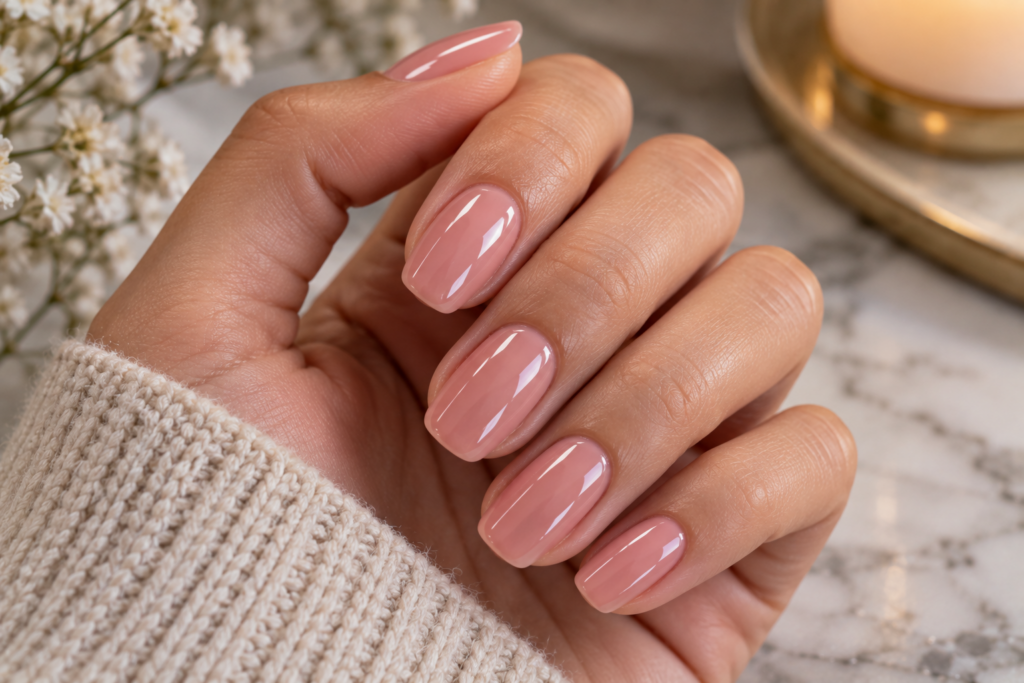
A gel manicure is created by applying a thin base coat, one to two thin coats of pigmented gel color, and a top coat, curing each individual layer under a UV or LED lamp before moving to the next step. Unlike regular polish, which air-dries, gel polish only hardens through this light-activated curing process, which is exactly what gives it that longer-lasting, chip-resistant finish.
Removal works essentially in reverse, using acetone to soften and dissolve the cured gel until it can be gently removed, rather than trying to peel, scrape, or file it off while it’s still fully hardened. Both halves of this process, application and removal, genuinely matter for keeping your natural nails healthy over repeated gel manicures.
What You’ll Need for Gel Application
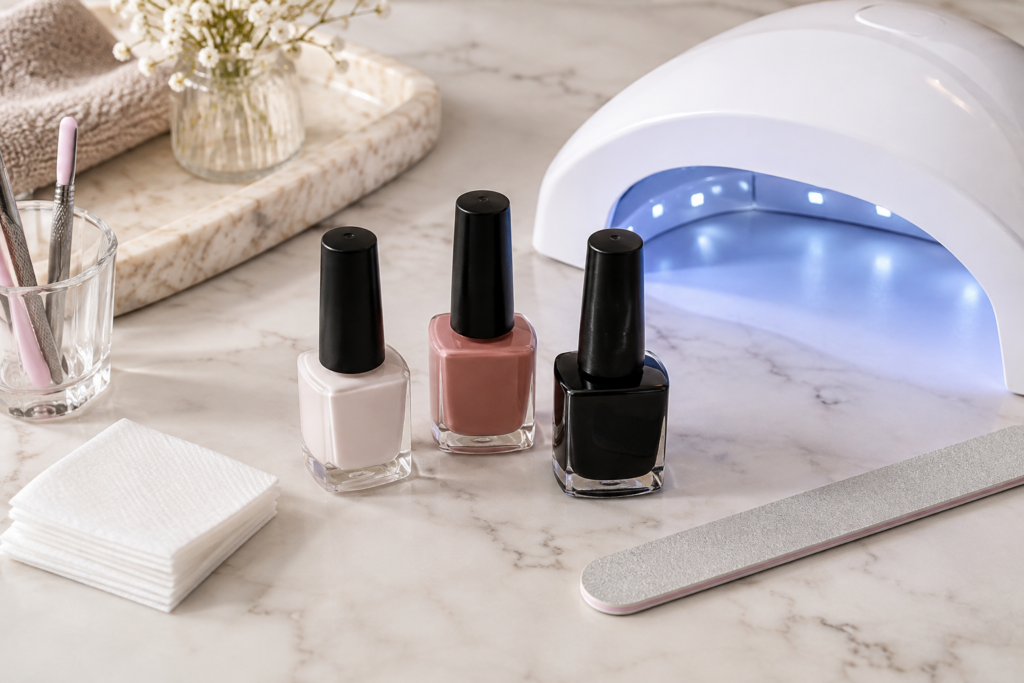
A handful of specific supplies make gel application possible at home, and most of them get reused across many future manicures.
A gel base coat, your chosen gel color, and a gel top coat form the core three-step system most gel manicures rely on. A UV or LED lamp is essential, since gel polish won’t properly harden without it, and LED lamps generally cure gel faster than traditional UV lamps. A lint-free wipe and a cleanser or rubbing alcohol are needed to remove the sticky residue layer left on the nail surface after each cure. Standard prep tools, a file, buffer, and cuticle pusher, round out the full supply list.
Step-by-Step: Applying Gel Polish at Home
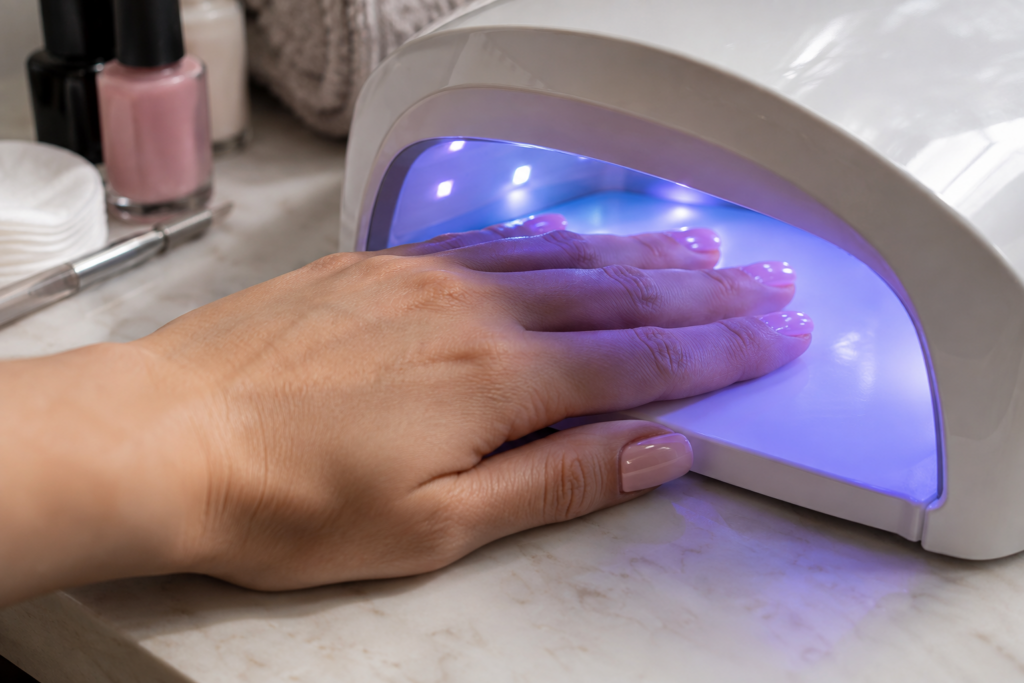
Start with clean, shaped nails, cuticles pushed back and the nail surface lightly buffed to remove natural shine, which helps gel adhere more effectively. Wipe each nail with rubbing alcohol to remove any remaining oils before starting.
Apply a thin, even layer of base coat, then cure it under your lamp according to your specific product’s recommended time. Apply your first thin coat of gel color, again curing fully before moving to the next coat. A second thin coat generally builds better, more even opacity than trying to achieve full color coverage in a single application.
Once your color coats are cured and you’re happy with the opacity, apply a thin top coat and cure once more. Finish by wiping away the tacky residue layer left on the surface with your cleanser or alcohol and a lint-free wipe, revealing the glossy, fully finished result underneath.
How Long Does Gel Polish Take to Cure Under the Lamp?
Most LED lamps cure a thin layer of gel polish in well under a minute, often somewhere around thirty seconds, while traditional UV lamps typically require a couple of minutes per layer to achieve the same full cure. Applying gel in thin, even layers rather than thick coats matters significantly here, since overly thick application can prevent light from fully curing the gel all the way through, even with adequate lamp time.
How to Remove Gel Nails Safely
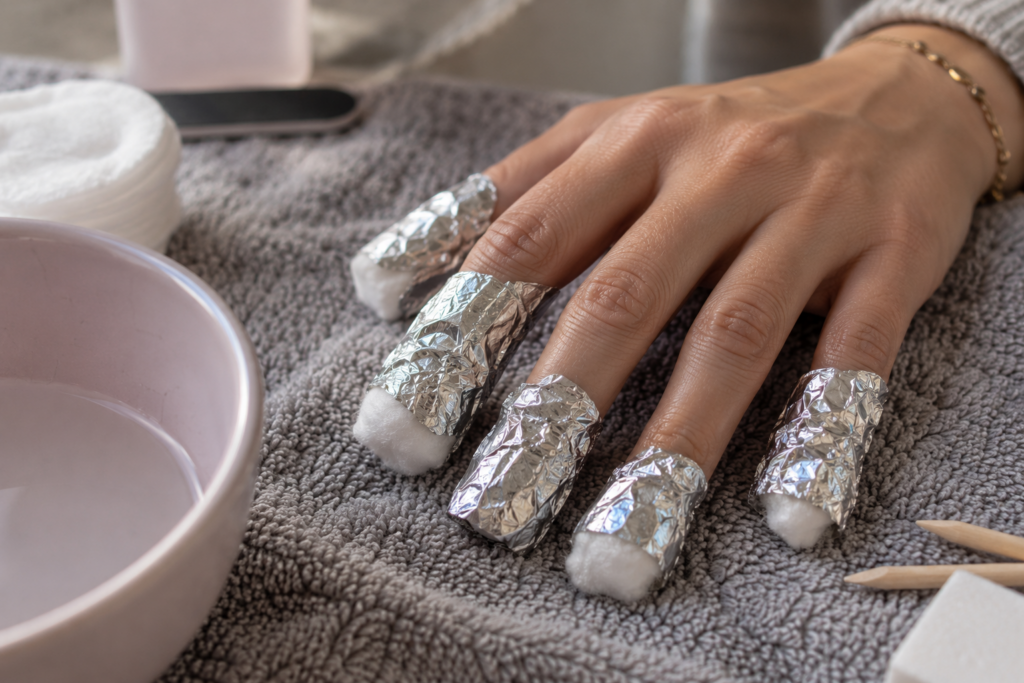
Gel removal follows a similar acetone soak-off approach to other gel and acrylic enhancements, though it generally takes less time than acrylic since gel polish is thinner overall.
File the shiny top surface of the gel lightly to break the seal, which helps acetone penetrate and start softening the layer underneath more quickly. Apply petroleum jelly around the skin surrounding each nail to protect it from excessive drying. Soak a cotton pad in acetone, place it over the nail, and wrap the fingertip in foil to hold it snugly in place.
Let nails soak for roughly ten to fifteen minutes, checking periodically. Once the gel has softened and starts to look wrinkled or cloudy, gently push it away with a cuticle pusher, working in small sections rather than trying to remove everything in one motion. If any gel remains firmly attached, rewrap and continue soaking rather than forcing it off before it’s ready.
How Long Should You Soak Gel Nails in Acetone to Remove Them?
Gel polish typically needs about ten to fifteen minutes of acetone soaking before it softens enough to safely remove, somewhat less time than a full acrylic set usually requires. Filing down the top sealed layer before soaking helps speed up this process, and checking periodically rather than guessing at timing helps you catch the gel right when it’s ready to gently come away.
Why You Shouldn’t Peel or Pick at Lifting Gel
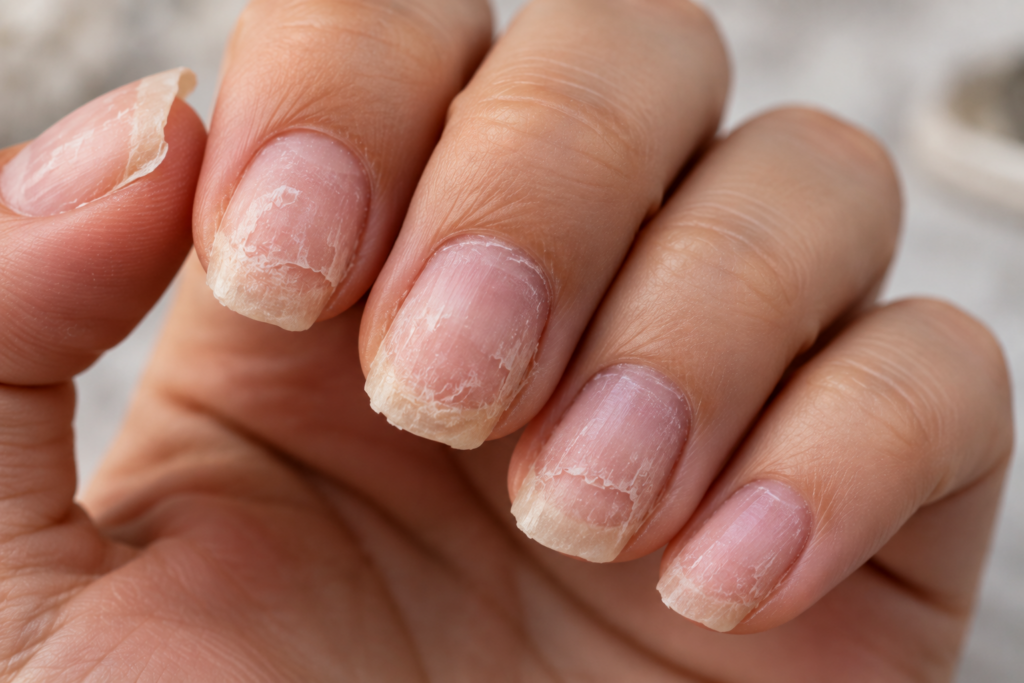
Gel that starts lifting at the edges before you’re ready to remove it presents a genuine temptation to just pick it the rest of the way off, and this habit causes more nail damage than almost anything else in at-home gel care.
Is It Okay to Just Peel Gel Polish Off When It Starts Lifting?
No, peeling gel off is genuinely damaging, since gel bonds tightly enough to the nail surface that forcibly removing it typically pulls away layers of the natural nail plate along with it, leaving nails thin, rough, and noticeably weaker. If gel starts lifting before you’re ready for a full removal, it’s better to either have it professionally addressed or do a proper acetone soak-off on that specific nail rather than picking at it.
Soft Gel vs. Hard Gel: What’s the Difference
Not all gel nail products work the same way, and understanding the distinction matters for both application and, especially, removal.
What’s the Difference Between Soft Gel and Hard Gel?
Soft gel, sometimes called soak-off gel, is formulated specifically to be removed with an acetone soak, making it the standard choice for gel polish manicures and lighter gel overlays. Hard gel, often used for structural extensions and added length, is designed to be more durable and typically must be filed off rather than soaked, since it doesn’t fully dissolve in acetone the way soft gel does, which is an important distinction to know before attempting removal at home.
Frequently Asked Questions
1. Can you do a gel manicure without a UV or LED lamp?
No, gel polish specifically requires light-activated curing to harden properly, so a UV or LED lamp is a genuine necessity for gel application, unlike regular polish, which air-dries without any special equipment.
2. How long does a gel manicure typically last before needing removal?
A gel manicure generally lasts about two to three weeks before noticeable regrowth or wear makes removal and reapplication worthwhile, though this can vary somewhat based on individual nail growth rate and daily wear and tear.
3. Is LED or UV better for curing gel polish at home?
LED lamps generally cure gel polish faster than traditional UV lamps, often in under a minute per layer compared to a couple of minutes with UV, though both types work effectively as long as they’re paired with a gel formula designed to cure under that specific light type.
4. Can you apply a new gel manicure directly over an old one without full removal?
It’s generally not recommended, since gel needs to bond directly with the natural nail surface for proper adhesion and even curing, so removing the previous gel layer completely before reapplying gives a cleaner, longer-lasting result.
5. Does gel polish damage nails more than regular polish?
Gel polish itself isn’t inherently more damaging than regular polish, but improper removal, particularly peeling or picking rather than soaking off, is what causes most of the nail damage associated with gel manicures.
6. Can you do gel nails on very short natural nails?
Yes, gel polish works perfectly well on short natural nails, and it doesn’t require any specific length to apply properly, making it a popular choice for people who prefer their natural nail length but still want a long-lasting, glossy finish.
7. Why does my gel polish sometimes peel at the tips first?
Tip peeling often happens when the free edge wasn’t properly sealed with the top coat during application, since this exposed edge takes the most daily wear and is the first area to be affected by water exposure and general friction.
8. Is it necessary to buff nails before applying gel polish?
Yes, lightly buffing the natural nail surface to remove shine before applying base coat genuinely improves gel adhesion, since a slightly textured surface gives the gel more to grip onto compared to a naturally smooth, shiny nail.
9. Can gel nails be removed without acetone at all?
Removing gel without acetone is significantly more difficult and generally requires extensive filing, which risks thinning the natural nail more than a proper acetone soak would, making acetone the genuinely recommended and safer removal method.
10. Does gel polish work on toenails the same way it works on fingernails?
Yes, the same gel application and curing process works on toenails, and many people find gel pedicures particularly appealing since the longer-lasting finish holds up well against the friction and moisture exposure feet often experience.