How to Do Acrylic Nails: A Complete Step-by-Step Guide
Acrylic nails have a bit of a reputation for being complicated, mostly because the actual chemistry involved, mixing a liquid monomer with a powder polymer to sculpt a bead into hardened extensions, sounds a lot more intimidating than it needs to be. Once you understand what’s actually happening at each step, and why certain techniques matter, doing your own acrylic set at home becomes a lot more approachable.
If you’re new to acrylics, start with our guide to what acrylic nails are.
This guide walks through exactly what you’ll need, how to properly prep your natural nails, the full application and sculpting process, and the specific mistakes that most commonly cause lifting, weak spots, or an uneven finish.
And when it’s time for a change, see removing them safely at home.
How to Do Acrylic Nails: The Basic Process
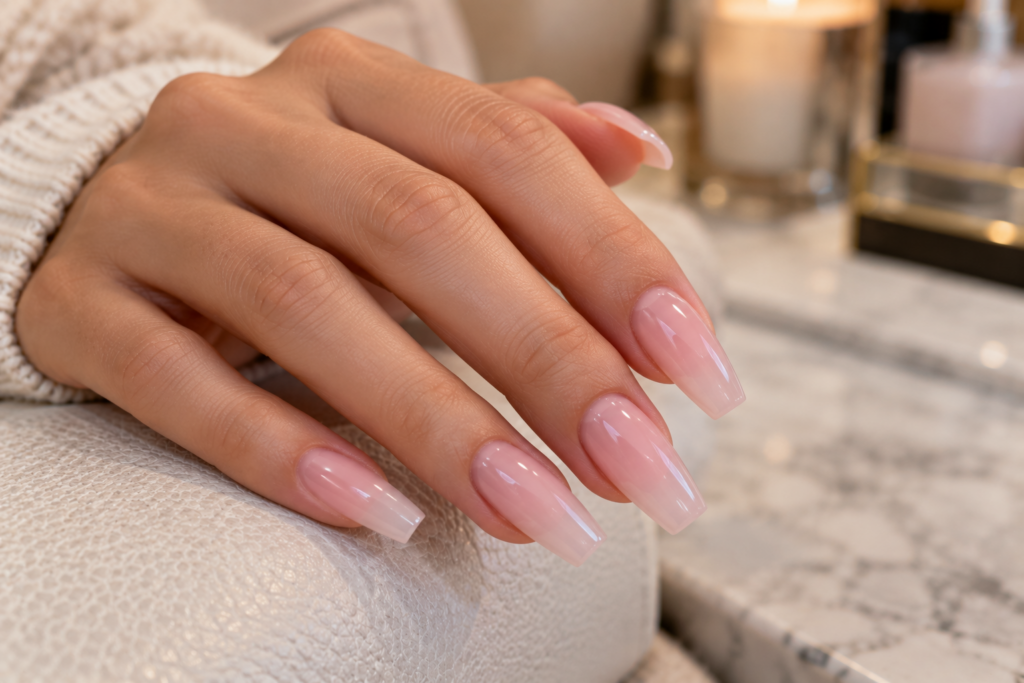
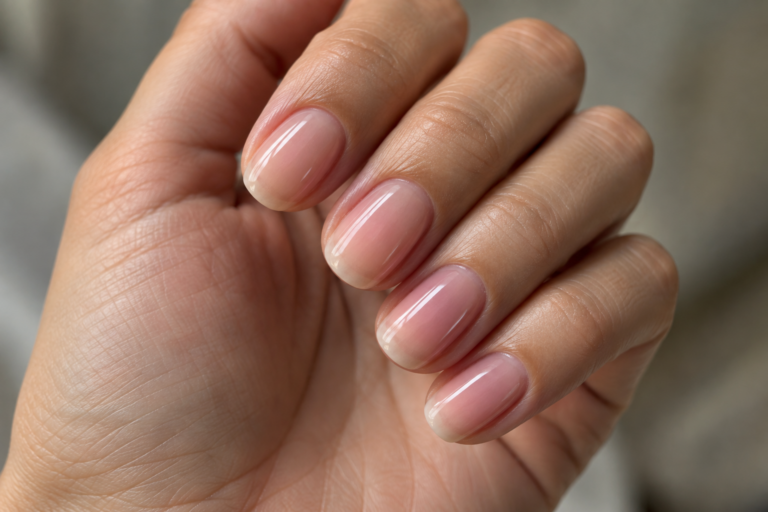
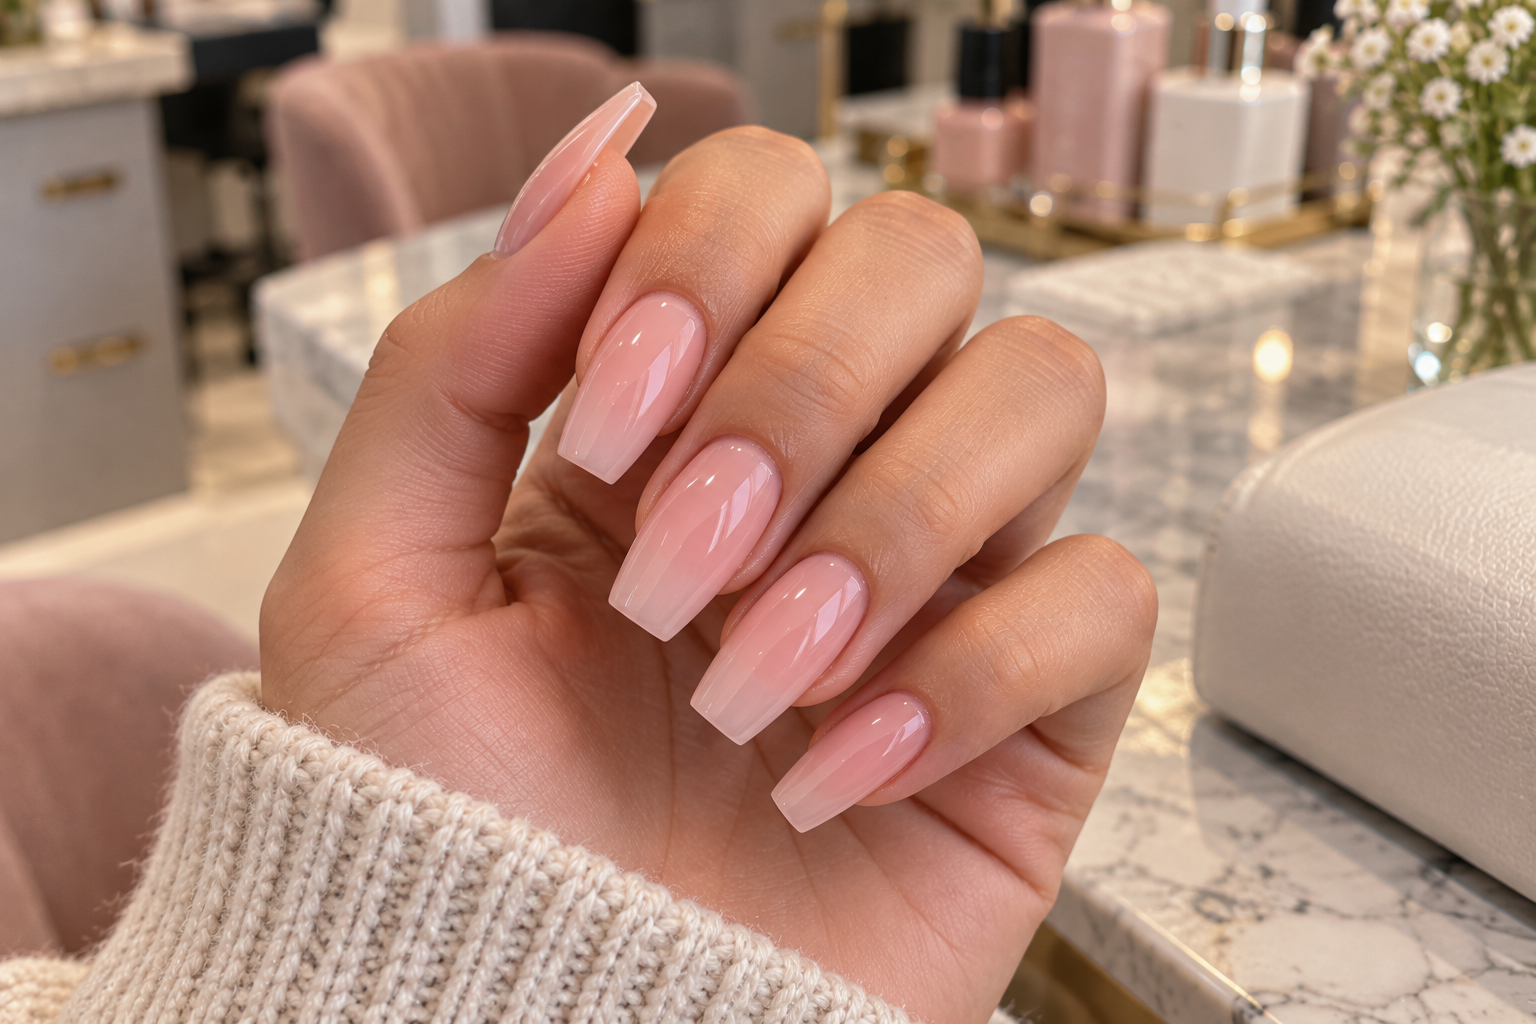
Acrylic nails are created by combining a liquid monomer with an acrylic powder to form a workable bead, which is then applied and sculpted over either a nail tip or a form to build length and shape before it hardens through a chemical curing process, without needing a UV or LED lamp. Once cured, the acrylic is filed, shaped, and finished with polish or a protective top coat.
The whole process depends heavily on timing and consistency. The bead only stays workable for a limited window before it starts to harden, which means understanding how to work efficiently, and how to recognize the right bead consistency, matters just as much as any individual step.
What You’ll Need Before You Start
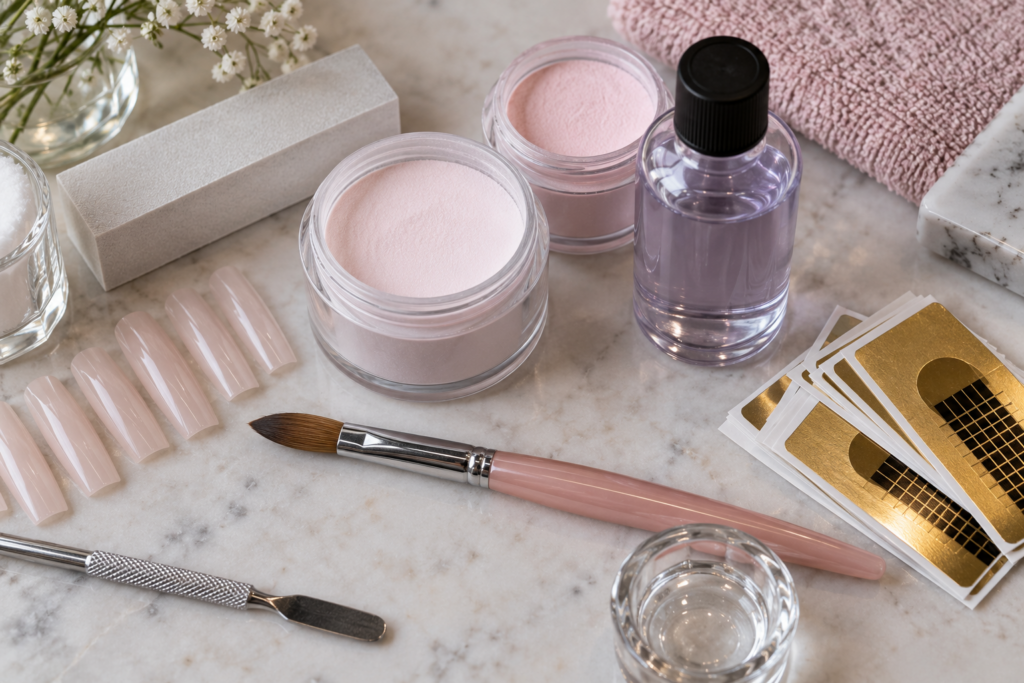
A handful of specific supplies make acrylic application possible, and most of them are reusable across many future applications once purchased.
Liquid monomer and acrylic powder are the core components that form the actual acrylic material. You’ll also need a primer, applied to the natural nail before the acrylic goes on to help it adhere properly, along with either nail tips or nail forms to establish the extension’s shape and length. A quality acrylic brush, specifically designed for picking up and shaping the bead, along with a dappen dish for the liquid monomer, rounds out the core application tools.
Beyond the acrylic-specific supplies, you’ll need standard nail prep tools like a buffer and cuticle pusher, along with a coarse file for shaping the hardened acrylic and a finer file or buffer for smoothing the final surface before polish.
Do You Need Nail Tips or Forms to Do Acrylic Nails?
Yes, some kind of structure, either a nail tip glued onto the natural nail’s free edge or a disposable form fitted underneath it, is necessary to establish the shape and length the acrylic will be sculpted around. Nail tips tend to be more beginner-friendly since they provide a fixed shape to build onto, while forms allow more customization of length and curve but generally require more practice to use effectively.
Prepping the Natural Nail
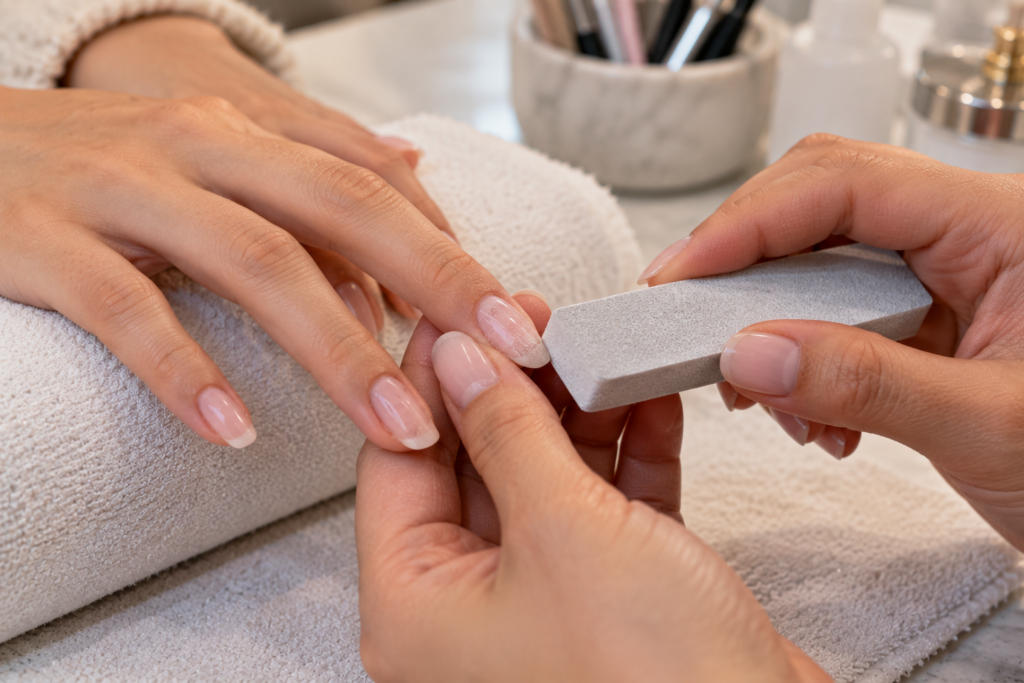
Proper prep genuinely determines how well acrylic adheres and how long the set lasts before lifting becomes an issue.
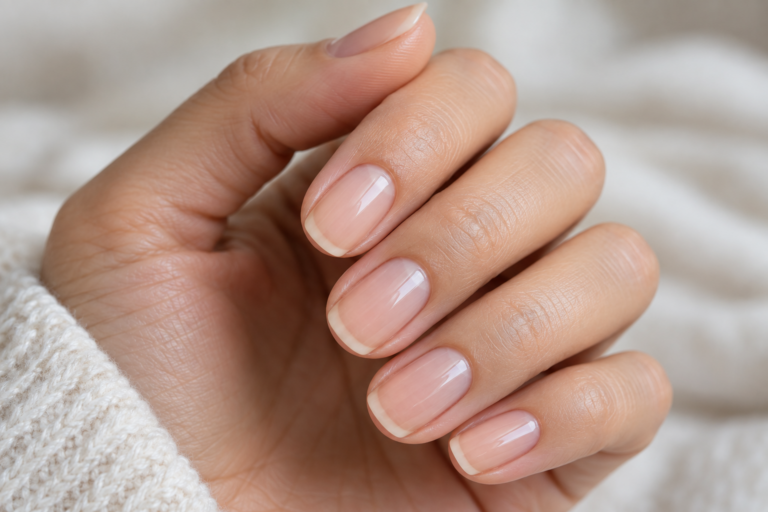
Start by pushing back cuticles and lightly buffing the natural nail surface to remove shine and create a slightly textured surface, which helps the acrylic bond more effectively. Avoid over-buffing or thinning the nail plate itself, since the goal is simply to remove excess shine, not to significantly alter the nail’s thickness.
Cleaning the nail with a dehydrator or nail prep solution removes any remaining oils or residue, both of which can interfere with adhesion if left on the nail before primer and acrylic go on.
Why Do Acrylic Nails Need to Be Primed First?
Primer creates a chemical bond between the natural nail plate and the acrylic material, significantly improving adhesion and reducing the likelihood of lifting compared to applying acrylic directly onto an unprimed nail. Skipping primer, or applying it inconsistently, is one of the most common reasons acrylic sets fail to hold up properly, even when every other step is done carefully.
Step-by-Step: Applying and Sculpting the Acrylic
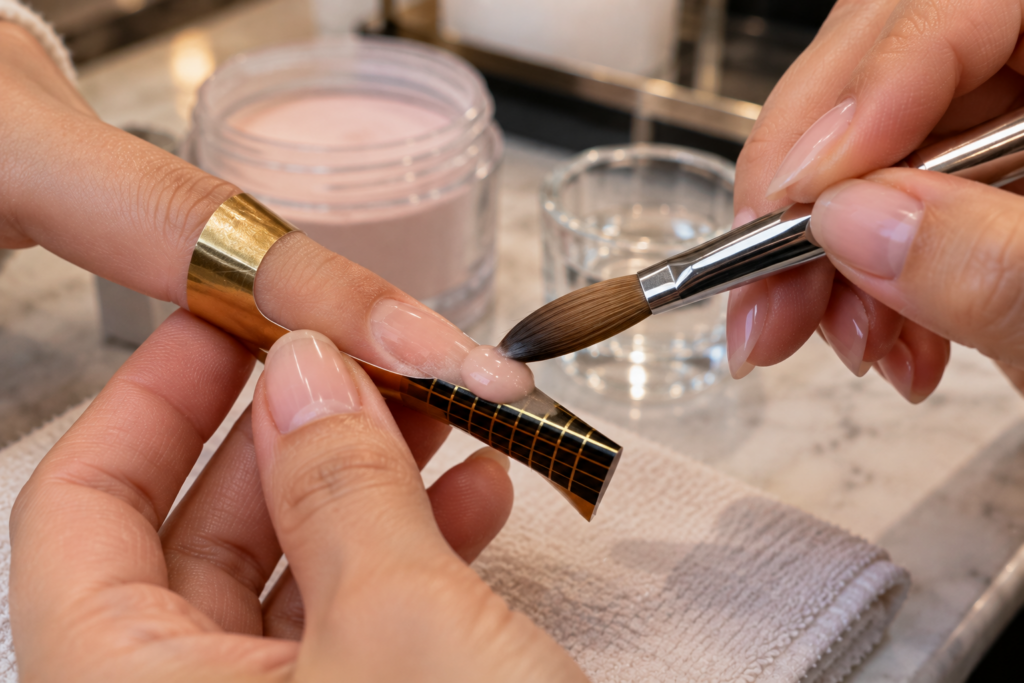
Attach your chosen nail tip or form first, ensuring it’s positioned evenly and securely before any acrylic touches the nail. Apply primer to the natural nail plate, allowing it to dry briefly according to the product’s instructions.
Dip your acrylic brush into the liquid monomer, then into the acrylic powder, picking up a small, evenly rounded bead. Consistency matters here. A bead that’s too wet will be difficult to control and may run or pool, while a bead that’s too dry can be crumbly and hard to smooth into shape.
Apply the bead to the nail in sections, typically starting near the stress point, the area where the natural nail meets the tip or form, since this spot needs the most structural support. Follow with beads applied toward the cuticle area and then toward the free edge, smoothing and shaping each section with your brush while the acrylic is still workable.
Work efficiently but without rushing, since the bead only stays sculptable for a limited window before it begins to harden. Once the acrylic has fully cured, which typically takes a few minutes per nail, remove the form if you used one, then file and shape the extension into your desired final shape.
How Long Does It Take for Acrylic Nails to Fully Harden?
Acrylic nails typically reach a workable, filing-ready hardness within about five to ten minutes per nail after application, though the material continues to fully cure and reach maximum hardness over the following hour or so. Waiting a bit longer than the minimum before subjecting new acrylic nails to significant pressure or impact helps avoid any risk of cracking or damage while the material is still fully setting.
Common Mistakes That Cause Lifting or Weak Nails
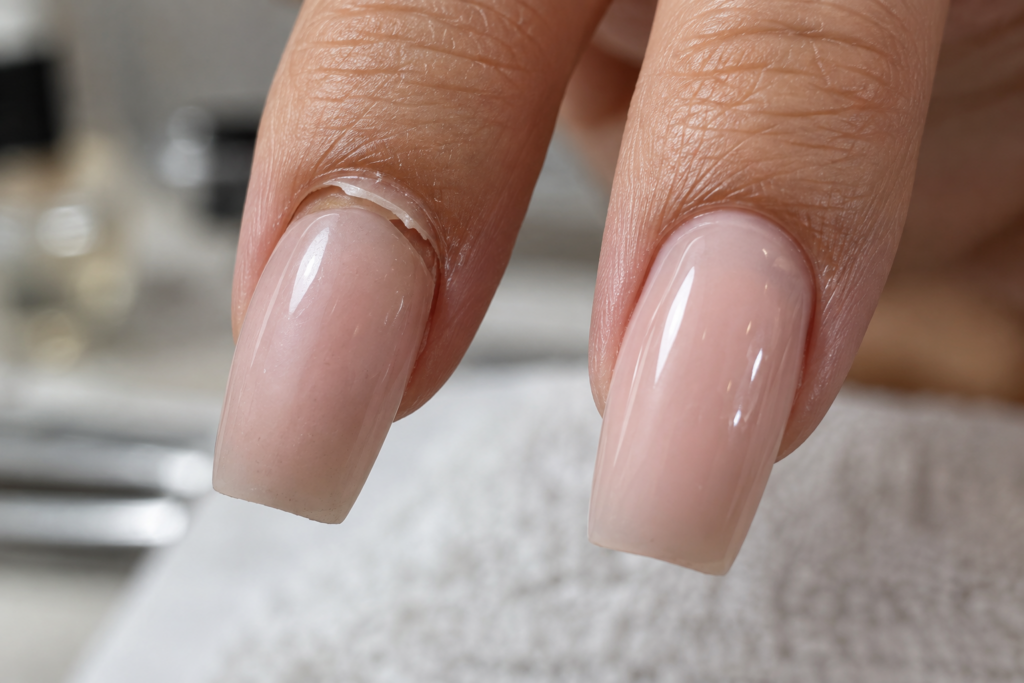
A handful of recurring errors account for most acrylic application problems, and nearly all of them trace back to prep, primer, or bead consistency.
Skipping or rushing the priming step is one of the most common causes of lifting, since inadequate primer coverage leaves weak spots where the acrylic can separate from the natural nail over time. Applying acrylic over natural oils or residue that weren’t properly removed during prep causes similar adhesion problems.
Getting the bead consistency wrong, either too wet or too dry, makes it significantly harder to create a smooth, even application, often resulting in a lumpy or uneven surface that requires extensive filing to correct. Placing the apex, the nail’s structural high point, incorrectly can also create a weaker overall structure, making the extension more prone to cracking or breaking under normal pressure.
Filing too aggressively after the acrylic has cured can thin the material excessively, weakening the extension and sometimes exposing the natural nail underneath if filing goes too far.
Acrylic vs. Gel: Understanding the Difference
Both acrylic and gel create similar-looking extended, durable nail enhancements, but the underlying materials and application processes are genuinely different.
What’s the Difference Between Acrylic Nails and Gel Nails?
Acrylic nails are created by combining a liquid monomer with a powder polymer that hardens through a chemical curing process, while gel nails use a pre-formulated gel that requires curing under a UV or LED lamp to harden. Acrylic tends to be more durable and rigid, making it a popular choice for significant length or intricate sculpted shapes, while gel generally offers a more natural, flexible feel and is often considered gentler on the natural nail during removal.
Frequently Asked Questions
1. Can beginners realistically do their own acrylic nails at home?
Yes, though acrylic application does have a genuine learning curve, particularly around bead consistency and timing, so beginners should expect their first few attempts to take longer and look less polished than a professional application while they get comfortable with the technique.
2. Does acrylic smell strong, and is that normal?
Yes, the liquid monomer used in acrylic nails has a distinct, fairly strong odor, which is completely normal and expected, though working in a well-ventilated space helps make the smell significantly less bothersome during application.
3. How long do acrylic nails typically last before needing a fill?
Acrylic nails generally need a fill every two to three weeks as the natural nail grows out, creating a visible gap between the cuticle and where the acrylic begins, though this timeline can vary somewhat based on individual nail growth rate.
4. Can acrylic nails be applied over nails that are already damaged or weak?
Applying acrylic over significantly damaged or weak nails is generally not recommended without some recovery time first, since the added weight and structure can put additional stress on nails that are already compromised, potentially worsening the underlying issue.
5. Do you need an electric file, or can acrylic nails be shaped with a manual file alone?
A manual file works perfectly well for shaping acrylic nails, especially for beginners, though an electric file can speed up the shaping and smoothing process considerably once you’re comfortable controlling it safely, since electric files remove material much faster than manual filing.
6. Can acrylic nails be polished with regular nail polish, or do they need gel?
Regular nail polish works perfectly fine on top of acrylic nails, and it’s actually a common, straightforward finishing option, though gel polish or a specific acrylic sealant top coat is also commonly used for a glossier, more durable finish.
7. Is it normal for the first acrylic bead application to feel difficult to control?
Yes, controlling bead consistency and working within the limited workable window before it starts hardening is genuinely one of the trickier parts of the technique to master, and most people find it becomes noticeably easier and more intuitive after a few practice attempts.
8. Can acrylic nails be safely removed at home without professional help?
Yes, acrylic can be removed at home by soaking nails in acetone until the material softens enough to gently lift or file away, though this process requires patience and a careful, gradual approach to avoid damaging the natural nail underneath.
9. Does temperature or humidity affect how acrylic nails apply or cure?
Yes, very warm or humid conditions can sometimes cause the acrylic to set faster than expected, giving you less working time, while cooler conditions can slow curing slightly, so working in a moderate, consistent room temperature generally produces the most predictable results.
10. Can you add nail art directly onto a fresh acrylic set?
Yes, nail art can be applied directly onto cured, shaped acrylic, either with regular polish, gel polish, or embedded directly into the acrylic itself during the sculpting process for certain techniques, though most nail art is simply added as a finishing step after the acrylic has been fully shaped.