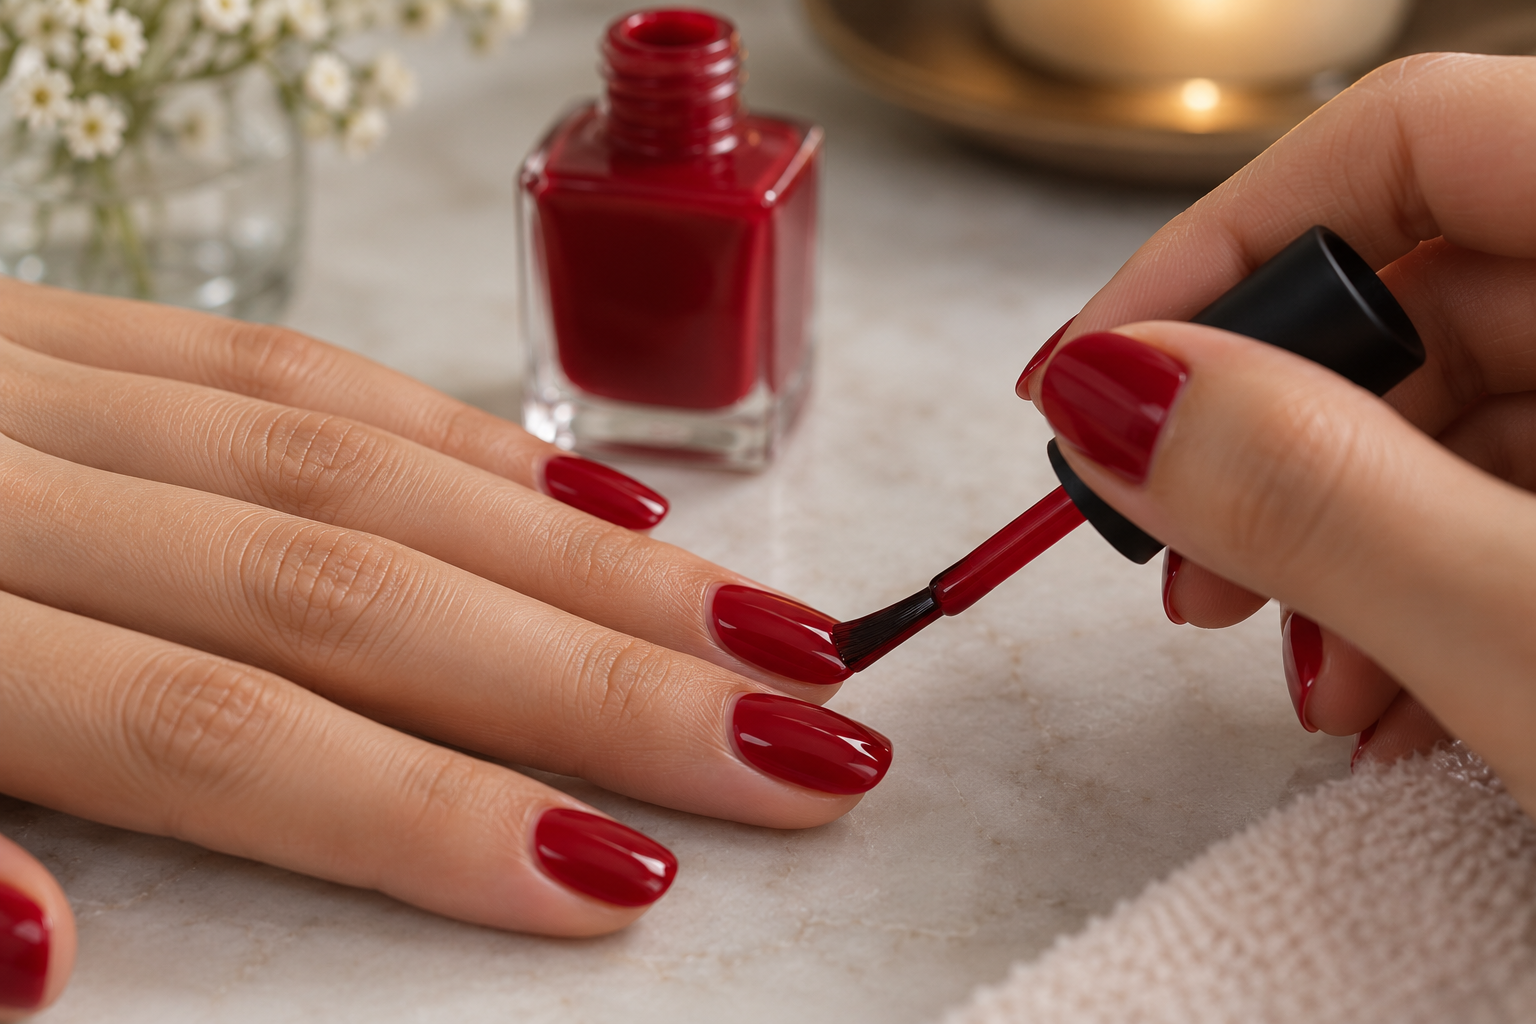
How to Paint Nails at Home: A Complete Step-by-Step Guide
Painting your own nails sounds simple until you’re staring at a smudged, streaky mess twenty minutes after you thought you were done. The gap between a polish job that looks salon-fresh and one that looks rushed usually comes down to a handful of technical habits, proper prep, brush control, and patience with dry time, rather than any natural talent some people supposedly have and others don’t.
This guide walks through the entire process from start to finish: prepping your nails properly, the actual brush technique that creates clean, even coverage, how to troubleshoot the most common painting problems, and how to speed up dry time without ruining your work in the process.
How to Paint Nails: The Basic Process
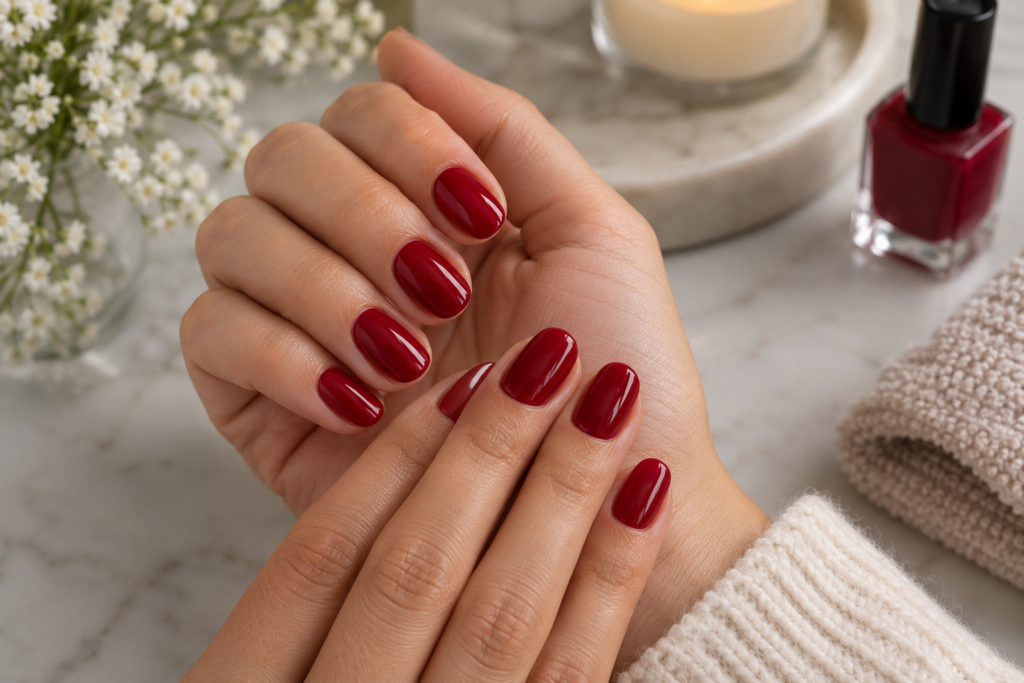
A clean polish application starts with proper nail prep, removing oils and shaping the nail before any color goes on, followed by a base coat, two thin coats of color applied with a consistent brush technique, and a top coat to seal and protect the finished manicure. Skipping any one of these steps tends to show up later, whether that’s polish that chips within a day or color that looks streaky no matter how carefully you painted it.
Patience matters just as much as technique here. Rushing between coats, or moving on to activities before nails are fully dry, undoes careful work almost instantly, which is why understanding proper dry time is just as important as brush control.
Prepping Nails Before You Paint
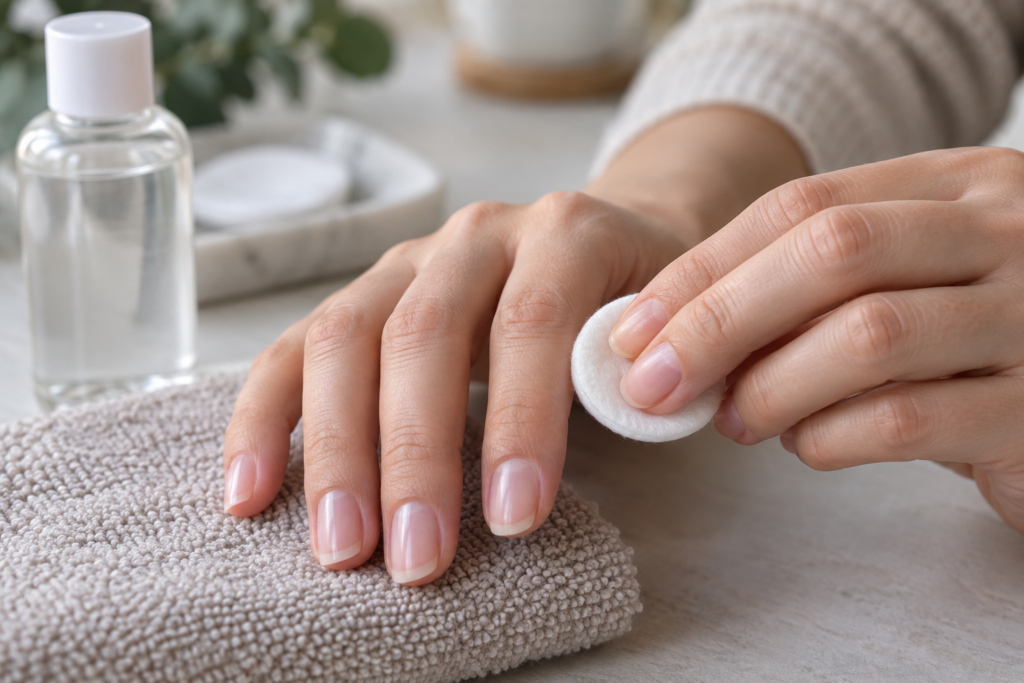
Prep work genuinely determines how well polish performs, and skipping it is one of the most common reasons polish chips or peels prematurely.
Start by removing any old polish completely, then shape nails with a file, working in one direction rather than sawing back and forth. Push back cuticles gently, since polish applied over the cuticle area tends to lift and peel faster than polish applied cleanly to just the nail surface. Buffing the nail surface lightly can help smooth out any texture that might otherwise show through the polish, though this step isn’t strictly necessary for already smooth nails.
The final and often skipped step is wiping each nail with rubbing alcohol or a dedicated nail prep solution before applying base coat. This removes natural oils and any residue left from lotion or cuticle oil, both of which can prevent polish from adhering properly and lead to premature chipping or peeling at the edges.
The Right Technique for a Clean Polish Application
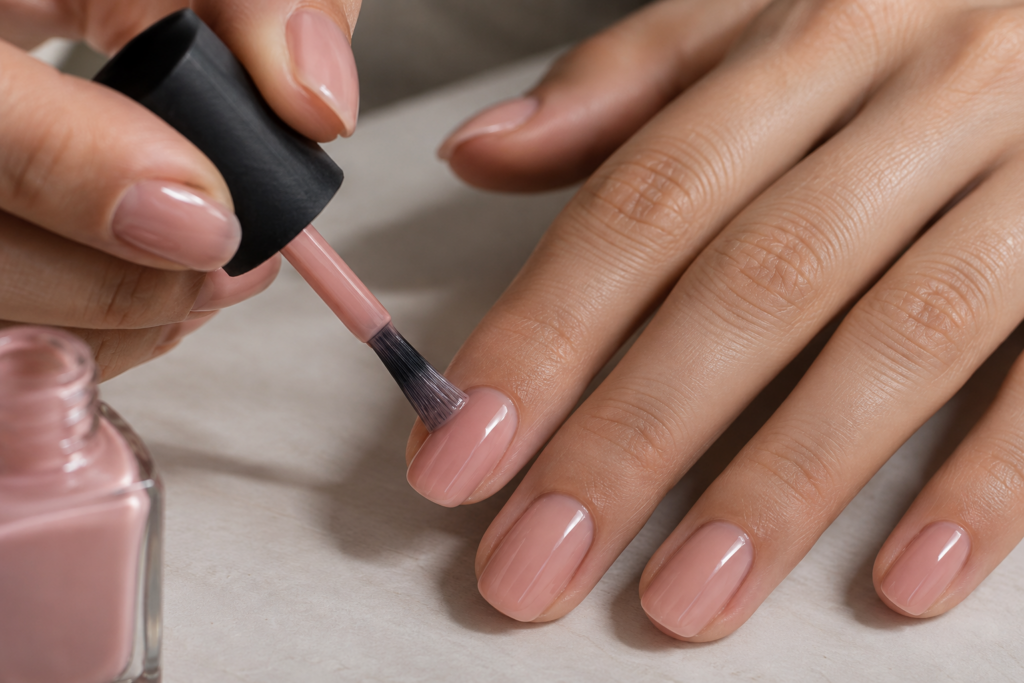
Good brush technique comes down to a specific, repeatable motion rather than random back-and-forth strokes. Most people find success with what’s sometimes called the three-stroke method: one stripe down the center of the nail, followed by one stroke on each side, slightly angled to follow the nail’s natural curve.
Capping the free edge, running the brush lightly along the very tip of the nail after the main strokes, helps seal the polish and genuinely improves chip resistance, since the tip is the area that takes the most daily wear. Keeping a small gap between the polish and the cuticle, rather than flooding color all the way to the skin, both looks cleaner and reduces the mess you’ll need to clean up afterward.
How Many Coats of Polish Should You Apply?
Most nail polish looks best and lasts longest with two thin coats rather than one thick one, since thin coats dry more evenly and are less prone to the bubbling, streaking, or extended dry time that a single heavy coat tends to cause. Highly pigmented or very dark colors sometimes achieve full opacity in one coat, but two thin coats still generally produce a more even, professional-looking finish than one thick application.
How Long Should You Wait Between Coats When Painting Nails?
Waiting roughly two to three minutes between coats generally gives the first layer enough time to set without being fully dry, which helps the second coat adhere smoothly rather than dragging or pulling at the layer underneath. Waiting too long between coats can sometimes cause the second layer to drag on a partially dried first coat, so working within that short window tends to produce the smoothest results.
Fixing Common Painting Problems
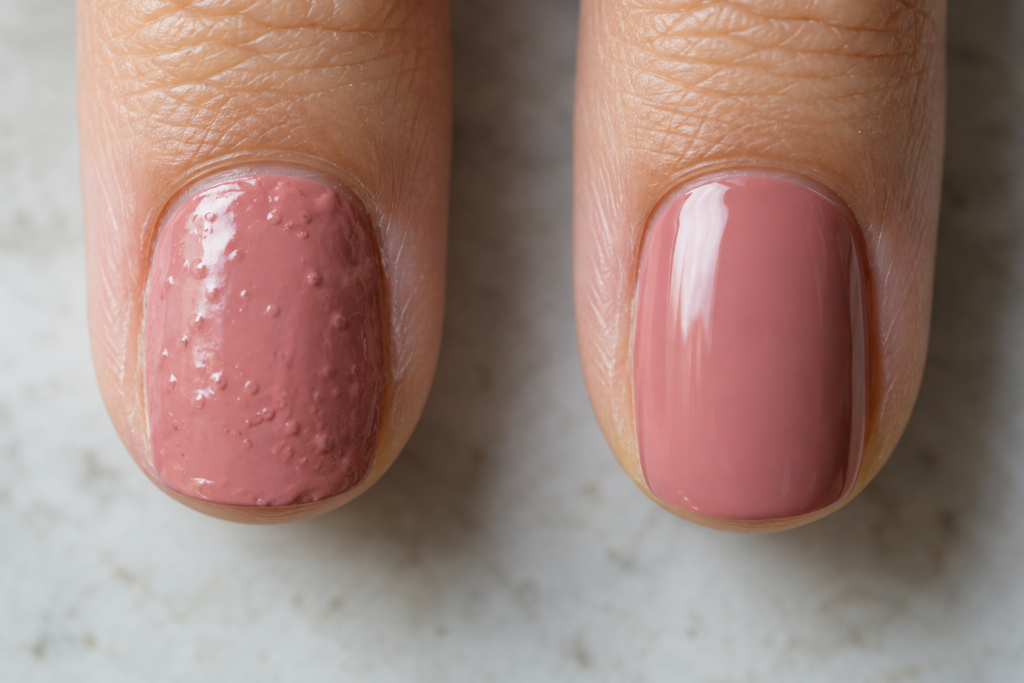
A handful of recurring issues account for most disappointing at-home manicures, and nearly all of them have a straightforward fix once you know the cause.
Why Does Nail Polish Bubble When You Paint It?
Bubbling usually happens because the polish bottle was shaken rather than rolled between your palms before application, since shaking introduces air bubbles directly into the formula. Applying polish in a room that’s too warm, or applying coats too thick, can also trap air and cause bubbling as the polish dries, so rolling the bottle, keeping coats thin, and working in a moderate temperature all help prevent this issue.
Why Does Polish Look Streaky Even After Two Coats?
Streaky results are often caused by using old, thickened polish that’s lost its smooth consistency, applying coats too thin to build even opacity, or using inconsistent brush pressure that leaves visible lines. Switching to fresher polish, using a bit more product per stroke while still keeping coats reasonably thin, and maintaining even, consistent pressure throughout each stroke typically resolves streaking within one or two attempts.
Cleanup and Speeding Up Dry Time
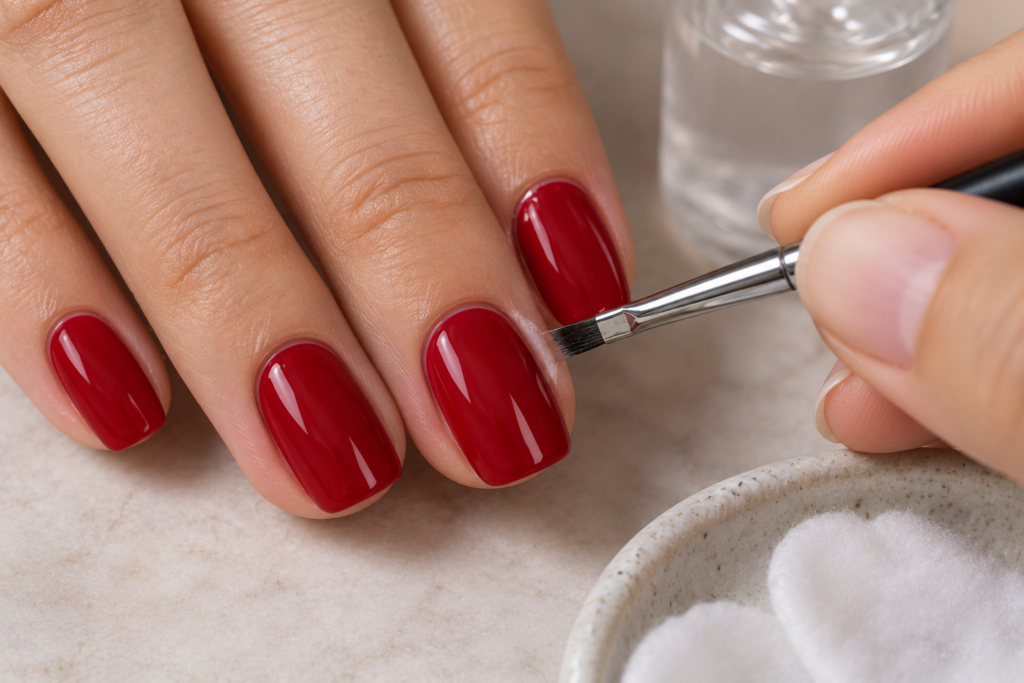
Even careful application usually leaves a little polish on the surrounding skin, and cleaning this up properly makes a real difference in how professional the finished manicure looks. A small, angled brush dipped in nail polish remover or acetone, used to trace along the edge of the nail, removes stray polish precisely without disturbing the actual manicure.
For faster drying, quick-dry top coats or drying drops applied over the final coat genuinely speed things up, as does a blast of cold air from a hair dryer held at a distance, since heat can actually cause polish to bubble or wrinkle rather than drying it faster. Avoiding hot water, tight-fitting gloves, or any pressure-heavy activity for at least thirty minutes after finishing gives polish enough time to fully harden and resist smudging.
Frequently Asked Questions
1. Do you need a base coat, or can you skip straight to color?
A base coat is genuinely worth using, since it helps polish adhere more evenly, protects nails from staining by pigmented colors, and generally improves how long the manicure lasts before chipping compared to applying color directly onto bare nails.
2. Can you paint your nails without a top coat?
Yes, but a top coat significantly improves both the shine and durability of a manicure, sealing the color layer and adding a protective barrier against everyday wear, so skipping it usually means faster chipping and a duller overall finish.
3. How long does nail polish take to fully dry?
Nail polish typically feels dry to the touch within about thirty minutes, though it can take several hours to fully harden all the way through, which is why many nail professionals recommend avoiding tight shoes, heavy activity, or anything that could dent or smudge nails for a few hours after painting.
4. Why does my polish chip within a day or two even after using a top coat?
Early chipping is often caused by skipping the oil-removal step during prep, not capping the free edge while painting, or applying coats too thick, all of which reduce how well the polish bonds to the nail and how evenly it cures.
5. Is it better to paint nails in a warm room or a cool room?
A moderate room temperature generally works best, since overly warm conditions can cause polish to dry too fast on the surface while staying soft underneath, sometimes leading to bubbling or an uneven finish, while a reasonably cool, dry environment supports more even drying.
6. Can you fix a smudge without redoing the entire nail?
Yes, a fresh top coat applied over a slightly smudged nail can sometimes smooth out minor imperfections by re-melting and leveling the surface polish, though deeper smudges usually require removing that coat and repainting for the cleanest result.
7. Does the brush shape on a polish bottle affect how easy it is to paint neatly?
Yes, wider, more tapered brushes generally make it easier to cover the nail in fewer strokes with more control, while narrower or stiffer brushes can require more strokes and slightly more practice to achieve the same smooth, even coverage.
8. Should you paint your dominant hand first or your non-dominant hand first?
Many people find it easier to paint their non-dominant hand first while their dominant hand still has full coordination and control, saving the more challenging dominant-hand application for when they’ve had a chance to warm up with the easier side.
9. Can old, thickened nail polish be saved, or does it need to be replaced?
A few drops of nail polish thinner, specifically formulated for this purpose, can sometimes restore old, thickened polish to a workable consistency, though polish that’s become extremely clumpy or separated is generally past the point of being reliably fixed.
10. Is it necessary to let each hand dry completely before starting the other one?
It’s not strictly necessary, since many people alternate between hands while each coat sets, but avoiding unnecessary contact with the wet nails on either hand during this process helps prevent accidental smudging before the polish has had time to firm up.


