How to Make and Remove Press-On Nails at Home
Press-on nails have come a long way from the stiff, obviously fake sets people remember from years ago. Between better-fitting tip shapes and the option to paint and design your own from scratch, press-ons have quietly become one of the most flexible ways to get a genuinely polished manicure without any of the chemical processing involved in gel or acrylic. The catch is that both making and removing them properly takes a bit more technique than most people expect the first time around.
This guide walks through how to create your own custom press-on set using blank tips and regular polish or gel, how to apply a set so it actually stays put, and the correct way to remove press-ons afterward without damaging your natural nails in the process.
How to Make and Remove Press-On Nails: The Basics
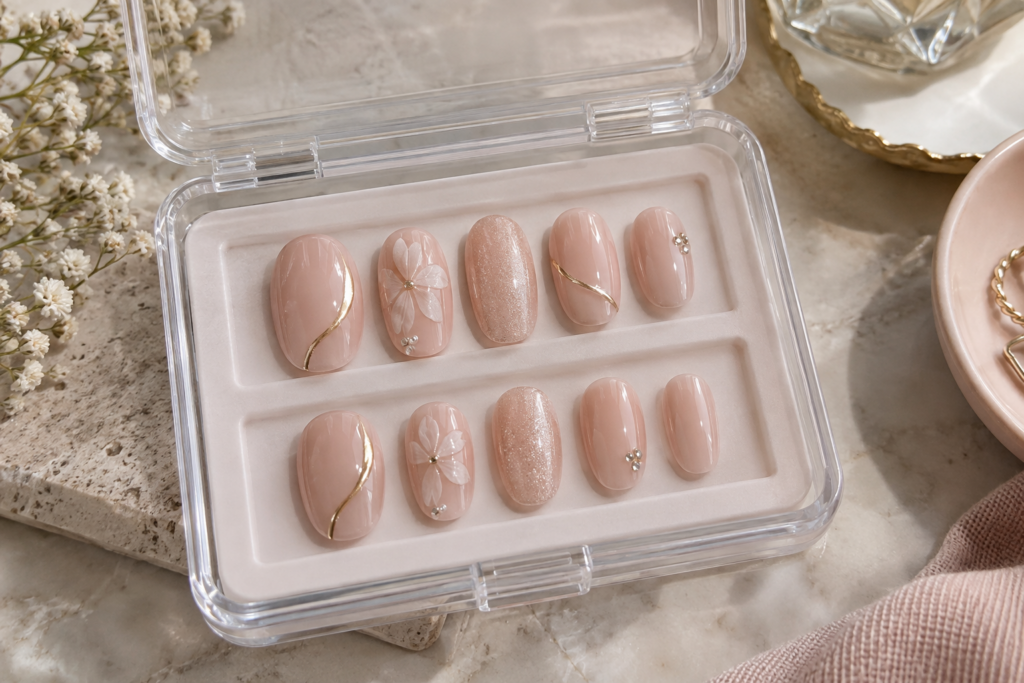
Making your own press-on nails involves painting or decorating blank nail tips off the hand, using a stand or holder to keep them steady, then letting the design fully cure or dry before wearing them. Applying press-ons properly means prepping the natural nail, sizing each tip correctly, and using either nail glue or adhesive tabs depending on how long you want the set to last, while removal requires either gently lifting adhesive tabs or soaking glued tips in acetone rather than pulling them off directly.
Each of these three stages, making, applying, and removing, has its own specific technique worth understanding, since skipping steps or rushing any one of them tends to show up as poor fit, premature lifting, or actual nail damage.
How to Make Your Own Custom Press-On Nails

Creating your own press-on set starts with blank nail tips, sold in a range of sizes to match different natural nail widths, along with a display stand, dotting tool, or piece of tape to hold each tip steady while you work on it away from your actual hand.
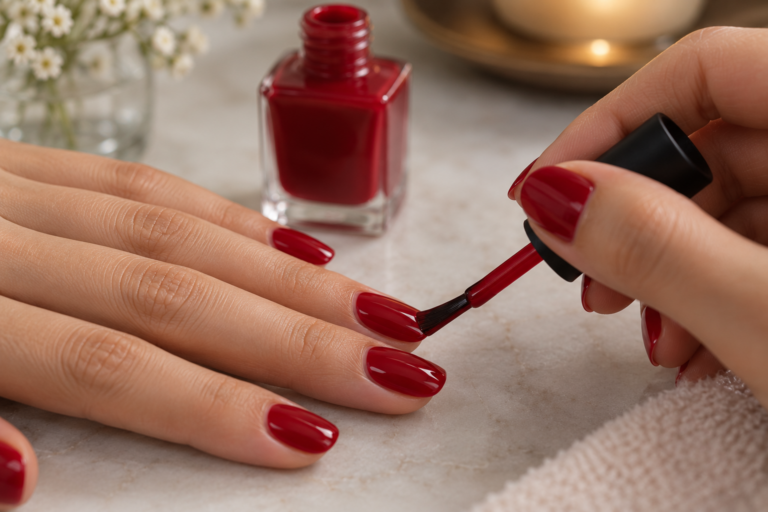
Paint or apply your chosen design directly onto the blank tip using either regular polish, allowed to air dry fully between coats, or gel polish, cured under a UV or LED lamp exactly the way you would on a natural nail. Working on tips individually, rather than trying to paint several at once, generally produces cleaner, more precise results, especially for detailed nail art.
Once your design is complete, seal it with a top coat for shine and added durability, then let everything fully cure or dry before handling the tips further. Storing finished tips in a labeled container, organized by size, makes it much easier to grab a matching set later without having to search through a jumbled pile.
Can You Make Your Own Press-On Nails With Regular Nail Polish?
Yes, regular nail polish works perfectly well for making custom press-on nails, and it’s actually one of the more accessible ways to start, since it doesn’t require a UV or LED lamp the way gel polish does. The main consideration is giving each coat enough time to fully air dry before adding the next layer or handling the tip, since regular polish takes noticeably longer to harden completely compared to lamp-cured gel.
How to Apply Press-On Nails Properly

Good application technique makes the difference between a set that lasts and one that pops off within a day.
Start by pushing back cuticles and lightly buffing the natural nail surface to remove shine, then wipe each nail with rubbing alcohol to remove any oils or residue that could interfere with adhesion. Select the correctly sized tip for each individual nail, since a poor size match is one of the most common reasons press-ons lift prematurely or feel uncomfortable.
Apply your chosen adhesive, whether that’s nail glue or an adhesive tab, following the specific product’s application instructions. Press each tip onto the nail starting from the cuticle area and rolling downward toward the tip, applying firm, even pressure for the recommended hold time to minimize trapped air bubbles underneath.
What’s the Difference Between Using Nail Glue and Adhesive Tabs for Press-Ons?
Nail glue creates a stronger, longer-lasting bond that generally holds up better to daily activities and water exposure, making it a better choice for anyone wanting their press-ons to last closer to two weeks. Adhesive tabs offer a gentler, more temporary hold, typically lasting anywhere from a few hours to a few days, and they’re generally easier to remove without needing acetone, making them a popular choice for special occasions or shorter-term wear.
How Long Do Press-On Nails Typically Last Before They Need to Come Off?
Press-on nails applied with strong nail glue can last up to about two weeks with proper application and care, while those applied with adhesive tabs generally last anywhere from a single day to about a week, depending on daily activity and how well the tabs were applied. Factors like frequent hand washing, exposure to water, and how well the tip was sized and pressed on all affect how long any given set actually holds up.
How to Remove Press-On Nails Safely
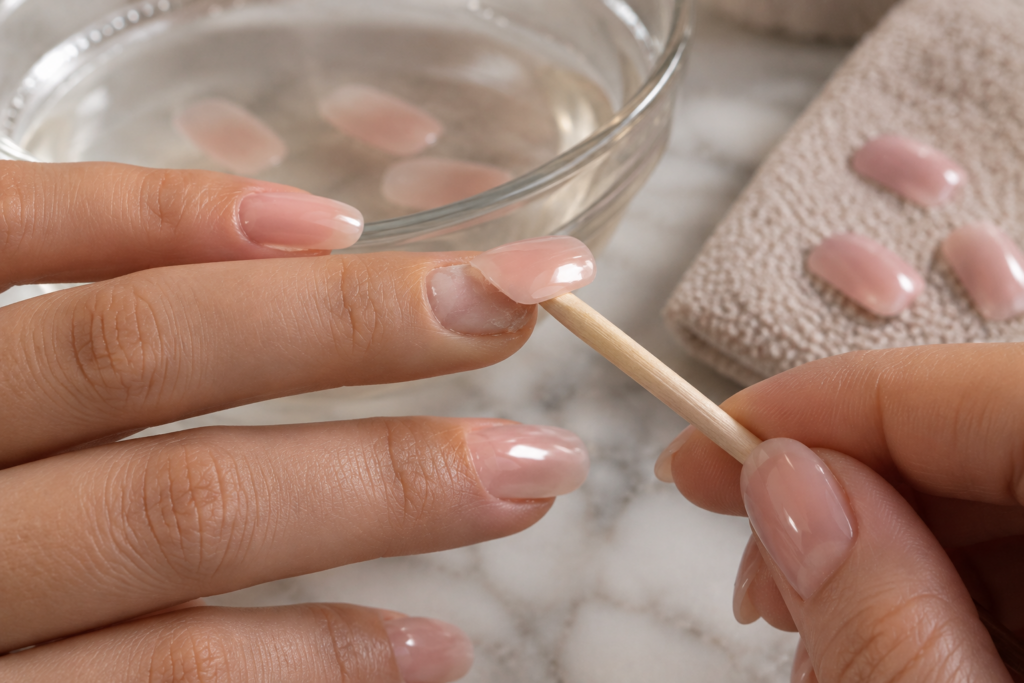
Removal technique depends heavily on which adhesive method was used to apply the set in the first place.
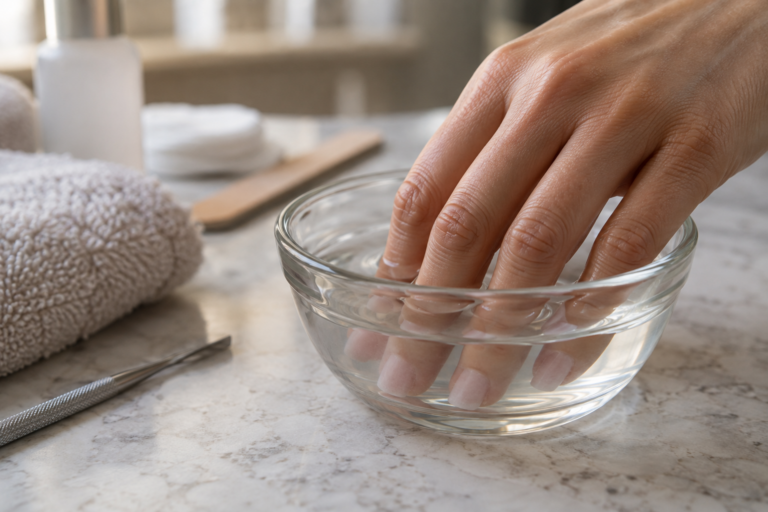
For adhesive tabs, gently soaking hands in warm water for several minutes softens the tab’s hold, after which a cuticle pusher or orange stick can be used to carefully lift the tip starting from one side, wiggling gently rather than pulling straight up. For nail glue, the process closely resembles gel or acrylic removal, soaking nails in acetone, typically wrapped in foil with a soaked cotton pad, until the glue bond softens enough for the tip to lift away with gentle pressure.
Regardless of adhesive type, patience during removal genuinely matters. Forcing a tip off before it’s properly loosened risks taking a layer of the natural nail along with it.
Is It Bad for Your Nails to Remove Press-Ons the Wrong Way?
Yes, forcibly pulling or prying press-ons off, especially ones applied with strong nail glue, can pull away layers of the natural nail plate along with the tip, leaving nails visibly thin and weakened. Taking the time to properly soften the adhesive first, whether through a warm water soak for tabs or an acetone soak for glue, protects the natural nail and avoids this kind of avoidable damage.
Caring for and Reusing Your Press-On Nails

One genuine advantage of press-ons is that a well-cared-for set can often be worn more than once, making them a more economical option over time compared to buying a fresh set for every occasion.
After removal, gently clean any remaining adhesive residue off the underside of each tip, then store the set in a labeled container, ideally the same one used for organizing freshly made tips, to keep everything paired correctly by size for next time. Avoiding excessive bending or pressure on stored tips helps preserve their shape and prevents cracking, which is especially relevant for longer, more dramatic nail shapes.
Frequently Asked Questions
1. Can you shower or wash dishes with press-on nails applied?
Yes, press-ons applied with proper adhesive can generally handle normal water exposure like showering or hand washing, though prolonged soaking or very hot water can weaken the adhesive bond over time and shorten how long the set lasts overall.
2. Do press-on nails work on very short natural nails?
Yes, press-ons can be sized and trimmed to fit shorter natural nails, though achieving a secure, comfortable fit on very short nails sometimes requires more careful sizing and trimming of the tip itself to match your specific nail bed shape.
3. Can you paint over an existing press-on design if you want to change the color?
Yes, existing press-on tips can be repainted with a new color or design once any old polish is removed, making them reusable for a completely different look without needing to buy or make an entirely new set.
4. Is it necessary to buff natural nails before applying press-ons?
Yes, lightly buffing the natural nail surface to remove shine genuinely improves how well adhesive bonds to the nail, which is part of why this prep step matters just as much for press-ons as it does for gel or acrylic application.
5. Can press-on nails be worn over gel or acrylic nails that are already applied?
It’s generally not recommended, since press-ons are designed to adhere to a natural nail surface, and applying them over an existing gel or acrylic set can affect fit and adhesion in ways that make the overall combination less stable and secure.
6. Do press-on nails damage natural nails the way acrylic sometimes can?
Press-ons are generally considered gentler on natural nails than acrylic, particularly when adhesive tabs are used instead of glue, though improper removal of glue-applied press-ons can still cause similar damage if the adhesive isn’t properly softened first.
7. Can you make press-on nails with 3D nail art or embellishments?
Yes, three-dimensional elements like rhinestones, small charms, or textured designs can absolutely be added while making custom press-ons, generally applied and sealed with additional top coat once the base design has fully cured or dried.
8. How many times can a single set of press-on nails typically be reused?
A well-maintained set can often be reused several times, particularly if adhesive tabs were used and removal was done carefully, though nail glue applications generally show more wear on the underside over repeated uses, eventually affecting how securely they reapply.
9. Is it safe to sleep with press-on nails on?
Yes, sleeping with properly applied press-on nails is generally safe, since a well-fitted, correctly adhered set shouldn’t pose any more risk than sleeping with a standard gel or acrylic manicure.
10. Can you trim or reshape a press-on tip after it’s already been applied?
Yes, press-on tips can be trimmed for length or gently reshaped with a file after application, similar to how you’d file any other type of nail enhancement, allowing for some adjustment even after the set is already on.