How to Color Your Hair at Home: A Complete Step-by-Step Guide
Coloring your hair at home can be straightforward when the goal is realistic and the preparation is good. It becomes much less predictable when you try to make a dramatic change, ignore previous color, or apply one formula from roots to ends without considering how differently those areas behave.
Fresh natural roots, previously colored mid-lengths, porous ends, gray strands, and old highlights can all react differently to the same mixture.
That is why successful home hair color starts before anything is mixed.
You need to know what is already in your hair, what you want the finished shade to look like, and whether that result requires depositing color, covering gray, lightening natural hair, or correcting an old dye job.
The more complicated the history, the less suitable a one-formula DIY approach becomes.
For simple root maintenance, deepening a natural shade, refreshing faded brunette, covering moderate gray, or making a modest tonal change, home coloring can work very well.
Choose the Right Hair Color Before You Start
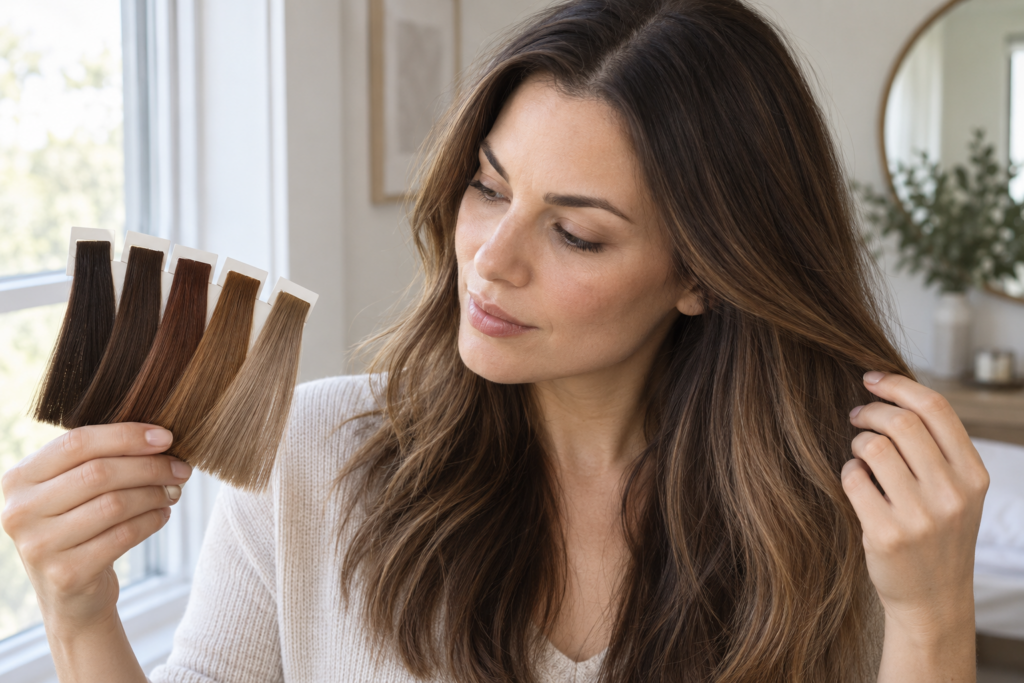
The safest home color changes usually stay reasonably close to your current depth. Going slightly darker, refreshing tone, covering gray, or shifting from neutral brown to warm chestnut is much easier to control than trying to turn dark permanent color into blonde. Your natural base, previous dye, and hair condition should guide the shade more than the picture on the box.
Start by identifying your current color in daylight.
Do not judge it only under yellow bathroom lighting.
Look at the roots first because that is the most accurate representation of your natural color if the lengths have been dyed.
Then compare the mid-lengths and ends.
Are they darker from repeated permanent color?
Lighter from old highlights?
Warmer from fading?
More porous and dull?
Those differences matter.
A permanent medium-brown formula applied over virgin roots and repeatedly dyed dark ends may produce lighter roots and even darker lengths.
That is one of the most common home-color mistakes.
Choose your goal next.
If you simply want richer brown, a deposit-focused color may be enough.
If you want to cover gray, you need a formula designed for that job.
If you want to go lighter, the current hair history determines whether ordinary permanent color can help or whether the hair contains artificial pigment that must be removed first.
Color does not reliably lighten previously colored hair.
Putting light brown dye over permanent dark brown does not erase the darker artificial pigment underneath.
How Many Shades Lighter or Darker Should You Go at Home?
For a straightforward DIY result, staying within a relatively small change from your current color is usually easier to control. Going modestly darker or changing tone is simpler than dramatically lightening. Major changes involving black dye, repeated permanent color, bleach, or several different bands of color are better treated as corrective color.
Think in terms of commitment too.
Going darker can feel easy because the color applies quickly, but very dark permanent dye can be difficult to remove later.
If you are unsure about becoming dramatically darker, a demi-permanent shade can sometimes be a more flexible way to test the direction.
The same caution applies to red.
Copper, auburn, cherry, mahogany, and vivid red can look beautiful but may linger even after the intensity fades.
Consider where you want to be several months from now, not just how you want the hair to look this weekend.
Prepare Your Hair, Skin, and Workspace Properly
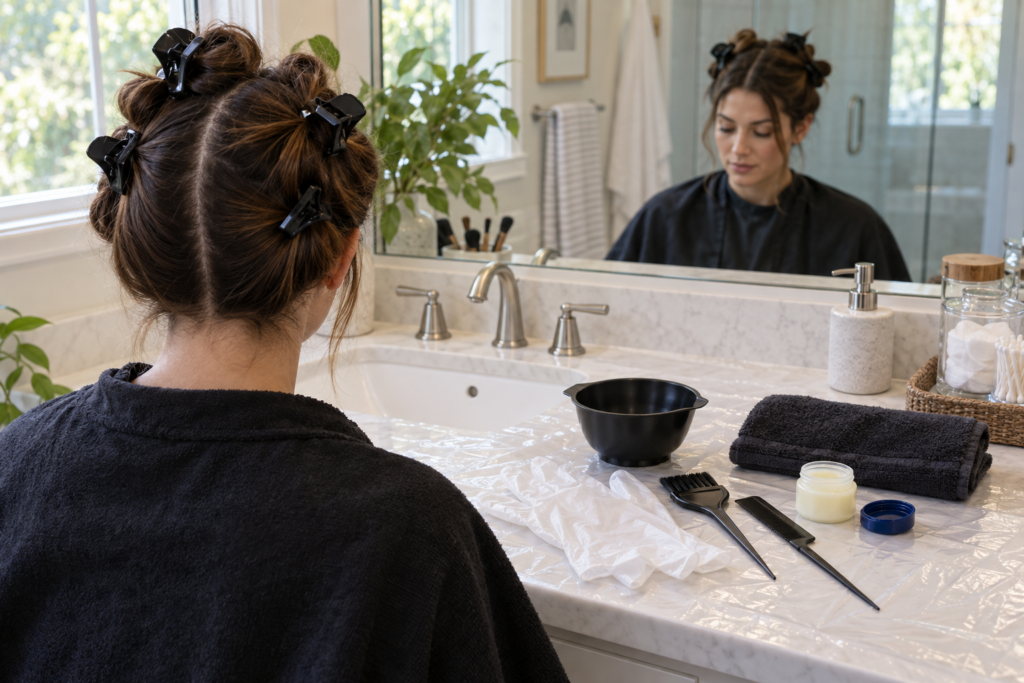
Good preparation makes home hair color cleaner, safer, and more even. Perform the required allergy test and a strand test before full application, detangle the hair, gather every tool in advance, protect your skin and bathroom surfaces, and divide the hair into controlled sections before mixing the color.
Read the entire instruction leaflet first.
Do not mix the color and then start searching for the processing time or wondering whether it belongs on dry or damp hair.
Different formulas have different directions.
Follow the instructions for the specific color system you are using rather than assuming all dyes work the same way.
Perform the allergy test exactly as directed.
Previous successful use does not guarantee that a reaction can never develop.
A strand test answers a different question.
Choose a small hidden section and apply the intended color.
This shows how quickly the hair processes, how dark or warm the result becomes, and whether porous ends absorb more pigment than expected.
It can also expose a problem with previously colored hair before the entire head is involved.
Before application, detangle gently.
Hair should be easy to section without tugging.
Avoid coating it in heavy oils, waxes, or thick styling products that make precise application difficult.
Protect your clothing.
An old button-front shirt or salon-style cape makes rinsing easier because you do not have to pull a stained shirt over freshly colored hair.
Cover the counter and floor.
Remove pale bath mats and decorative towels.
Keep a damp cleaning cloth nearby so spills can be wiped immediately.
Apply a thin barrier of petroleum jelly or thick moisturizer around the hairline and ears, taking care not to coat the actual hair you need to color.
Then divide the hair into clean working sections.
Four broad sections are a practical starting point for many people: two in front and two in back.
Thick or very long hair may need more.
Should Your Hair Be Clean or Dirty Before Coloring?
Hair should generally be dry, detangled, and free from heavy buildup unless your color instructions say otherwise. Slight natural scalp oil is usually not a problem, but layers of dry shampoo, styling wax, silicone-heavy products, or excessive oil can make clean sectioning and consistent application more difficult.
Do not intentionally leave the hair dirty for many days because of the idea that more oil automatically protects it.
Fresh scratches, severe scalp irritation, sunburn, active dermatitis, or broken skin are stronger reasons to postpone coloring.
Healthy scalp skin matters more than trying to build up an artificial layer of oil.
How to Color Your Hair at Home Step by Step

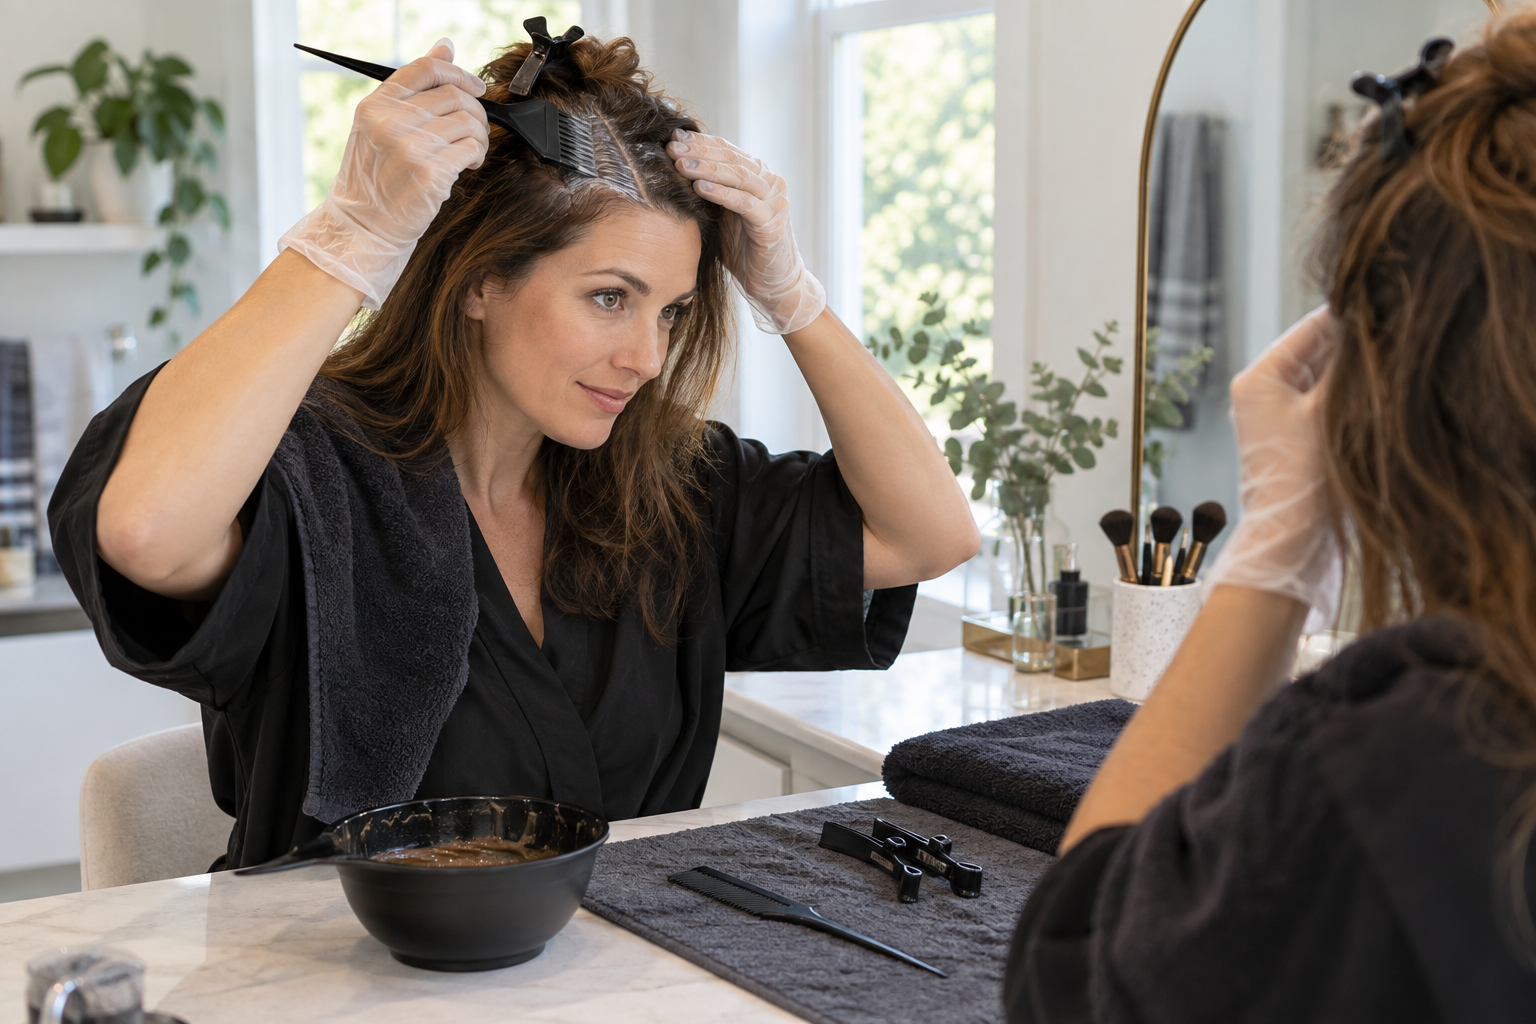
For even home color, divide the hair first, mix only according to the formula instructions, and apply the product methodically rather than randomly. New growth and previously colored lengths often need different treatment, so determine whether you are doing a first-time full application, a root retouch, or a tonal refresh before you begin.
Step 1: Put On Gloves and Mix the Color
Put on protective gloves before opening and mixing the formula.
Use only the developer, color, or activator intended for that system.
Do not strengthen the mixture by adding extra developer, bleach, shampoo, conditioner, or another dye unless the instructions specifically tell you to.
If you are using a bowl-and-brush application, use a nonmetallic bowl.
Mix until the consistency is even.
Once mixed, start application promptly.
Oxidative color begins reacting after the components are combined.
Step 2: Start With Clean Sections
Release one working section at a time.
Use the tail of a tint brush or tail comb to create thin subsections.
Thin sections matter because the color needs to reach the hair evenly.
Taking large chunks and painting only the visible surface can leave untouched hair hidden underneath.
Work methodically.
Front right, front left, back right, back left is easier to track than jumping around the head.
Step 3: Apply Color According to Your Hair History
If this is your first full application on mostly virgin hair, follow the timing and placement directions for first-time coloring.
If you are retouching roots, concentrate the permanent color on the new growth.
Do not automatically drag permanent dye through the lengths every time.
Repeatedly overlapping strong color onto already processed hair can create excessive darkness, dryness, and pigment buildup.
Faded lengths may need only a shorter refresh with the same formula, a gloss, or a demi-permanent color depending on the situation.
If your ends are porous, apply cautiously.
They may absorb pigment quickly and become darker than the roots.
Step 4: Saturate the Hair Evenly
Every strand you intend to color should be adequately coated.
Patchy application creates patchy results.
At the same time, there is no benefit in piling excessive product onto the hair until it drips.
Use enough for complete saturation.
Thick, coarse, or very long hair may require more product than short or fine hair.
Running out halfway through creates one of the hardest DIY problems because the first half continues processing while you prepare more.
If your hair is very dense or long, plan quantity before starting.
Step 5: Pay Extra Attention to Resistant Areas
Gray hair, especially around the temples and hairline, can be more resistant.
Apply carefully to those areas and make sure the strands are fully coated.
Do not scrape the dye aggressively into the scalp.
The goal is thorough hair coverage, not friction.
If the hairline contains very fine hair, keep the application controlled so color does not smear heavily onto the skin.
Step 6: Start Timing Correctly
Follow the color system’s instructions for when timing begins.
Do not assume leaving color on much longer will make it work better.
Once the chemical process has done what the formula is designed to do, extending the time can simply increase scalp irritation and unnecessary exposure.
Use a timer.
Do not rely on memory while cleaning the bathroom or answering messages.
Step 7: Check the Hair Without Disturbing Everything
As the processing time progresses, inspect the hair as directed by the formula.
Color often looks much darker while developing than it will after rinsing.
Do not panic and wash it out prematurely simply because the mixture looks almost black on the head.
Oxidative dye darkens as it develops.
Trust the timing and strand test more than the appearance of wet processing color.
Step 8: Rinse Thoroughly
When processing is complete, add a little water and gently loosen the color around the hairline before rinsing if the instructions recommend it.
Rinse thoroughly until excess dye is removed.
Be patient with thick hair.
Color can remain hidden near the nape and underneath dense sections.
Follow with the shampoo, conditioner, or post-color treatment specified for the system.
Handle the hair gently while wet.
Freshly processed hair can be more vulnerable to tangling and rough friction.
Step 9: Dry and Evaluate in Natural Light
Do not judge the final result while the hair is soaking wet.
Dry it enough to see the real depth and tone.
Then look at it near a window.
Warm indoor bulbs can make brunette and blonde appear much more orange or golden than they look in daylight.
Give yourself time before immediately correcting a result that seems slightly different from your expectation.
Fresh color may soften after the first few washes.
How to Cover Gray Hair at Home More Evenly
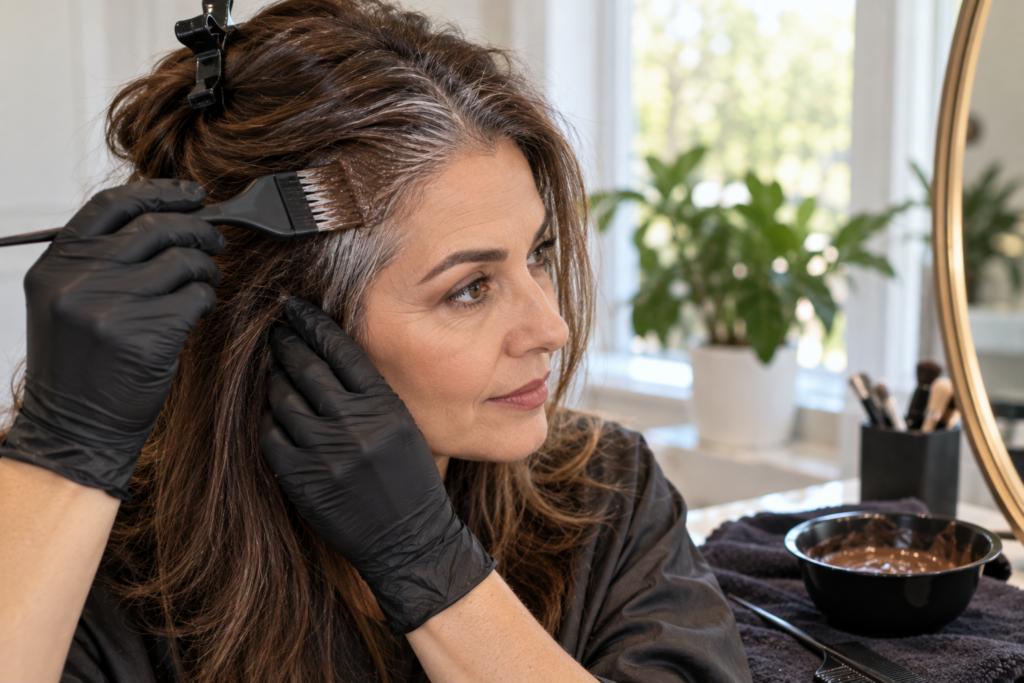
For dependable gray coverage, choose a formula intended for gray hair, apply it thoroughly to resistant areas, and avoid rushing the root sectioning. Gray strands may have a different texture from pigmented hair, particularly around the temples, so incomplete saturation is a common reason they remain visible after coloring.
Start where your gray is most resistant if the formula allows the same overall processing time.
For many people, that means the temples, front hairline, or part.
Use fine subsections.
Gray coverage often fails because a thick section looks coated from the outside while inner strands remain nearly dry.
Press the color through the hair carefully with the brush.
Do not simply paint the top surface.
Natural-looking coverage does not always require making every silver strand disappear.
Some people prefer gray blending, where lighter strands remain subtly visible and create dimension.
Demi-permanent color, lowlights, highlights, or softer root formulas can create a less opaque effect.
Permanent color is usually more suitable when the goal is strong, consistent gray coverage.
Why Is My Gray Hair Not Taking Color?
Gray hair may resist color because the application was too light, sections were too thick, the formula was not designed for strong gray coverage, or the processing time was insufficient. Coarser gray hair can also be particularly resistant. Better saturation and appropriate formula choice are usually more useful than simply choosing a darker shade.
Do not repeatedly recolor the entire length because a few resistant roots were missed.
Address the actual area that needs correction.
Otherwise, the roots may eventually match while the rest of the hair becomes increasingly dark and flat.
How to Avoid Common At-Home Hair Color Mistakes

Most home-color problems come from choosing an unrealistic target, ignoring previous dye, overlapping permanent color, rushing the sectioning, or correcting too quickly. The safest strategy is to make controlled changes, keep a record of what you used, and avoid stacking another strong chemical process on top of a disappointing result without understanding why it happened.
One common problem is hot roots.
The roots turn lighter or warmer than the lengths.
This often happens because virgin root hair processes more easily than old dyed lengths and also receives warmth from the scalp.
Another is banding.
You may see one shade at the roots, another through the middle, and another on the ends.
Banding usually reflects different color histories rather than random bad luck.
Repeatedly putting the same dye over every band may make the problem worse.
Too-dark ends are another classic mistake.
Porous ends can grab pigment strongly, especially when darker permanent color is repeatedly pulled through the hair.
Once that buildup is present, simply choosing a lighter color next time will not reliably lighten it.
Uneven color often comes from poor sectioning or insufficient product.
Long, dense hair needs enough mixture to saturate every intended strand.
Coloring quickly with one small bottle may leave hidden dry sections.
What Should You Do If Your Hair Color Comes Out Too Dark?
If fresh hair color is slightly too dark, avoid immediately applying bleach or another strong chemical. A few washes with a clarifying shampoo may soften excess deposit, especially if the color is fresh. If the hair is much darker than intended or contains several layers of permanent dye, a dedicated color-removal approach may be needed.
Do not put a lighter permanent dye directly over the dark result and expect it to lift the artificial pigment.
That usually creates little change through the dyed lengths while affecting virgin roots differently.
If the result is only slightly deeper than expected, patience is often the least damaging fix.
What Should You Do If Hair Color Is Too Warm?
If the depth is correct but the tone is too warm, a suitable toner, gloss, or deposit color may help neutralize excess yellow, orange, or red. If the hair is still too dark, toner alone cannot create a lighter result. Correcting warmth successfully depends on first determining whether the problem is tone or insufficient lightening.
Yellow, orange, and red require different neutralizing tones.
Using a strong ash color randomly can make some areas muddy while leaving others warm.
This is especially true on porous highlights or unevenly lightened hair.
Correct only what needs correcting.
When You Should Not Color Your Hair at Home
DIY color is best for relatively simple, predictable changes. Professional help is safer when the hair contains repeated black dye, severe banding, old bleach, metallic or unknown colorants, major breakage, very uneven porosity, or when the desired result requires substantial lightening. Corrective color is less about application and more about managing several different histories at once.
Avoid major home lightening if the hair is already fragile.
Hair that stretches excessively, feels gummy when wet, breaks easily, or has very thin bleached ends should not be pushed through another aggressive process.
Do not assume conditioner can cancel out chemical damage.
It can improve softness and manageability, but severely compromised hair still has structural limits.
Complex dark-to-light changes are another reason to stop.
Permanent black to beige blonde is not a single coloring step.
It is a correction involving pigment removal, warmth management, strand testing, and careful control of previously processed areas.
Multiple color bands are difficult for the same reason.
One section may need removal.
Another may need deposit.
A third may need no processing at all.
A full-head DIY formula cannot make those sections behave identically.
Scalp health matters too.
Postpone coloring if you have significant irritation, open scratches, active skin inflammation, or a previous suspected allergic reaction to hair dye.
Beauty goals can wait.
An injured scalp should not be treated like a normal coloring surface.
Frequently Asked Questions
Can You Color Your Hair at Home if It Has Been Dyed Before?
Yes, but previous dye changes how the new color behaves. Permanent artificial pigment can resist lightening, while porous ends may absorb darker color strongly. Always consider your full color history rather than treating previously dyed hair like untouched natural hair.
Can You Put Hair Dye on Wet Hair?
Some formulas are designed for damp hair, while many permanent home colors are intended for dry hair. Follow the directions for the specific system you are using. Applying a formula to the wrong moisture level can affect dilution, saturation, and the final result.
Should You Start Hair Color at the Roots or Ends?
That depends on whether you are doing a first-time application, root retouch, gray coverage, or tonal refresh. Virgin roots, previously colored lengths, and porous ends often process differently. Follow the application sequence for your formula rather than automatically starting in the same place every time.
Can You Use Permanent Hair Color on the Whole Head Every Time?
You can, but repeatedly pulling permanent color through already processed lengths can create unnecessary pigment buildup, dryness, and overly dark ends. For routine root maintenance, new growth usually needs the strongest attention while lengths may need only occasional refreshing.
Why Did My Roots Turn Lighter Than the Rest of My Hair?
Roots can process more quickly because they are usually virgin hair and receive warmth from the scalp. Previously colored mid-lengths may resist lightening, especially if they contain dark permanent dye. This difference can produce brighter or warmer roots.
Can You Go Blonde With Box Dye at Home?
Some natural, previously uncolored hair can be lightened with permanent color, but dramatic blonde transformations often require controlled lightening. Dark permanent dye, black color, old highlights, or uneven hair history makes at-home blonde results much less predictable.
How Can You Prevent Hair Dye From Staining Your Skin?
Apply a thin barrier of petroleum jelly or thick moisturizer around the hairline and ears, wear gloves, and wipe fresh dye from skin promptly. Avoid putting the barrier directly onto hair that needs to be colored because it can interfere with coverage.
How Soon Can You Recolor Hair if You Do Not Like the Result?
There is no single safe waiting period for every situation. It depends on the formula used, your hair condition, and what correction is needed. Avoid immediately applying another strong chemical process simply because the result is disappointing. Assess the hair and identify the problem first.
Why Does My Hair Look Different From the Color Swatch?
Hair-color swatches show an approximate result, not a guarantee. Your natural level, previous dye, porosity, gray percentage, underlying warmth, and processing history all affect the final shade. The same formula can look noticeably different on two people.